Solar Hummingbird Feeder Maintenance Guide: Cleaning, Repair & Care
Is your solar hummingbird feeder leaking nectar, showing cloudy glass, or failing to light up at night? Protect 2,300°F hand-blown glass by washing with warm water (under 120°F) and mild white vinegar. Keep the electronic solar cap dry during washing, wipe the light sensor weekly, and replace the internal AAA Ni-MH battery annually to ensure up to 8 hours of vibrant nightly RGB illumination.
Essential Solar Glass Feeder Maintenance Checklist
- [ ] Unscrew solar cap and set aside in a dry, shaded area (do not submerge solar electronics).
- [ ] Empty old nectar and inspect hand-blown glass reservoir for hairline stress cracks.
- [ ] Flush glass reservoir with lukewarm water (under 120°F) and a 1:4 distilled white vinegar solution.
- [ ] Scrub feeding ports on the anti-rust metal base using a soft bottle brush.
- [ ] Wipe photovoltaic solar panel lens with a soft microfiber cloth to remove pollen, dust, and hard water spots.
- [ ] Ensure silicone base gasket is properly seated flat before refilling to maintain a zero-leak seal.
Printable Feeder Care & Cleaning Quick Card
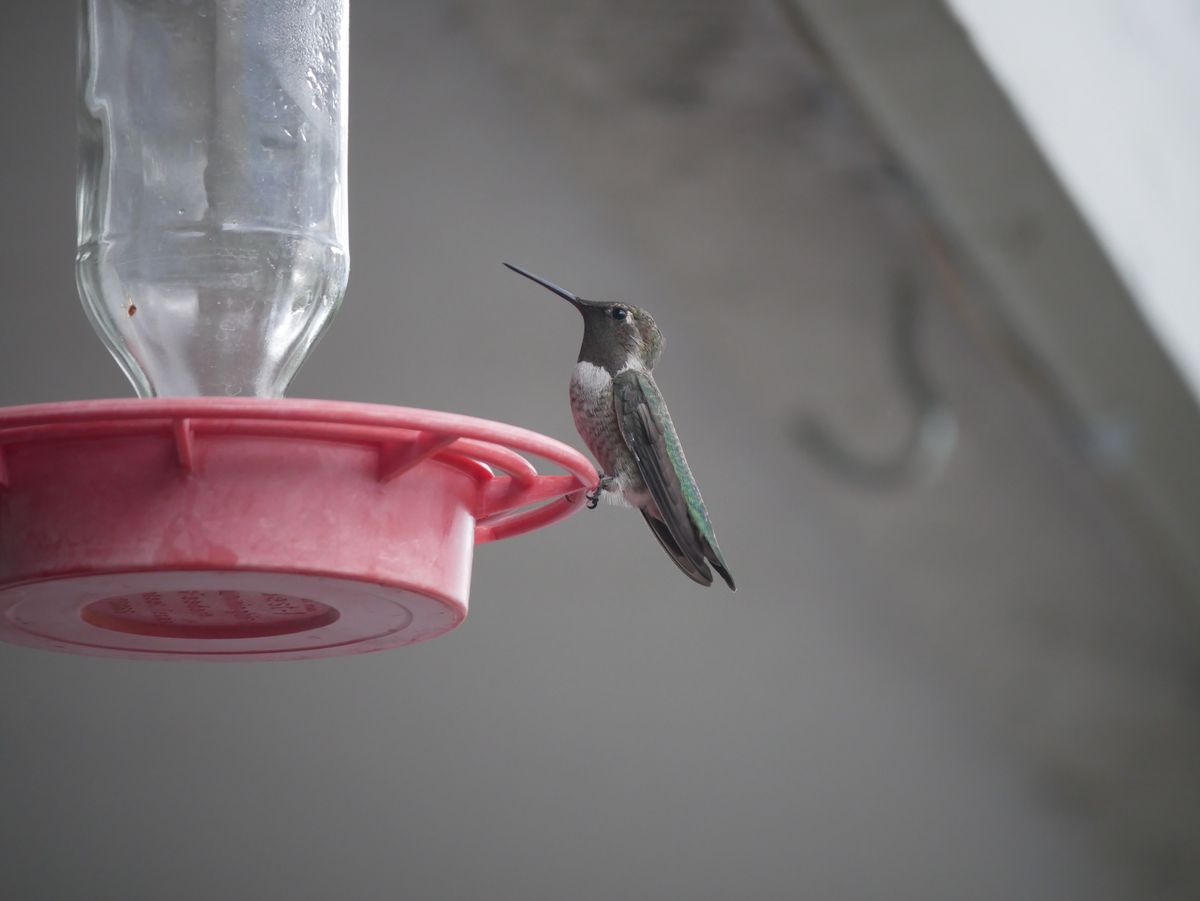
Photo by Connor kane on Pexels
- ALWAYS remove the solar top cap before washing—never submerge electronic parts in water.
- WASH 32 fl.oz art glass in water under 120°F using 1:4 vinegar-to-water ratio; never use dishwashers.
- CHECK silicone base gasket alignment during every refill to prevent nectar leaks and bee attraction.
- CLEAN the solar panel lens weekly with a damp microfiber cloth for maximum solar recharge.
- REPLACE internal 1.2V AAA Ni-MH rechargeable battery every 12 months for 8-hour RGB light performance.
- WINTERIZE by bringing glass and solar components indoors before ambient temperatures fall below 32°F (0°C).
Pro Tip: Preventing Thermal Shock in 2,300°F Hand-Blown Glass
Hand-blown glass reservoirs are individually shaped by glass artisans at molten temperatures of 2,300°F. This handcrafted process leaves subtle internal structural beauty and unique translucent patterns, but it also makes the glass vulnerable to thermal shock.
Never pour boiling or scorching tap water (above 120°F) directly into a cool glass reservoir. Rapid temperature shifts cause uneven thermal expansion, resulting in micro-fractures or structural shattering. Always bring your glass reservoir to ambient room temperature before rinsing with lukewarm water.
Summary of Core Maintenance Principles
- Electronics Stay Dry: The plastic solar cap shields against rain, but submerging it in water will permanently short the internal circuit board and battery contacts.
- Gentle Descaling Beats Harsh Heat: Avoid dishwashers and boiling water. A gentle 1:4 white vinegar soak safely removes hard water minerals and mold without stripping rich glass color pigments.
- Seals Prevent Spills: The slender, 32 fl.oz reservoir relies on a flush-seated silicone gasket against the anti-rust metal base to maintain a vacuum seal. Misaligned threads are the leading cause of nectar drips.
- Sunlight Drive Nighttime Glow: RGB solar LEDs require 6 to 8 hours of unshaded direct sunlight daily to deliver full 8-hour evening illumination.
Solar Cap Illumination Diagnostic Flowchart
- Is the power switch underneath the solar cap toggled to 'ON'? → Yes: Proceed to test light sensor.. No: Toggle switch to 'ON' and expose solar panel to direct sunlight..
- Does the RGB light turn on when you completely cover the top solar panel with your hand in a dark area? → Yes: Solar cap is fully operational. Rehang feeder in unshaded direct sunlight.. No: Proceed to solar panel hygiene and placement check..
- Is the solar panel lens clean and receiving 6+ hours of unshaded direct sunlight daily? → Yes: Battery may be depleted. Proceed to battery replacement.. No: Wipe lens with damp microfiber cloth and relocate feeder away from porch shade or tree canopies..
- Did replacing the internal 1.2V AAA Ni-MH rechargeable battery restore nighttime RGB lighting? → Yes: Issue resolved! Resume normal maintenance schedule.. No: Check battery housing contacts for rust or corrosion; dry thoroughly and clean contacts with a cotton swab..
Failure Modes & Scenario Solutions
| Failure Scenario / Symptom | Root Cause | Immediate Fix | Preventative Care |
| --- | --- | --- | --- |
| RGB light fails to illuminate at twilight | Depleted 1.2V AAA Ni-MH battery or dirty solar sensor lens | Wipe solar panel lens clean; replace internal rechargeable battery with a fresh 1.2V AAA Ni-MH cell. | Ensure solar cap receives 6-8 hours of direct, unshaded sunlight daily. |
| Nectar dripping from metal base feeding ports | Silicone base gasket misaligned or metal threads cross-threaded during reassembly | Unscrew metal base, realign silicone gasket ring flat inside base recess, and re-thread hand-tight. | Inspect silicone gasket for tears during refills; never overtighten metal base. |
| Cloudy white film or mold spots inside glass reservoir | Fermented nectar residue or hard water mineral deposits | Soak glass reservoir in 1:4 white vinegar and warm water (<120°F) for 30 minutes; rinse thoroughly. | Change nectar every 2-3 days in temperatures above 80°F to prevent fermentation. |
| Rust or corrosion around metal feeding base | Protective anti-rust coating chipped or exposed to harsh acid/bleach solutions | Gently wipe rust with vinegar-soaked cloth; dry completely before refilling with nectar. | Avoid wire brushes or bleach; dry the metal base thoroughly after every cleaning cycle. |
| Solar LEDs flickering or shutting off early | Corroded battery contacts or partial shading during daytime charging | Open battery housing, clear dust/corrosion with a dry swab, and re-seat Ni-MH battery. | Wipe top plastic solar cap dry after heavy rainstorms to prevent moisture accumulation. |
Address common feeder problems quickly using the scenario matrix below. Most issues stem from minor seal misalignments, battery fatigue, or hard water buildup.
Temperature-Based Nectar & Cleaning Maintenance Schedule
- Above 90°F (32°C) — Replace nectar and flush hand-blown glass reservoir with warm vinegar solution every 1 to 2 days.
- 80°F – 89°F (27°C – 31°C) — Change nectar and scrub metal base feeding ports every 2 days.
- 70°F – 79°F (21°C – 26°C) — Change nectar every 3 days; visually inspect silicone base gasket for tight seal.
- Below 70°F (21°C) — Change nectar every 4 to 5 days.
- Weekly (All Seasons) — Wipe top solar panel lens clean of pollen, dust, and bird droppings using a damp microfiber cloth.
- Annually / Pre-Winter — Replace internal 1.2V AAA Ni-MH battery; store glass and solar cap indoors before ambient temps hit 32°F (0°C).
5 Critical Mistakes That Damage Solar Glass Feeders
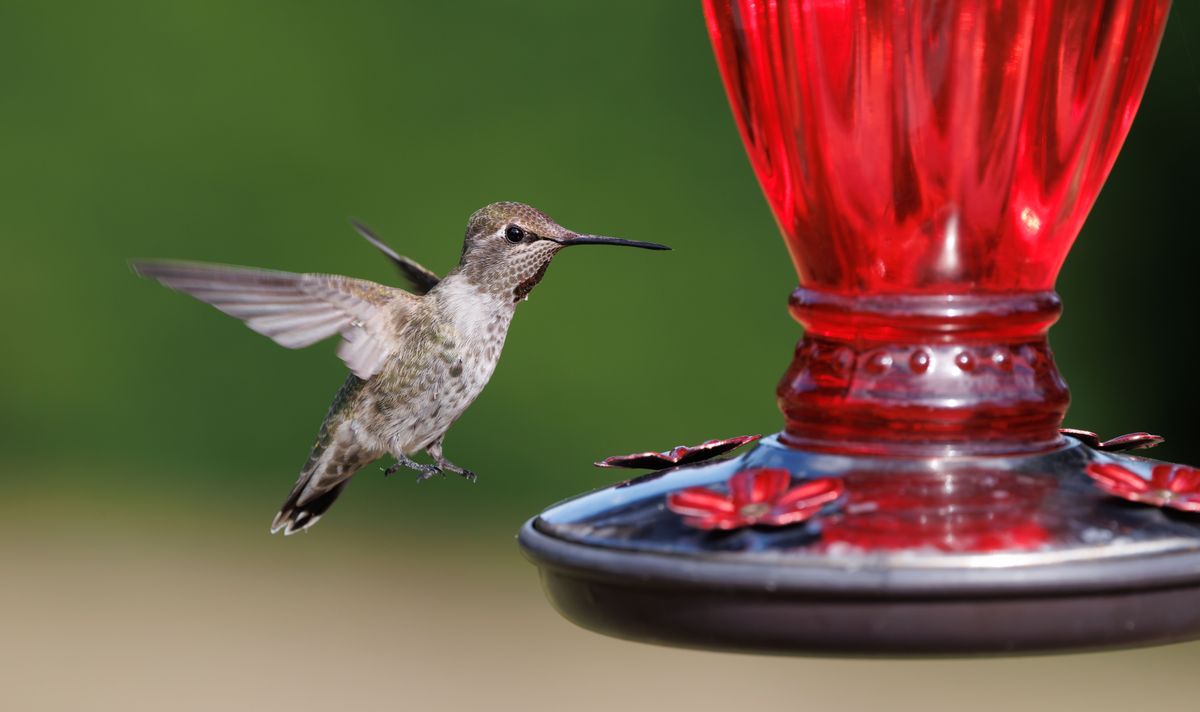
Photo by Veronika Andrews on Pexels
- Submerging the Solar Cap: Washing the top solar cap in a sink basin allows water to penetrate the battery compartment, short-circuiting the RGB LED driver board.
- Using Boiling Water on Cold Glass: Pouring boiling water into cold hand-blown glass causes immediate thermal shock fractures, ruining the handcrafted artwork.
- Installing Standard Alkaline Batteries: Replacing the internal solar battery with a non-rechargeable 1.5V alkaline AAA battery causes chemical leakage and permanent electronic damage when solar charging initiates.
- Cleansing with Bleach or Dish Soap: Harsh chemicals leave scented residues that deter hummingbirds and degrade the anti-rust protective coating on metal bases.
- Running Through the Dishwasher: High-pressure water jets and extreme heated dry cycles dull translucent art glass colors and warp silicone sealing rings.
Solar Feeder Component Lifespan & Replacement Timeline
- Every 2–3 Days — Refill nectar and wash reservoir with warm water and vinegar to maintain zero mold buildup.
- 12 Months — Replace internal 1.2V AAA Ni-MH rechargeable battery to maintain maximum 8-hour RGB lighting capacity.
- 18–24 Months — Inspect silicone sealing ring for flexibility and wear; replace if micro-tears or loss of elasticity occur.
- 5+ Years — Hand-blown art glass and anti-rust metal base maintain structural integrity indefinitely with non-thermal shock care.
Frequently Asked Questions
Find quick solutions to specialized care questions regarding winter storage, replacement battery chemistry, and art glass descaling.
Recommended Solar Hummingbird Feeder
Enhance your outdoor garden decor with handcrafted artisan glass and solar illumination designed for effortless maintenance and bird safety.
Immediate Action Plan for Feeder Restoration
Your decision: If your solar cap fails to light after cleaning the photovoltaic lens and installing a fresh AAA Ni-MH rechargeable battery, inspect the battery contacts for corrosion or upgrade your solar cap assembly.
Do this next: Inspect your silicone base gasket for alignment and give your hand-blown glass reservoir a refreshing 1:4 vinegar soak today.
- Read next: Hand-Blown Glass vs. Plastic Hummingbird Feeders
🌟 LUJII Solar-Powered Hummingbird Feeder (32 fl.oz Hand-Blown Glass Art, RGB Lights) 🌟
Keep your garden glowing and hummingbirds returning every morning with simple preventive care.
Deepen Your Backyard Sanctuary Knowledge
Internal links to complementary solar and glass feeder guides.
Cover photo by David Dibert on Pexels.