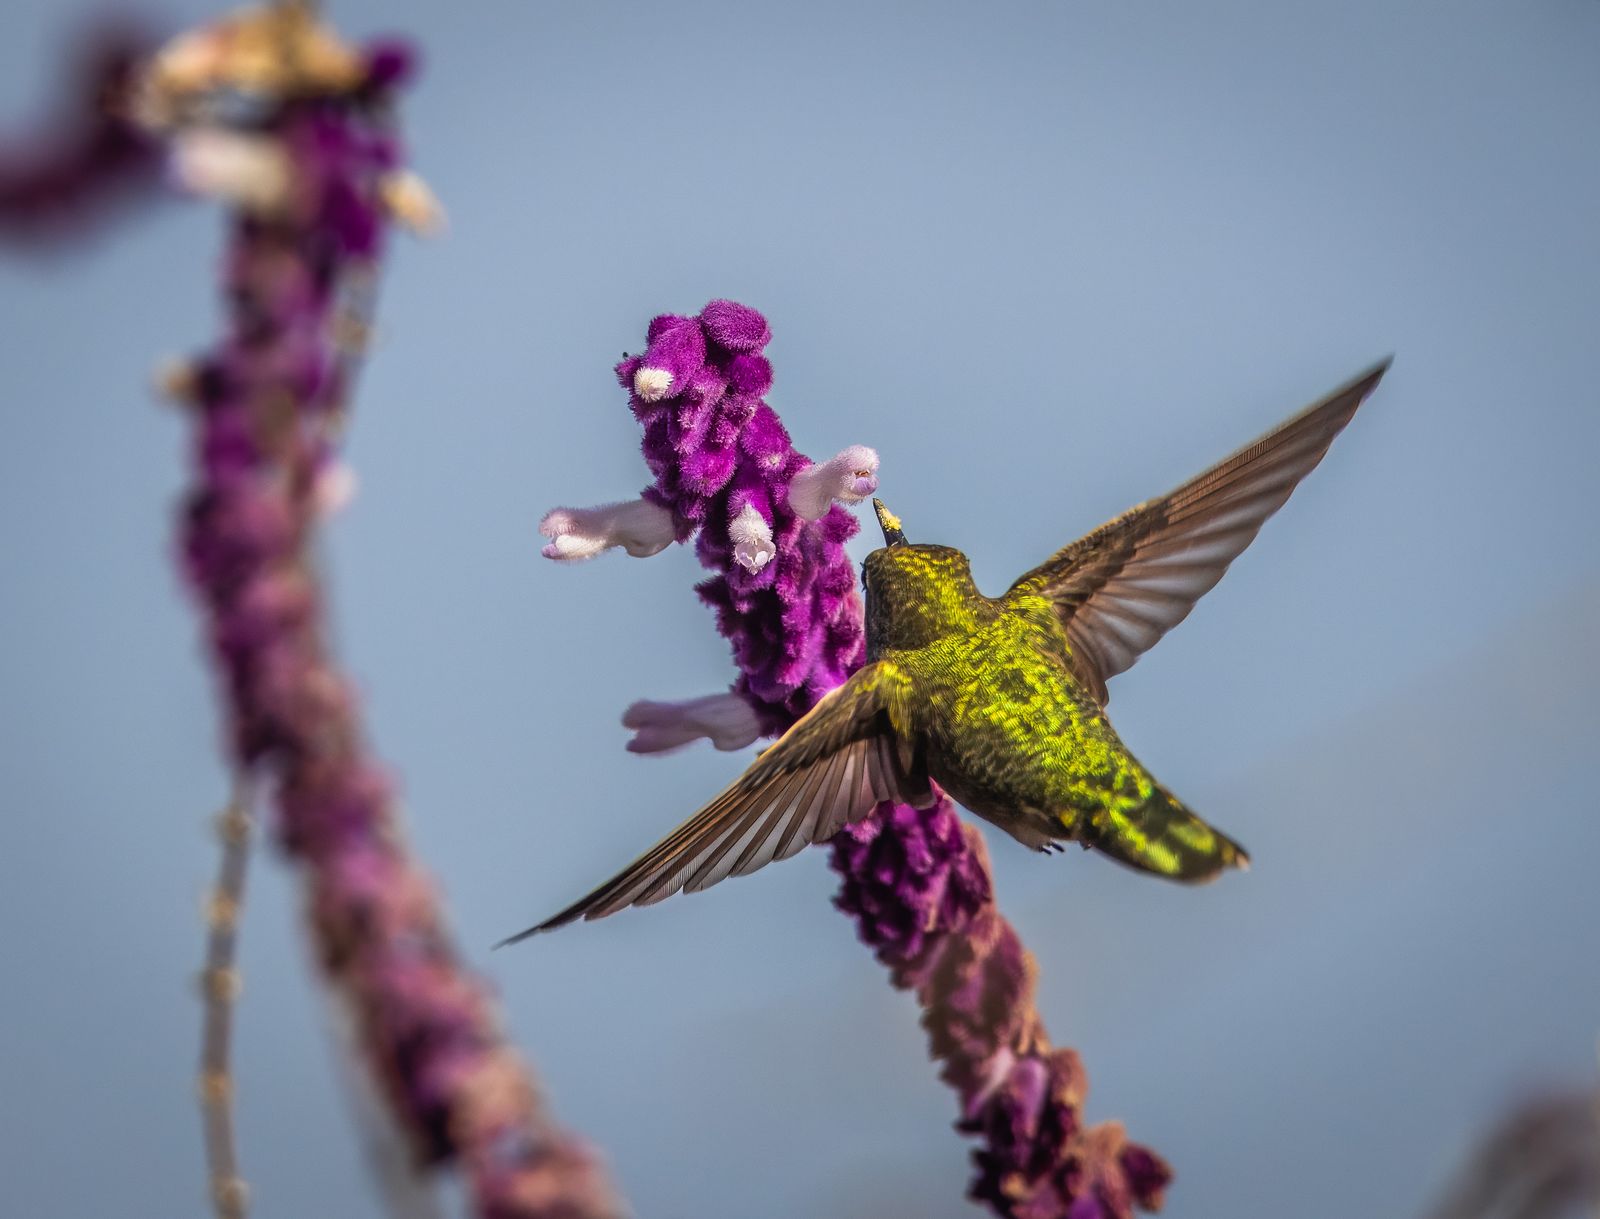
Why Is My Solar Hummingbird Feeder Leaking? Fast Fixes & Physics
Solar hummingbird feeders leak primarily due to thermal expansion—sunlight warming trapped air inside the glass globe, forcing nectar out—or a compromised air-tight base gasket. To stop drips immediately, invert the feeder when tightening the base, hang it in partial shade, and ensure the rubber O-ring seal is fully seated without micro-cracks.
Diagnostic Flowchart: Pinpointing Your Feeder's Leak Source
- Is nectar dripping continuously from the feeding ports during warm afternoon hours? → Yes: Thermal Expansion Issue: The air pocket inside the glass globe is expanding under direct solar radiation, pushing nectar out. Solution: Move to partial afternoon shade and fill to 80-90% capacity.. No: Proceed to next check..
- Is nectar leaking from the threaded connection where the glass reservoir meets the metal base? → Yes: Base Gasket Failure: The silicone O-ring is unseated, pinched, missing, or cross-threaded. Solution: Clean threads, re-align O-ring, and thread straight.. No: Proceed to next check..
- Is nectar leaking from the top solar housing or cap assembly? → Yes: Top Housing Breach: The solar housing seal is compromised or water has entered. Solution: Dry solar cap, inspect seal, or check for hairline glass fractures near the rim..
Solar Feeder Leak Diagnostic Matrix
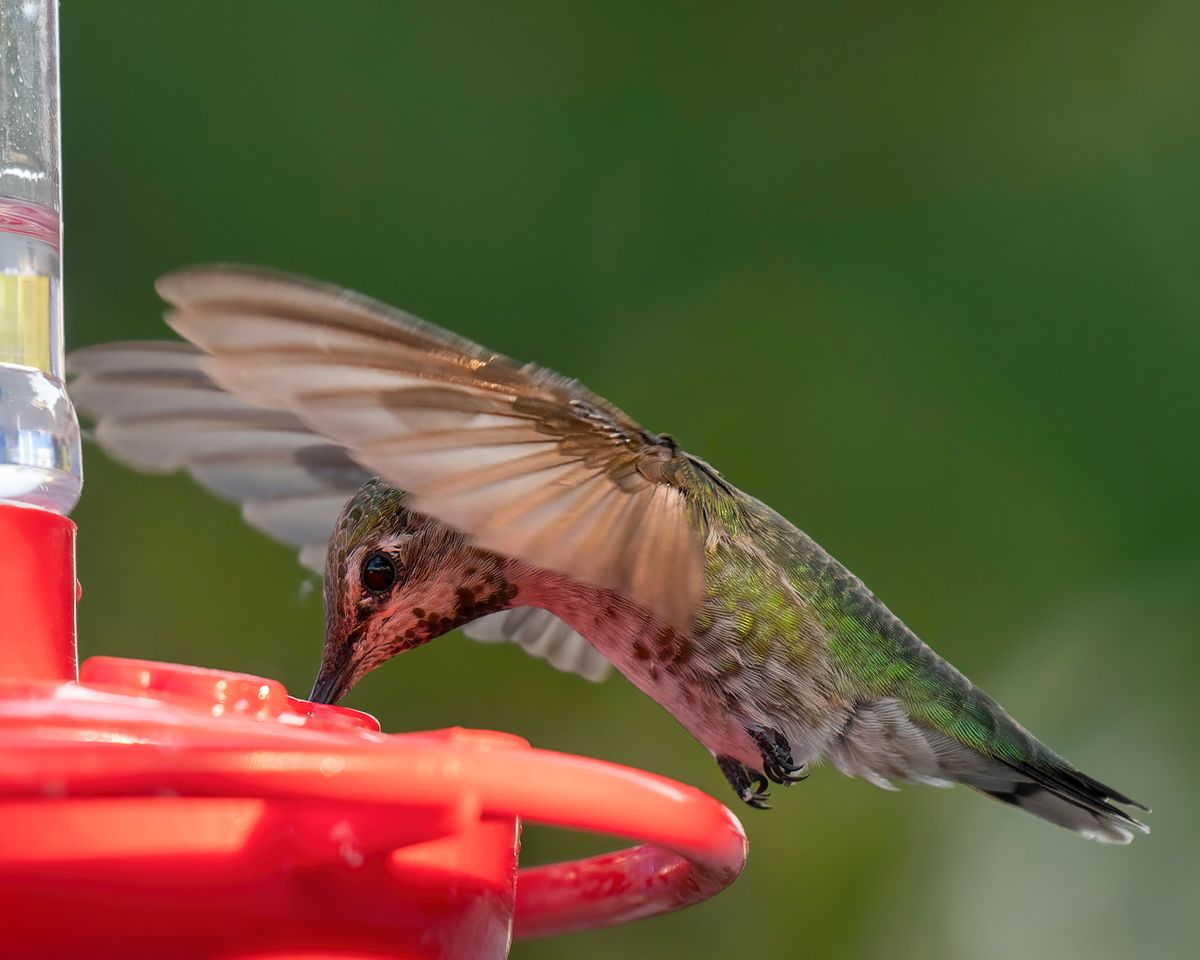
Photo by Frank Cone on Pexels
| Scenario / Leak Symptom | Primary Root Cause | Quick Inspection Test | Recommended Corrective Fix |
| --- | --- | --- | --- |
| Scenario A: Steady dripping from feeding ports during hot 1 PM - 4 PM sun, but fine at night. | Thermal Air Expansion: Solar heat warms the air headspace above liquid nectar, increasing internal PSI and overriding port vacuum pressure. | Touch the top glass reservoir during peak afternoon heat; if hot, the internal air is expanding. | Relocate feeder to receive morning light (for solar charging) and afternoon shade. Fill reservoir to 80-90% capacity to reduce air pocket size. |
| Scenario B: Continuous drip from the metal base seam immediately after filling and hanging. | Compromised Gasket Seal: Dirty threads, misaligned silicone O-ring, or cross-threaded metal base breaking the airtight vacuum. | Unscrew base and check if nectar is present inside the threaded grooves or if the rubber ring is twisted. | Deep-clean threads with warm water, re-center the rubber O-ring flush against the base, and screw together straight without overtightening. |
| Scenario C: Nectar pools on one side of the base rim and drips down the decorative metal hanging cage. | Unlevel Hanging Angle: Feeder hangs tilted, pushing liquid level past the spill threshold of lower feeding ports. | Observe hanging posture with a mini level or line of sight against your porch horizon. | Adjust S-hook or hanging chain connection point to ensure exact vertical alignment. |
| Scenario D: Slow drip from glass body despite intact gasket and shaded placement. | Micro-Fractures / Hairline Glass Cracks: Invisible cracks in hand-blown glass breaking internal vacuum integrity. | Submerge air-filled closed glass reservoir in warm water and press gently; watch for escaping bubble trails. | If micro-cracks exist, the reservoir cannot hold a vacuum and requires replacement. |
Match your feeder's exact leak scenario below to identify the underlying physics and apply the targeted fix immediately.
Pro Tip: Thermal Dynamics & The 'Inverted Fill' Technique
Understanding how inverted atmospheric feeders work is the secret to a drip-free garden setup. Inverted glass feeders rely on negative internal pressure (a micro-vacuum) to hold up to 32 fl. oz. of sugar syrup against gravity.
When sunlight hits the glass reservoir, liquid nectar heats slowly, but the air trapped above the nectar heats rapidly. Charles's Law states that gas volume expands proportionally with temperature. An air pocket at 70°F will expand significantly when solar radiation heats the interior glass to 100°F+, pushing nectar down and out through the port flowers.
The Solution: Always fill your feeder with cool or room-temperature nectar to at least 80–90% capacity. Less air inside means less expanding gas to force nectar out when solar rays warm your garden display!
Decision Tree: Can Your Feeder Be Saved or Is It Time to Upgrade?
- Is the hand-blown glass reservoir free of cracks and the base metal threads unstripped? → Yes: Your feeder is fully repairable! Follow our step-by-step seal alignment and thermal relocation process.. No: If threads are stripped or glass has hairline cracks, atmospheric vacuum cannot be sustained. Upgrade to an engineered leak-proof feeder.
Immediate Action Steps to Eliminate Drips Today
Your decision: Determine if your leak is caused by simple thermal placement, an unseated O-ring, or permanent base corrosion.
Do this next: Inspect your feeder gasket, clean the threads thoroughly, refill to 80% capacity with cool nectar, and hang in partial morning shade.
- Read next: Gasket and O-Ring Maintenance Guide
- Read next: How to Clean and Maintain Your Hand-Blown Solar Hummingbird Feeder
If your base is stripped or corroded, upgrade to the LUJII 32 fl. oz. Hand-Blown Solar Hummingbird Feeder with anti-rust metal base and leak-proof seal.
Take these quick diagnostic actions to restore your feeder's vacuum and stop sticky nectar drips in their tracks.
Key Takeaways for Drip-Free Solar Feeding
- Vacuum Maintenance: Inverted glass feeders require a perfect airtight seal at the base; even tiny sugar crystals on threads break the vacuum.
- Control Air Space: Fill reservoirs to 80–90% capacity to minimize expanding air pockets during hot weather.
- Smart Sun Placement: Position solar feeders where they receive morning sun for battery charging, but partial shade during intense afternoon heat.
- Gasket Care: Never wash rubber or silicone O-rings in boiling water or dishwashers; hand-wash in warm soapy water to avoid distortion.
- Level Hanging: Ensure hanging hooks are plumb so nectar remains evenly distributed across all feeding ports.
Choosing the Right Leak-Proof Setup for Your Yard
Fixing a leaking feeder usually requires re-establishing a vacuum seal or relocating the feeder to avoid direct solar heat surges. If threads or base metal are stripped, upgrading to a sealed-base heavy glass feeder is necessary.
Best choice for
- Partial shade relocation & 80% fill volume — Prevents solar radiation from expanding air pockets inside the glass reservoir.
- O-ring replacement & thread cleaning — Restores the airtight vacuum seal needed for inverted gravity feeding.
- The hand-blown glass neck has hairline micro-fractures (vacuum cannot be held).
- The metal base threads are completely corroded or stripped.
- LUJII 32 fl. oz. Hand-Blown Glass Solar Feeder — Features a heavy-duty rubber gasket, precision-machined anti-rust metal base, and protective solar cap shield.
Featured Solution: LUJII Sealed-Base Hand-Blown Feeder
If your current feeder suffers from persistent thread slippage, thin glass, or missing seal components, consider upgrading to an artisanally crafted, engineered solution.
LUJII Solar-Powered Hummingbird Feeder
- Hand-Blown Glass Artistry: Shaped by master glass artists at 2,300°F, creating a thick, durable, unique colorful globe that resists rapid temperature fluctuations.
- Leak-Proof Precision Seal: Engineered with a slender reservoir shape, heavy-duty rubber gasket, and sealed base to minimize drips and spills.
- Anti-Rust Coated Metal Base: Built to withstand weather without thread corrosion or stripping.
- Protective Solar Cap: Plastic solar shield protects nectar against direct sun rays and rain while housing ambient RGB light electronics that illuminate automatically for up to 8 hours.
Standard Glass Feeders vs. LUJII Engineered Sealed-Base Feeders
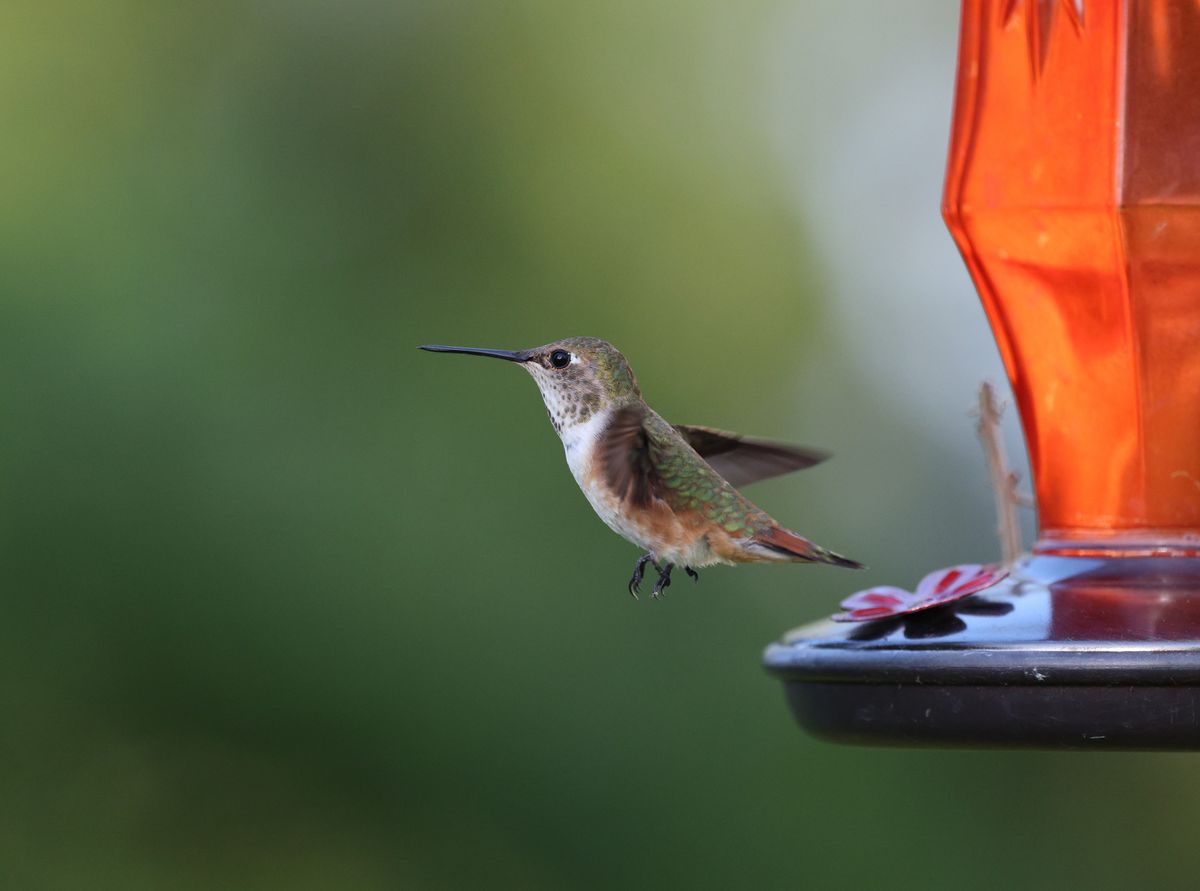
Photo by Veronika Andrews on Pexels
| Feature / Specification | Standard Thin Glass Solar Feeder | LUJII Hand-Blown Solar Feeder |
| --- | --- | --- |
| Base Seal Architecture | Generic friction washer prone to twisting | Precision-molded heavy silicone gasket in deep seating groove |
| Glass Reservoir Construction | Thin machine-molded glass; heats rapidly | Thick hand-blown glass (crafted at 2,300°F); thermal resistant |
| Capacity & Air Pocket Control | 12–20 fl. oz. (small capacity amplifies air pressure shifts) | Generous 32 fl. oz. capacity (larger fluid volume dampens thermal swings) |
| Base Metal Finish | Standard painted sheet metal; prone to rust pitting | Coated anti-rust metal base engineered for durability |
| Solar Light Integration | Unshielded solar cap resting directly against glass | Protective weather guard cap shielding nectar while housing RGB solar LEDs |
Compare how structural design choices impact leak prevention, weather resistance, and garden aesthetics.
Step-by-Step Fixes for Common Feeder Leaks
Follow these four steps to clean, re-seal, and test your solar feeder for a completely drip-free setup.
5 Frequent Mistakes That Cause Persistent Nectar Drips
Avoid these common user errors that compromise feeder vacuum and attract unwanted pests.
Further Reading on Feeder Maintenance & Pest Protection
Explore our comprehensive library of wild bird care and feeder care guides:
- Hummingbird Feeder Gasket and O-Ring Maintenance: FAQs for a Drip-Free Garden
- How to Clean and Maintain Your Hand-Blown Solar Hummingbird Feeder
- Summer Storm Protection: Weatherproofing Your Glass Solar Hummingbird Feeder Setup
- Hot Weather Nectar Ratios: How to Keep Hummingbird Food Fresh in Summer
Frequently Asked Questions About Solar Hummingbird Feeder Leaks
Answers to common maintenance, pest prevention, and solar component questions.
Transform Your Garden with Drip-Free Illumination
Your decision: Ready to eliminate leaks and upgrade your garden aesthetic?
Do this next: Inspect your current gasket alignment or replace worn equipment with an artisanally crafted sealed-base solar feeder.
LUJII 32 fl. oz. Hand-Blown Solar Hummingbird Feeder
Ready for a drip-free garden filled with magical nighttime RGB color? Upgrade your outdoor sanctuary with the handcrafted, leak-proof LUJII Solar-Powered Hummingbird Feeder today!
Cover photo by Robert So on Pexels.