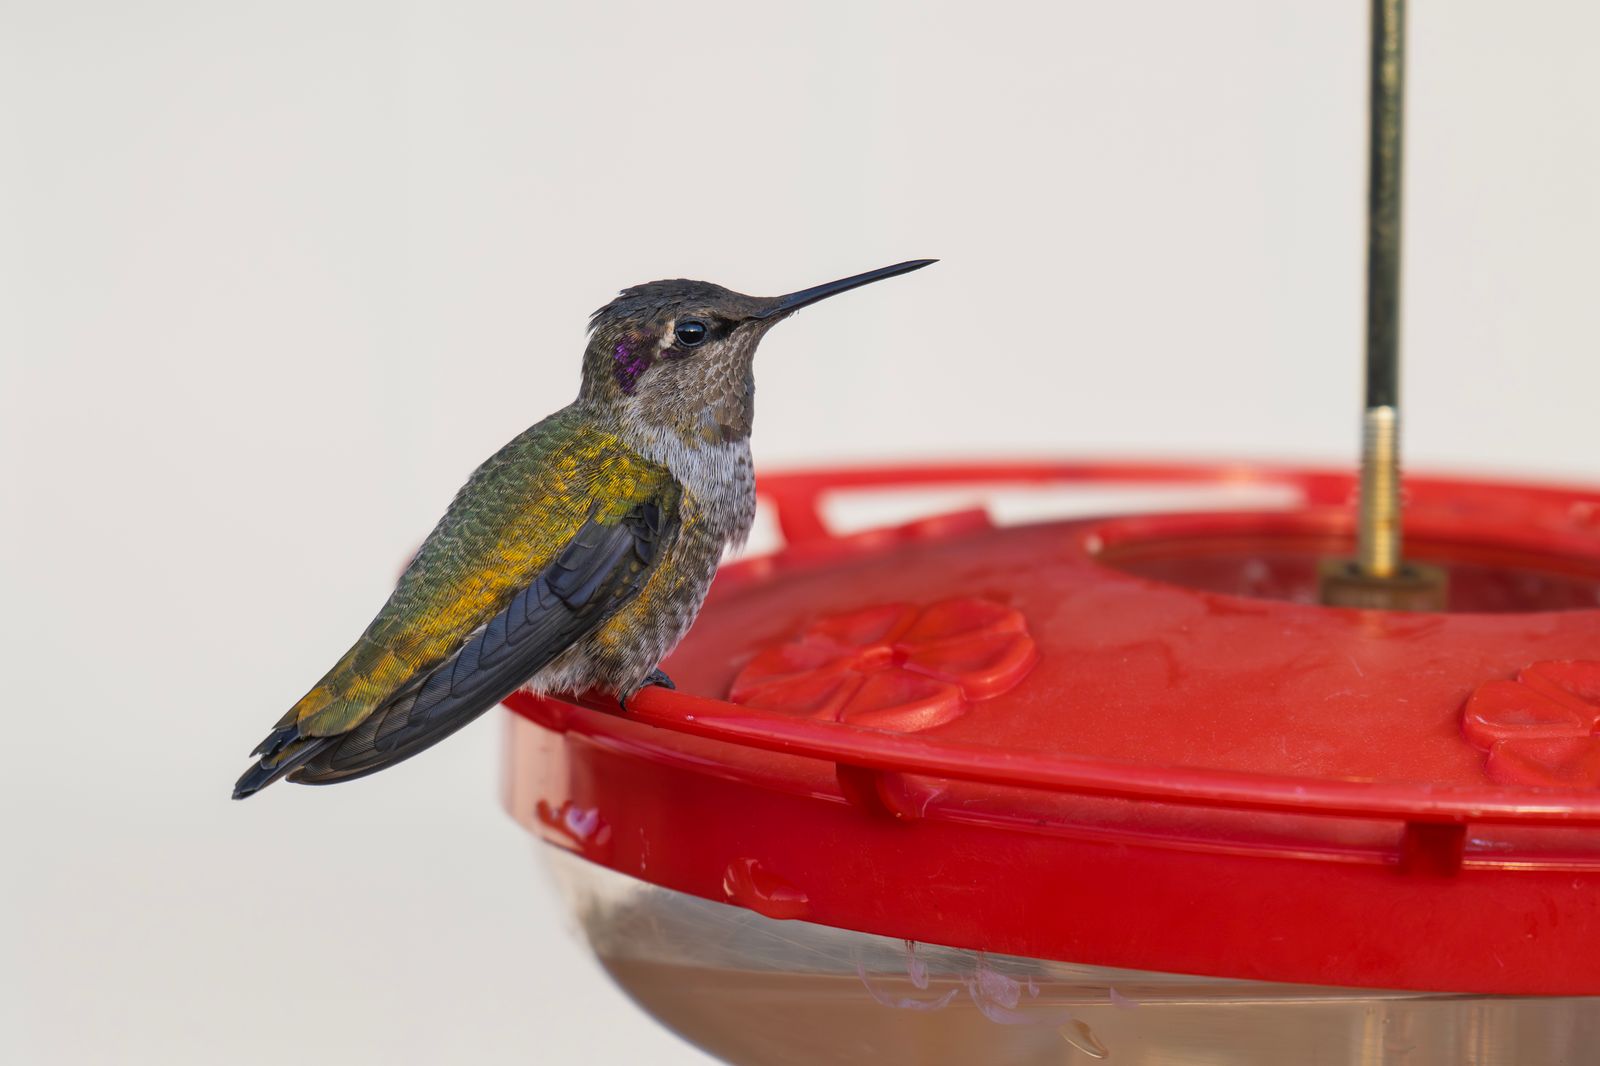
Hummingbird Feeder Gasket Replacement & Seal Care Guide
Is your hand-blown glass feeder dripping sweet nectar or losing its vacuum seal? Inspect the base for sticky sugar buildup, check the silicone O-ring for micro-cracks, and clean the threads with warm water. Replace worn gaskets using a 100% food-grade silicone ring sized with digital calipers—never use chemical glues or petroleum lubricants.
Visual & Tactile Gasket Inspection Checklist
- [ ] Check for sticky sugar crystallization trapped inside the gasket seating groove.
- [ ] Inspect the silicone O-ring under bright light for micro-tears, hairline splits, or brittle edges.
- [ ] Feel for permanent flattening or loss of rubber elasticity along the seal ring surface.
- [ ] Ensure the hand-blown glass neck rests evenly without tilting against the metal base contact rim.
- [ ] Test for vacuum hold by filling the glass reservoir with water and holding inverted over a sink for 2 minutes.
Printable Seal Care & Sizing Quick Reference
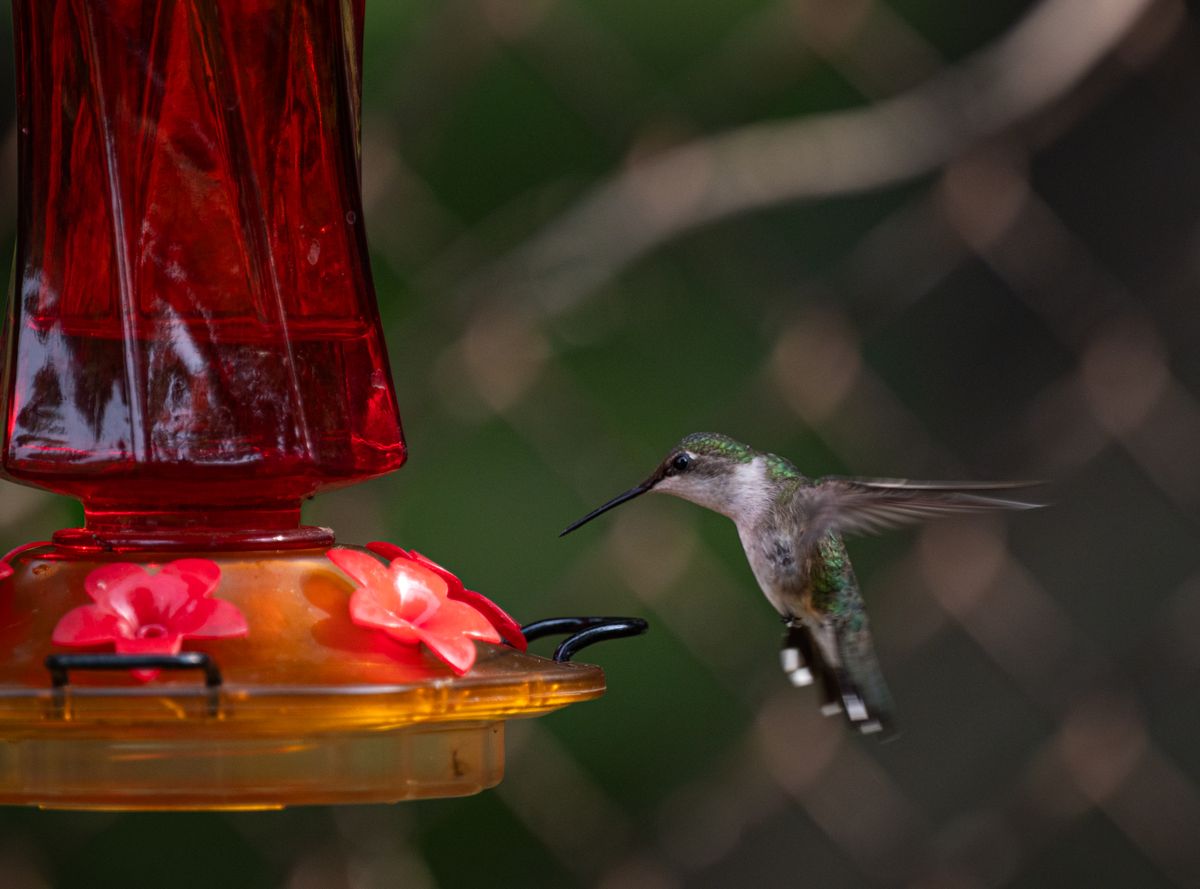
- Gasket Material: Always select 100% food-grade silicone (heat-resistant, UV-stable, non-toxic to birds).
- Measurement Protocol: Measure Glass Neck Inner Diameter (ID), Outer Diameter (OD), and Thread Depth with calipers.
- Approved Lubricant: Organic extra virgin olive oil or vegetable oil (1 micro-drop applied via cotton swab).
- Prohibited Chemicals: No petroleum jelly, mineral oil, WD-40, silicone caulk, or superglue.
- Cleaning Temp: Wash silicone rings in warm water below 140°F (60°C); avoid dishwashers and boiling water.
- Thread Alignment: Hand-tighten until snug—do not over-rotate artisan glass against the metal base.
Artisan Glass Measurement & Non-Toxic Care Secrets
Hand-blown glass reservoirs are crafted at 2,300 degrees Fahrenheit, which gives each vessel its distinct beauty but also creates subtle variations in rim thickness and thread pitch. Standard store-bought rubber washers often fail on artisan glass because they lack the flexibility needed to conform to handcrafted curves.
Always use digital vernier calipers to take three separate outer-diameter (OD) measurements across the glass neck, then take the average. When buying replacement O-rings, choose a food-grade silicone gasket with a cross-section thickness that matches your metal base channel. Apply a single drop of organic food-grade vegetable oil to the silicone ring before installation; this allows the smooth glass to glide into place without pinching or twisting the seal.
Gasket Failure Mode & Leak Troubleshooting Matrix
| Failure Mode / Symptom | Root Cause | Corrective Seal Action |
| --- | --- | --- |
| | | |
| | | |
| | | |
| | | |
Diagnose common feeder leak patterns by identifying the specific failure mode and applying the targeted seal fix below.
When you notice nectar pooling under your feeder, act quickly to prevent sugar wasps and ants from swarming the garden art setup. Start by unhooking the fixture from its hanging station and unscrewing the hand-blown glass bottle over a sink.
Carefully pop out the silicone seal using a blunt plastic tool like a guitar pick or wooden ice-cream stick—never use metal knives or tweezers, which slice silicone. Wash the glass neck, base threads, and gasket channel in warm water. Inspect for hair-line cracks in the glass threads before reinserting the lubricated O-ring and testing for an airtight seal.
Essential Rules of Feeder Gasket Maintenance
Mastering seal care ensures your solar garden art remains safe for hummingbirds and completely leak-free season after season.
Seasonal Gasket Inspection & Care Timeline
- Spring Opening (Early April) — Retrieve feeder from winter storage. Inspect silicone O-ring for brittleness. Soak seal in warm water, apply light vegetable oil coating, and perform 2-minute inverted water vacuum test.
- Mid-Summer High Heat (July - August) — Inspect gasket every 3 days during nectar refills. Check for thermal stretching or sugar buildup in base grooves. Keep feeder partially shaded to preserve vacuum pressure.
- Autumn Migration (September - October) — Perform mid-season deep clean. Wash gasket with 50/50 vinegar-water solution to eliminate black mold spores in seating track.
- Winter Storage Prep (November) — Remove silicone gasket, wash thoroughly, dry completely, and store in a sealed plastic bag inside house to prevent freeze-thaw cracking.
Critical Mistakes That Destroy Glass Feeder Seals
Avoid these dangerous maintenance habits that ruin hand-blown glass feeders and harm visiting birds.
Silicone vs. Rubber Gasket Degradation Lifecycle
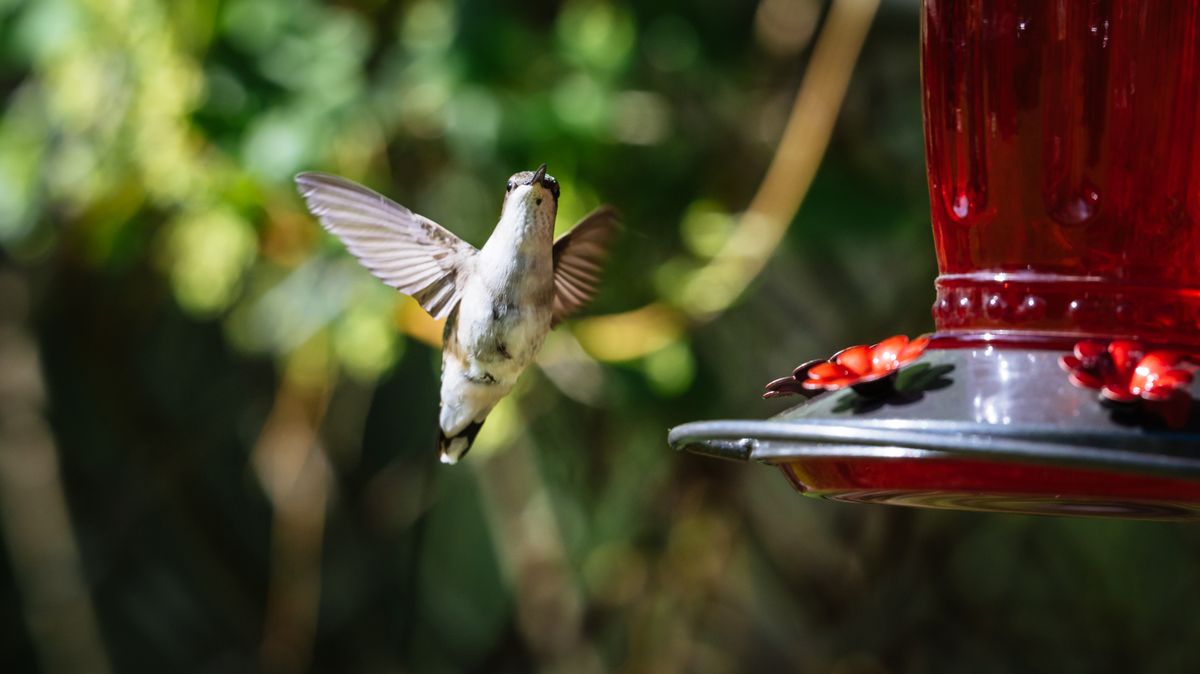
- 0 - 3 Months — Standard black rubber washers begin leaching plasticizers and micro-cracking under direct UV exposure; food-grade silicone remains 100% pliable and chemically inert.
- 6 - 12 Months — Rubber gaskets flatten permanently, losing memory resilience and dropping vacuum pressure. Silicone gaskets retain elasticity through high summer heat.
- 18 - 36 Months — Food-grade silicone O-rings may show slight discoloration from natural nectar pigments but maintain airtight sealing when cleaned and lubricated regularly.
Recommended Glass Feeder Care Guides
Expand your garden birdkeeping knowledge with these essential care topics:
- How to Clean and Maintain Hand-Blown Glass Hummingbird Feeders Without Fading Color
- Hot Weather Nectar Ratios: How to Keep Hummingbird Food Fresh in Summer
- How to Hang Your Solar Hummingbird Feeder to Block Ants and Crawling Insects
Frequently Asked Questions About Gasket Replacement
Clear answers to the most common questions regarding replacement parts, non-toxic lubricants, thermal expansion, and mold removal.
LUJII Replacement Parts & Drip-Free Feeders
Ensure perfect fit and leak-proof performance with genuine food-safe components and solar-illuminated glass feeders.
Next Steps for a Drip-Free Sanctuary
Your decision: Is your hand-blown glass feeder gasket cracked, stretched, or leaking after thorough cleaning?
Do this next: Measure your glass reservoir neck dimensions with digital calipers, replace damaged seals with a 100% food-grade silicone O-ring, and apply a drop of organic vegetable oil before seating.
- Read next: Hummingbird Feeder Gasket and O-Ring Maintenance: FAQs
- Read next: Summer Storm Protection: Weatherproofing Your Glass Solar Feeder
LUJII Solar-Powered Hummingbird Feeder with Hand-Blown Glass & Leak-Proof Base
Take action today to restore your feeder's airtight performance and keep your backyard humming with activity.
Cover photo by Frank Cone on Pexels.