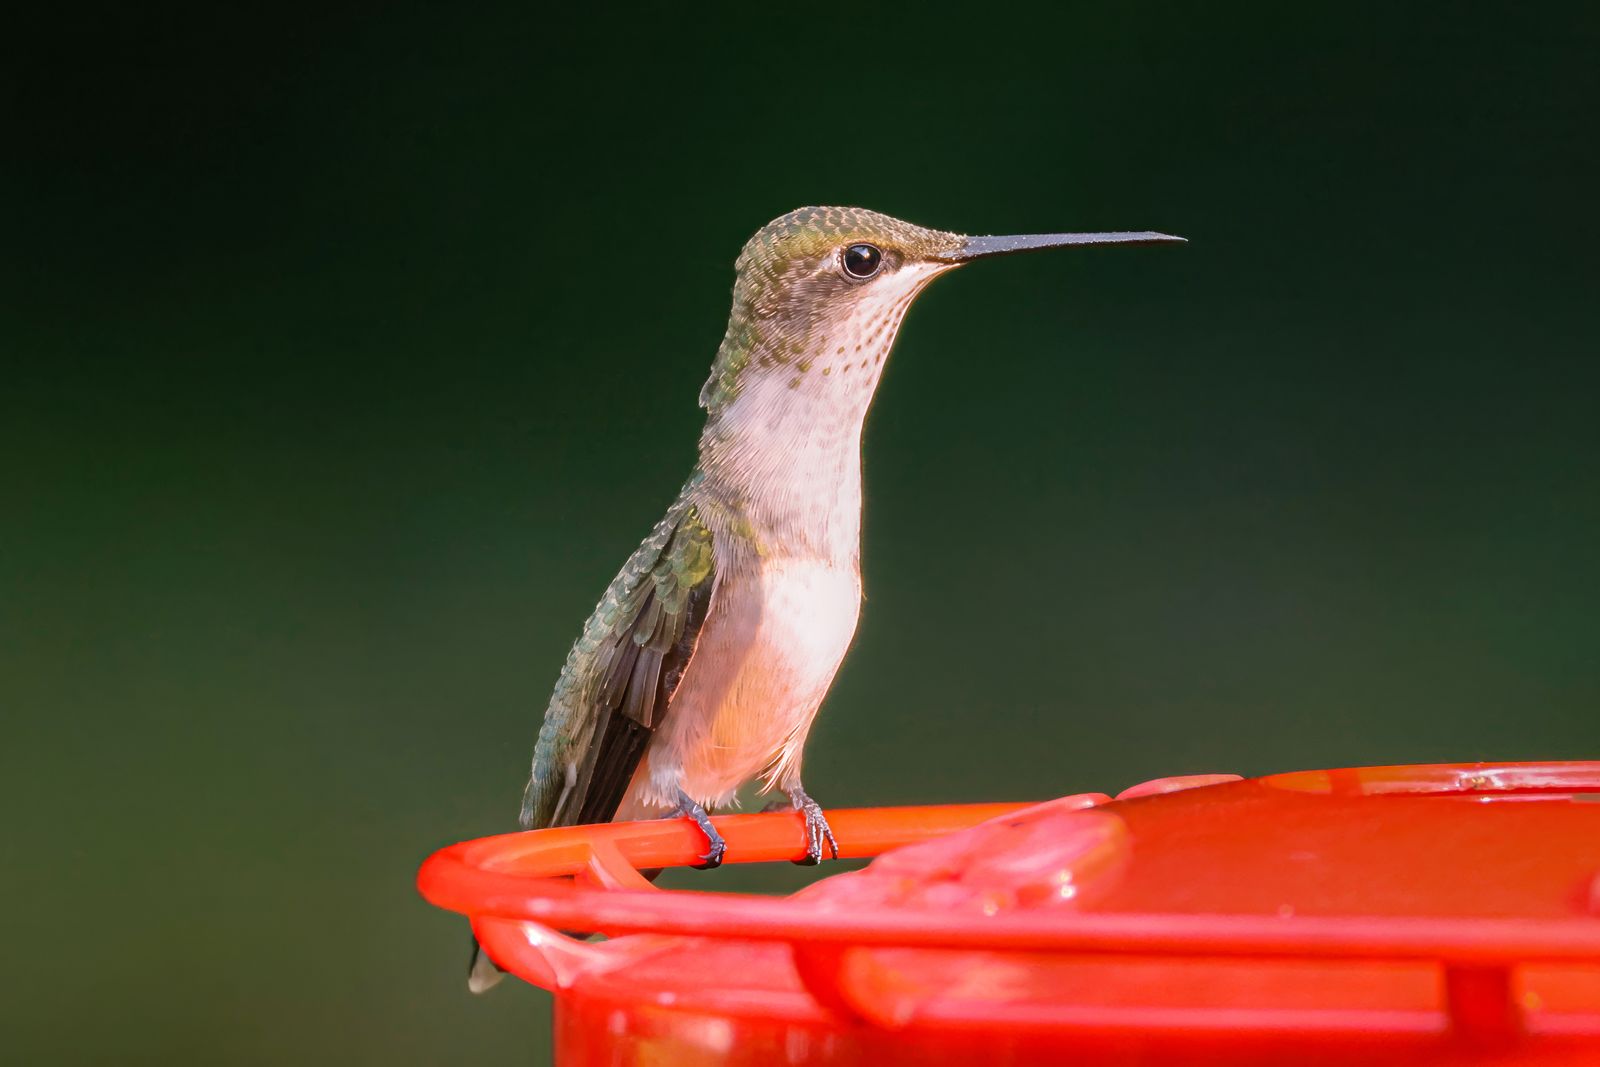
Why Is My Solar Hummingbird Feeder Not Lighting Up? Easy Troubleshooting & Maintenance Steps
If your solar hummingbird feeder is not working, ensure the power switch underneath the solar cap is toggled to ON, wipe clean the solar panel array, and test the dusk sensor by completely covering the panel with your palm in a dark room. If the RGB LEDs stay dark after receiving 6–8 hours of direct, unshaded sunlight, replace the internal 1.2V AA Ni-MH rechargeable battery.
Solar Light Diagnostic Flowchart
- Is the power switch on the underside of the solar cap turned ON? → Yes: Proceed to dark sensor test.. No: Toggle switch to ON and charge in direct sunlight for 6–8 hours..
- Does the RGB LED illuminate when the solar panel is completely covered in a dark room? → Yes: Solar cap is functional. Feeder simply needs relocated to an area with unshaded daytime sun.. No: Proceed to solar panel surface inspection..
- Is the solar panel glass clean and free of dirt, hard water spots, or sap? → Yes: Proceed to battery compartment inspection.. No: Clean panel surface with a damp microfiber cloth and re-test..
- Are battery contacts clean and free of white or brown oxidation? → Yes: Replace internal 1.2V AA Ni-MH rechargeable battery.. No: Gently scrub contacts with a dry cotton swab or pencil eraser, re-insert battery, and re-test..
Solar Hummingbird Feeder Troubleshooting Matrix
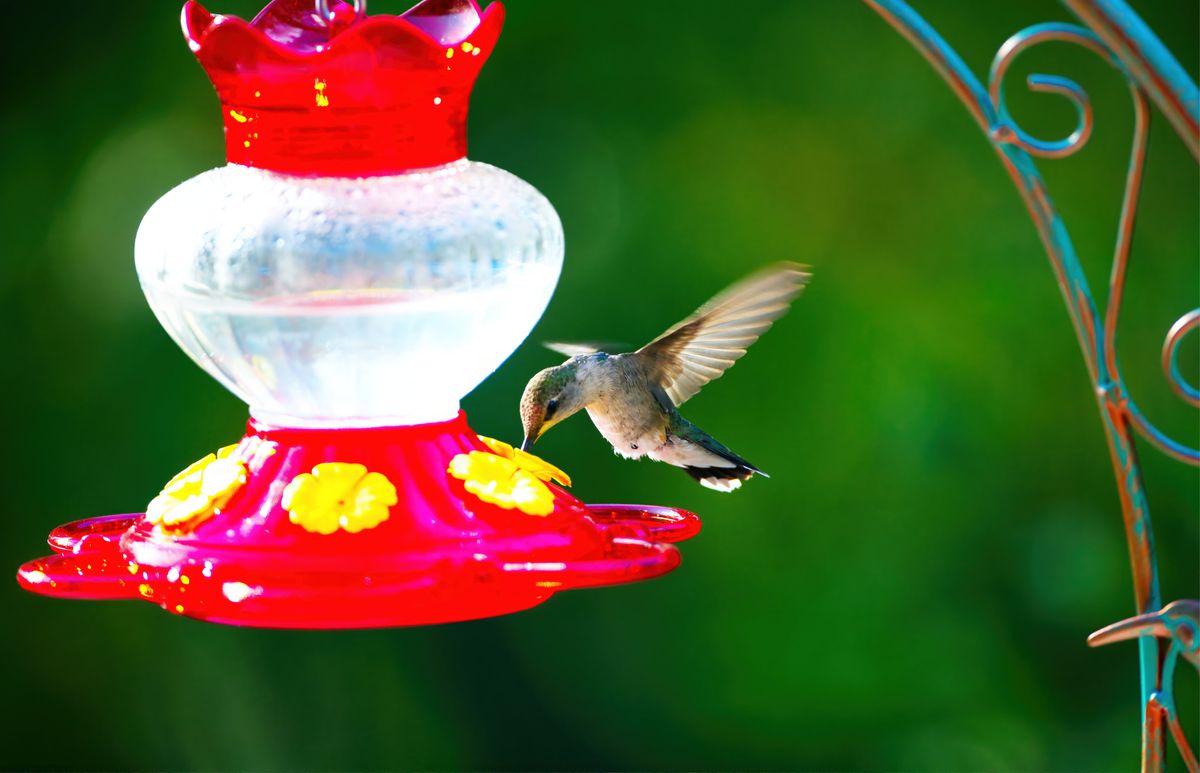
Photo by DANNIEL CORBIT on Pexels
| Symptom / Scenario | Probable Cause | Quick Action | Tool Needed |
| --- | --- | --- | --- |
| Light remains completely dark at night despite a full sunny day. | Power switch set to OFF or internal Ni-MH battery fully depleted/depreciated. | Toggle switch to ON. If still dark after charging, replace 1.2V AA Ni-MH battery. | Small Phillips screwdriver, fresh Ni-MH battery |
| LED lights up for less than 1 hour before shutting off. | Insufficient direct daytime sunlight or degraded battery capacity (mAh). | Relocate feeder away from tree canopy shade or install a new high-capacity Ni-MH cell. | Microfiber cloth (for cleaning panel) |
| RGB LEDs flicker rapidly or dim continuously. | Oxidized battery contacts or loose spring tension in the battery cavity. | Remove battery, clean metallic contacts, and gently stretch contact spring for tight fit. | Cotton swab, pencil eraser |
| Light turns ON during twilight but turns OFF when porch/street lights turn on. | Ambient artificial light hitting the integrated dusk-to-dawn photosensor. | Move feeder to a darker garden corner away from bright exterior home fixtures. | None |
Identify your specific visual symptom below to pinpoint the probable cause and immediate corrective action.
Expert Tip: Waterproofing Solar Electronics During Nectar Refills
When refilling your 32 fl. oz hand-blown glass reservoir, always detach the top solar cap assembly entirely and set it aside on a dry surface before pouring nectar or washing the glass body.
Hand-blown art glass from brands like LUJII is crafted at 2,300°F to create a durable, translucent vessel, but the electronic solar cap relies on a delicate silicone gasket seal. Never submerge the solar cap in soapy dishwater or blast the top underside with high-pressure hose spray. Keeping the electronics bone-dry prevents short circuits, contact corrosion, and premature solar panel failure while ensuring your hummingbirds enjoy safe, fresh nectar.
Decision Path: Clean, Repair, or Replace?
- Has the feeder been in continuous outdoor service for more than 12–18 months? → Yes: The rechargeable Ni-MH battery has likely reached its maximum charge-cycle lifespan. Replace the internal battery.. No: Check for environmental or sensor obstruction issues.
- Is the solar panel top hazy, coated in tree sap, or covered by pollen/hard water buildup? → Yes: Clean panel with distilled water and vinegar solution using a soft cloth.. No: Inspect internal electronics for moisture intrusion.
- Is there visible condensation or rust inside the battery compartment? → Yes: Dry thoroughly, sand contact points, and replace battery. If circuit board is corroded, replace solar cap module.. No: Reposition feeder to receive 6–8 hours of unshaded southern light exposure.
Immediate Diagnostic Steps for Your Feeder
Your decision: Determine whether your feeder requires simple sun exposure repositioning or a fresh 1.2V AA Ni-MH battery.
Do this next: Execute the 5-minute dark-room palm test: turn switch ON, cover solar top completely with your hand, and observe LED response.
Related resource: Download our Seasonal Solar Decor Maintenance Log to track battery replacement cycles.
LUJII Hand-Blown Glass Solar Hummingbird Feeder with Multi-Mode RGB Lights
Perform these quick verification steps to get your illuminated garden art glowing again tonight.
Key Diagnostic Summary
- Always confirm the underside power switch is set to 'ON'; solar cells cannot charge internal batteries while switched OFF.
- Solar panels require 6 to 8 hours of direct, unshaded sunlight daily to deliver up to 8 hours of evening RGB illumination.
- Use only 1.2V AA Ni-MH rechargeable batteries—never standard 1.5V alkaline household batteries.
- Keep ambient outdoor lighting (porch lights, streetlamps) away from the solar cap to prevent tricking the dusk sensor.
- Separate the top solar housing from the hand-blown glass reservoir prior to cleaning nectar ports.
Step-by-Step Deep Diagnostics & Battery Maintenance
Follow this thorough procedure to disassemble, clean, and restore electrical conductivity inside your solar hummingbird feeder cap assembly.
5 Common Mistakes That Ruin Solar Feeder Lights
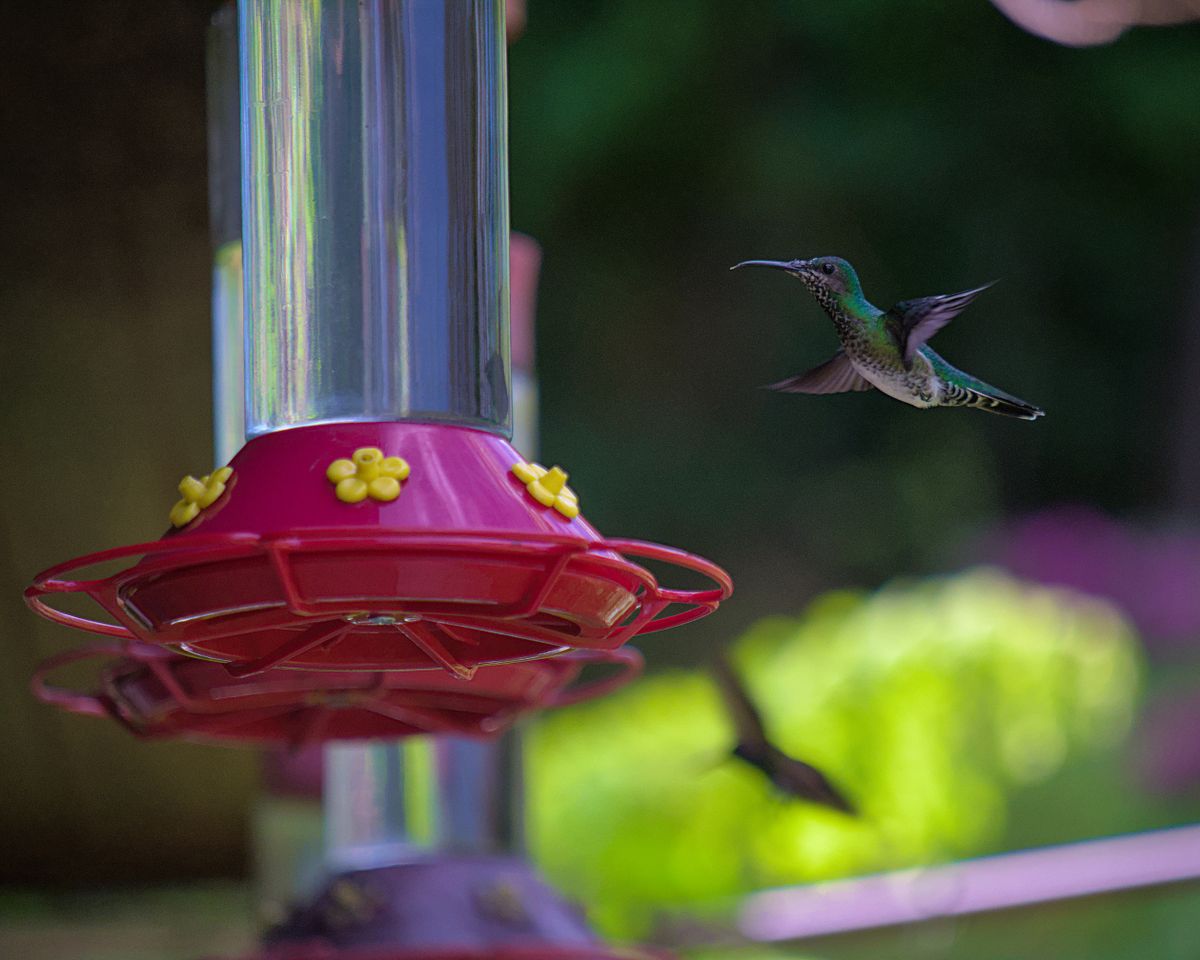
Photo by Heru Vision on Pexels
Avoid these frequent errors to preserve your feeder's electronic components and hand-blown glass vessel.
Explore Evening Garden Magic & Lighting Guides
- Do Hummingbirds Feed at Night? Understanding Dusk Behavior Around Illuminated Feeders
- How to Clean and Maintain Your Hand-Blown Solar Hummingbird Feeder
- The Art of Nighttime Garden Magic: Solar-Powered Lighting & Outdoor Ambiance
Frequently Asked Questions
Get quick, authoritative answers to common post-purchase troubleshooting and safety questions.
Hand-Blown Solar Hummingbird Feeders & Accessories
Upgrade your garden sanctuary with durable, hand-crafted artisan feeders designed for year-round beauty and reliable solar performance.
Next Steps to Restore Your Garden Illumination
Your decision: Choose whether to clean solar contacts, relocate your feeder to an unshaded spot, or install a fresh 1.2V AA Ni-MH battery.
Do this next: Wipe down your solar cap panel and run a 5-minute dark-room sensor test right now.
- Read next: Do Hummingbirds Feed at Night?
LUJII Hand-Blown Glass Solar Hummingbird Feeder (Multi-Mode RGB)
Take action today to ensure your feeder lights up every evening while keeping your local pollinators healthy.
Cover photo by David Kanigan on Pexels.