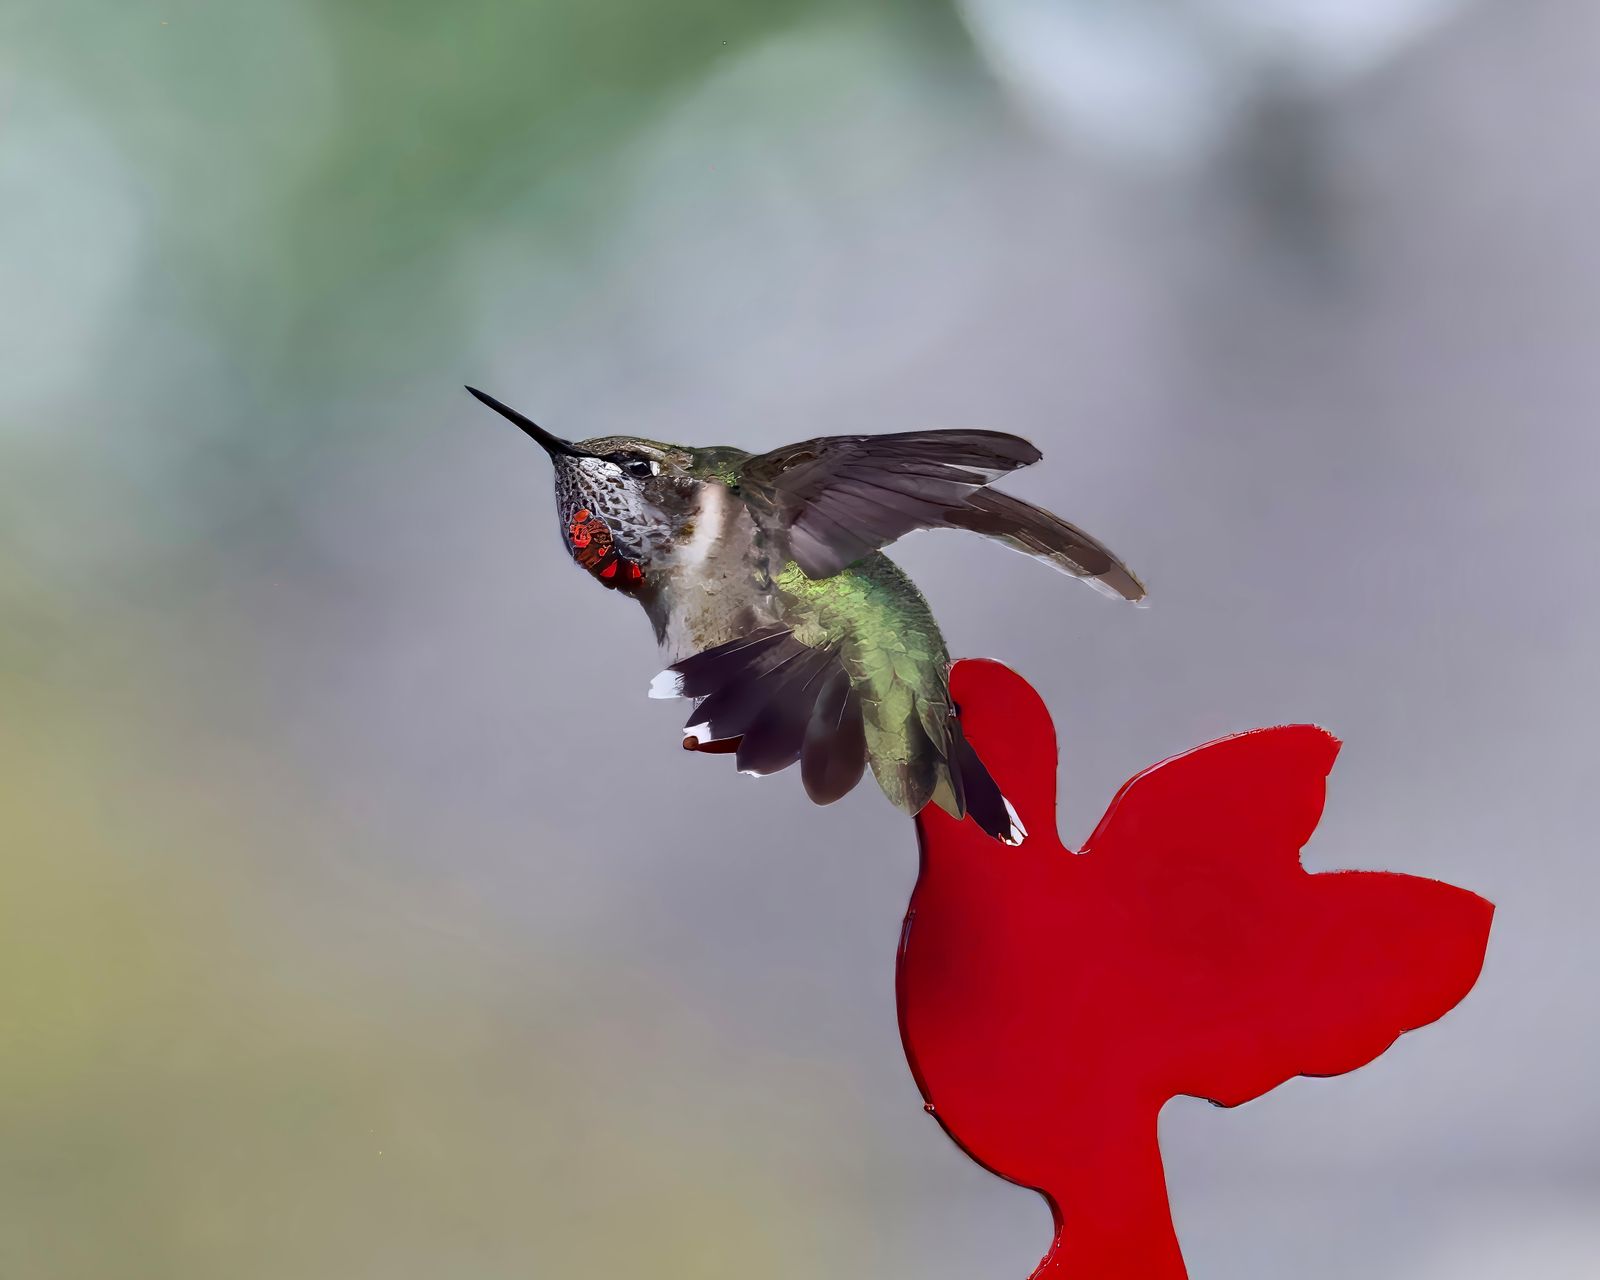
Solar Hummingbird Feeder Care Guide: Seasonal Care & Cleaning
Are you unsure how to clean artisan glass without ruining your feeder's solar light? To prevent glass thermal cracking and solar housing water damage, never submerge the electronic cap or use hot dishwasher cycles. Wash the 32 oz handcrafted glass bottle using warm water and dilute white vinegar (1:4), wipe the plastic solar top with a soft damp cloth, and store all components indoors when temperatures drop below freezing.
Essential Maintenance & Safety Checklist for Solar Glass Feeders
Follow this step-by-step checklist every time you refill or wash your solar hummingbird feeder to safeguard both the hand-blown artwork and the internal solar electronics.
Preparation & Disassembly
- [ ] Unscrew the Electronic Solar Cap: Carefully remove the top plastic housing and set it upright on a dry, clean towel away from standing water.
- [ ] Inspect Solar Lens: Check the top solar collector for pollen buildup, dust, or hard water spots that block sunlight.
- [ ] Empty Stale Nectar: Pour out remaining sugar water into the sink—never reuse old nectar.
Glass & Metal Base Sanitation
- [ ] Prepare Vinegar Rinse: Mix 1 part white distilled vinegar with 4 parts lukewarm tap water in a clean carafe.
- [ ] Scrub Bottleneck & Curves: Insert a soft-bristle flexible nylon brush into the 32 oz glass bottle to dissolve sugar crystals gently.
- [ ] Clean Metal Base & Feeding Ports: Use a cotton swab or small port brush dipped in vinegar water to clear nectar paths without scratching the anti-rust clear coat.
- [ ] Check Silicone Gasket: Inspect the leak-proof rubber seal between the bottle and metal base for cracks, alignment, or debris.
Drying & Reassembly
- [ ] Air-Dry Thoroughly: Allow glass and metal components to air-dry completely on a drying rack before refilling.
- [ ] Wipe Solar Housing: Wipe the solar panel collector lens with a damp microfiber cloth (never soak or hose down).
- [ ] Refill with Clean Nectar: Pour in fresh 1:4 refined white sugar solution (no red dyes).
- [ ] Seal Solar Cap: Reattach the cap firmly to ensure the silicone moisture gasket forms a tight, waterproof shield.
Quick-Reference Field Guide: 32 oz Glass Feeder Protocol
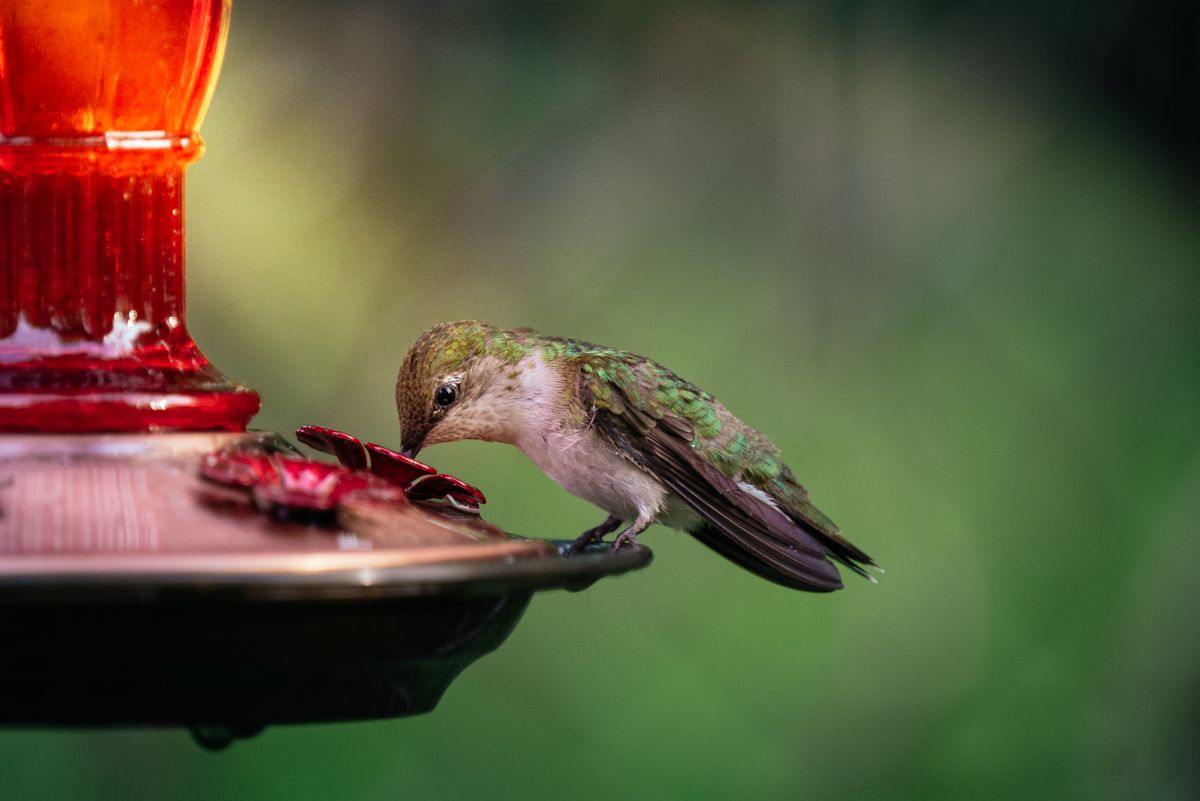
- Solar Cap Safety: Wipe top cap with damp microfiber cloth only. Never submerge in water or place in dishwasher.
- Glass Sanitation: Flush 32 oz hand-blown reservoir every 2–3 days using 1:4 white vinegar-to-water solution.
- Port Hygiene: Scrub metal ports with soft nylon bottle brush; inspect anti-rust coating for chips or scratches.
- Solar Cell Maintenance: Clear pollen and dust from solar panel weekly to maintain 8-hour nightly RGB light battery charge.
- Freeze Protection: Store glass bottle, metal base, and solar cap indoors before outdoor ambient temperatures drop below 32°F (0°C).
Artisan Glass Thermal Limits & Solar Housing Protection Secrets
> Pro Glassmaster Tip: Hand-blown art glass is shaped at extreme temperatures reaching 2,300°F. While remarkably resilient against ambient sunlight, handcrafted glass remains vulnerable to rapid thermal expansion and contraction (thermal shock). Washing your glass bottle with hot or boiling water right out of an air-conditioned room—or plunging a sun-baked bottle into cold tap water—can cause internal micro-fractures along its artistic color swirls. > > Always allow your 32 oz glass bottle to adjust to room temperature for 15 minutes before washing, and stick strictly to lukewarm water. When handling the top cap, remember that the plastic housing protects delicate dark-sensing microcircuits and a rechargeable NiMH battery. Treat the top cap like a camera lens: wipe with care, protect from submersion, and keep solar collector glass crystal clear for maximum evening illumination.
Diagnostic Guide: Fixing Light Failures, Glass Clouding, and Port Oxidation
| Scenario / Symptom | Root Cause | Immediate Fix | Prevention Protocol |
| --- | --- | --- | --- |
| RGB lights fail to turn on automatically at dusk | Solar panel collector covered in pollen/dust, or internal NiMH battery depleted | Wipe solar cap lens clean with damp microfiber cloth. Charge in direct sunlight for 6-8 hours. Test by covering cap with hand in dark room. | Wipe solar collector lens weekly; replace AA NiMH battery every 18–24 months. |
| Sticky white haze or crust inside narrow bottleneck | Sugar crystallization caused by sun evaporation and high heat | Soak bottle upright for 10 minutes in a warm 1:4 white vinegar bath. Gently scrub with a flexible nylon bottle brush. | Flush and replace sugar nectar every 48 hours during peak summer heat waves (>85°F). |
| Nectar slow-drips from metal base ports | Misaligned base threads or dirty silicone sealing gasket | Unscrew metal base, rinse silicone ring to clear debris, re-seat ring flush, and hand-tighten until snug. | Inspect rubber seal elasticity monthly; avoid over-tightening which distorts the silicone ring. |
| Black speckles around metal feeding ports | Early mold growth in nectar residual around feeding openings | Scrub ports using a soft cotton swab dipped in warm white vinegar solution. Rinse thoroughly with clean water. | Never leave nectar in feeder longer than 3 days; avoid using steel wool or harsh bleach which strips anti-rust coating. |
When issues arise with lighting performance or nectar clarity, use this scenario-based diagnostic matrix to identify causes and execute immediate fixes.
4-Season Solar Glass Feeder Care Lifecycle
| Season | Solar & Lighting Focus | Nectar & Glass Hygiene | Weather Protection Action |
| --- | --- | --- | --- |
| Spring (Re-entry) | Inspect solar cap housing, test RGB modes, and install fresh rechargeable NiMH battery if needed. | Sterilize 32 oz glass bottle with 1:4 vinegar soak. Fill with fresh 1:4 sugar nectar upon first scout sightings. | Hang feeder in high visibility spot receiving 6+ hours of morning sunlight. |
| Summer (Peak Heat) | Clear dust and tree sap off solar lens weekly to maximize full 8-hour nighttime illumination. | Change nectar every 2 days when ambient temps exceed 85°F to prevent fermentation and mold. | Shift feeder location slightly if afternoon sun overheats nectar or causes rapid evaporation. |
| Autumn (Migration) | Monitor shorter daylight hours; reposition feeder away from falling leaves shading the solar panel. | Maintain clean nectar supply through late autumn until 2 weeks after the last hummingbird sighting. | Prepare winter storage kit; dry glass bottle thoroughly after final seasonal harvest wash. |
| Winter (Storage) | Remove battery from solar cap; store electronic assembly in dry room temperature storage. | Deep clean glass reservoir and metal base; wrap in soft cloth to protect hand-blown glass curves. | Bring all feeder parts completely indoors before first hard frost (<32°F) to prevent glass shattering. |
Adjust your feeder care routine throughout the year to match hummingbird migration patterns, sun angles, and outdoor weather extremes.
Your Immediate Action Plan for Feeder Longevity
Your decision: Decide whether your feeder needs a routine 3-day glass wash or immediate seasonal winterization prep.
Do this next: Inspect your solar cap gasket for water tight seal, wipe solar collector clean, and flush the 32 oz glass bottle with a 1:4 vinegar solution.
Related resource: Download our printable 1-Page Feeder Maintenance Checklist for your garden shed.
Explore the original LUJII Hand-Blown Solar Hummingbird Feeder for replacement reservoirs or garden expansion.
Take these simple steps today to keep your garden functional art glowing and your local hummingbird population healthy.
Core Principles of Dual-Function Functional Art Maintenance
- Separate Cleaning Zones: Treat the top solar cap as a dry/damp wipe zone, while treating the 32 oz hand-blown glass reservoir and metal base as full-wash zones.
- Avoid Thermal Shock: Never use boiling water or dishwasher cycles on hand-blown glass; stick strictly to lukewarm water and dilute white vinegar.
- Protect the Anti-Rust Base: Clean feeding ports with soft cotton swabs or flexible nylon brushes—never scrub with abrasive steel wool or harsh chemicals.
- Sunlight Equals Nighttime Ambiance: Keep the top solar collector free of tree pollen, dust, and hard water spots to ensure the internal battery recharges for up to 8 hours of RGB illumination.
- Freeze Warning: Freezing water expands and shatters glass reservoirs while destroying internal battery gaskets. Always store complete units indoors during winter.
Routine Maintenance Cadence: Daily, Weekly, and Monthly Tasks
- Every 2–3 Days (Summer >85°F) — Dump old nectar, rinse 32 oz glass bottle with warm water, and refill with fresh 1:4 refined white sugar solution.
- Weekly — Deep clean glass bottle and metal ports with 1:4 vinegar-water solution. Gently wipe solar panel face with a microfiber cloth.
- Monthly — Inspect metal base anti-rust clear coat for wear, check silicone base gasket elasticity, and test automatic dusk light sensor.
- Seasonal Transition (Fall/Winter) — Perform end-of-season vinegar bath, air-dry all components for 24 hours, and store complete feeder indoors before first freeze.
5 Critical Mistakes That Destroy Hand-Blown Glass & Solar Electronics
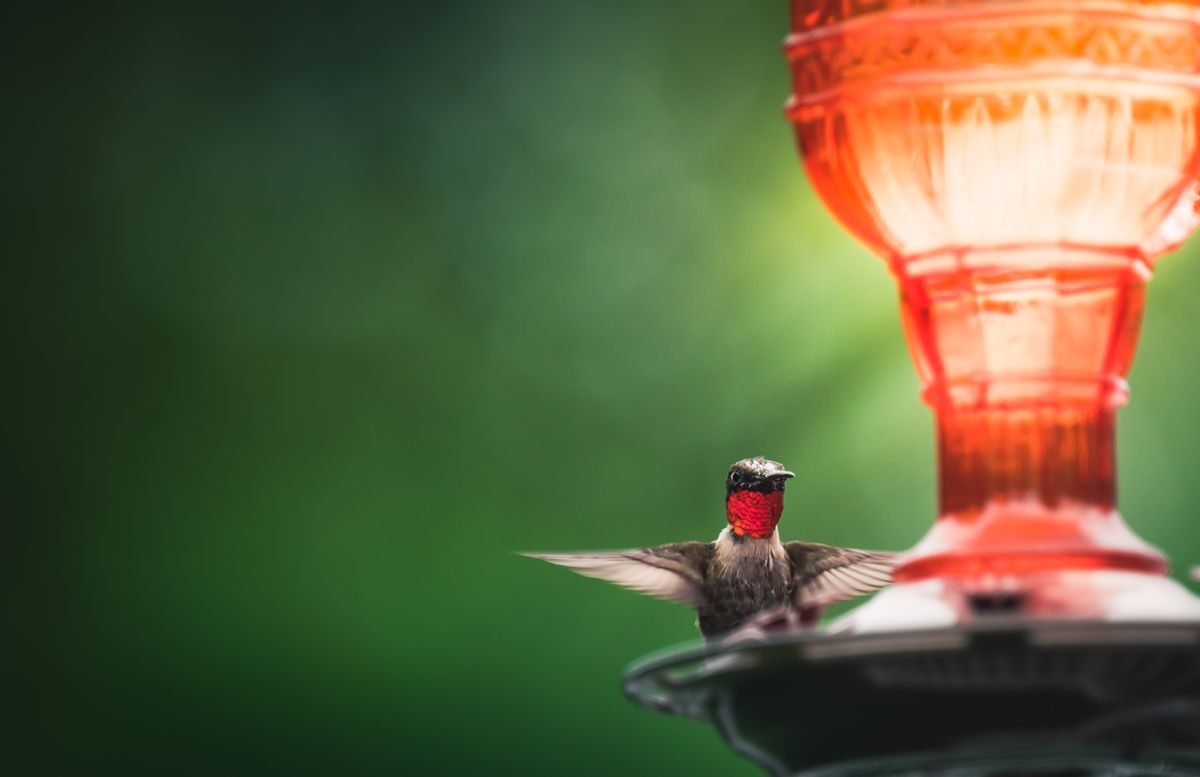
Avoid these five frequent missteps to ensure your solar glass feeder lasts for years:
Multi-Year Component Inspection & Replacement Lifecycle
- Months 1–6 — Regular nectar rotation and weekly solar collector panel dust wipe-downs. Hardware requires zero part replacements.
- Months 12–18 — Inspect internal rechargeable AA NiMH battery capacity. Replace battery if nighttime RGB illumination drops below 4 hours after a full sunny day.
- Year 2–3 — Check silicone sealing ring elasticity at metal base connection. Apply a microscopic drop of food-grade silicone lubricant if dry.
- Year 4+ — Evaluate plastic solar cap clarity and hand-blown glass artwork integrity. Replace top solar housing if plastic UV degradation severely reduces panel efficiency.
Deepen Your Knowledge: Outdoor Lighting & Hummingbird Care
Explore additional guides to optimize your garden ambiance and wildlife sanctuary:
- Psychology of Garden Lighting Colors: Discover how shifting RGB color spectrums influence nighttime backyard atmosphere and visual relaxation.
- Best RGB Solar Garden Decor Guide: Learn how to pair illuminated glass bird feeders with solar pathway stakes and garden art.
- Customizing Garden Ambiance with Multi-Mode Solar Lights: Step-by-step techniques for matching solar light modes with party themes and seasonal holidays.
Frequently Asked Questions About Solar Hummingbird Feeder Care
Find fast answers to common post-purchase care and cleaning questions.
Recommended Care Essentials for LUJII Glass Solar Feeders
Elevate your backyard garden with the perfect combination of handcrafted glass art and eco-friendly solar illumination.
🌟 LUJII Solar-Powered Hummingbird Feeder 🌟
- Artisan Hand-Blown Glass: Each 32 fl.oz reservoir is handcrafted at 2,300°F by glass artisans, creating unique translucent patterns for easy nectar monitoring.
- Solar-Powered RGB Lights: Automatically lights up at dusk for up to 8 hours featuring multi-mode RGB color options that create a magical evening garden glow.
- Leak-Proof & Durable: Features a slender, sealed metal base with anti-rust protective coating and soft-perched metal feeding ports.
- Weatherproof Design: Protective solar cap seals out rain, snow, and harsh sunlight while keeping electronic components dry.
Final Action Steps: Protect Your Garden Investment
Your decision: Ready to give your solar glass feeder the care it deserves?
Do this next: Hang your feeder in a bright spot receiving 6+ hours of sunlight, follow our 3-day vinegar rinse schedule, and enjoy breathtaking bird visits by day and magical RGB light by night.
Related resource: Download our complete 4-Season Solar Feeder Care Guide (PDF format).
Shop the LUJII Solar Hummingbird Feeder Collection at solarhummingbirdfeeder.com.
Ready to transform your garden into a shimmering daytime sanctuary and glowing evening paradise?
Cover photo by A. G. Rosales on Pexels.