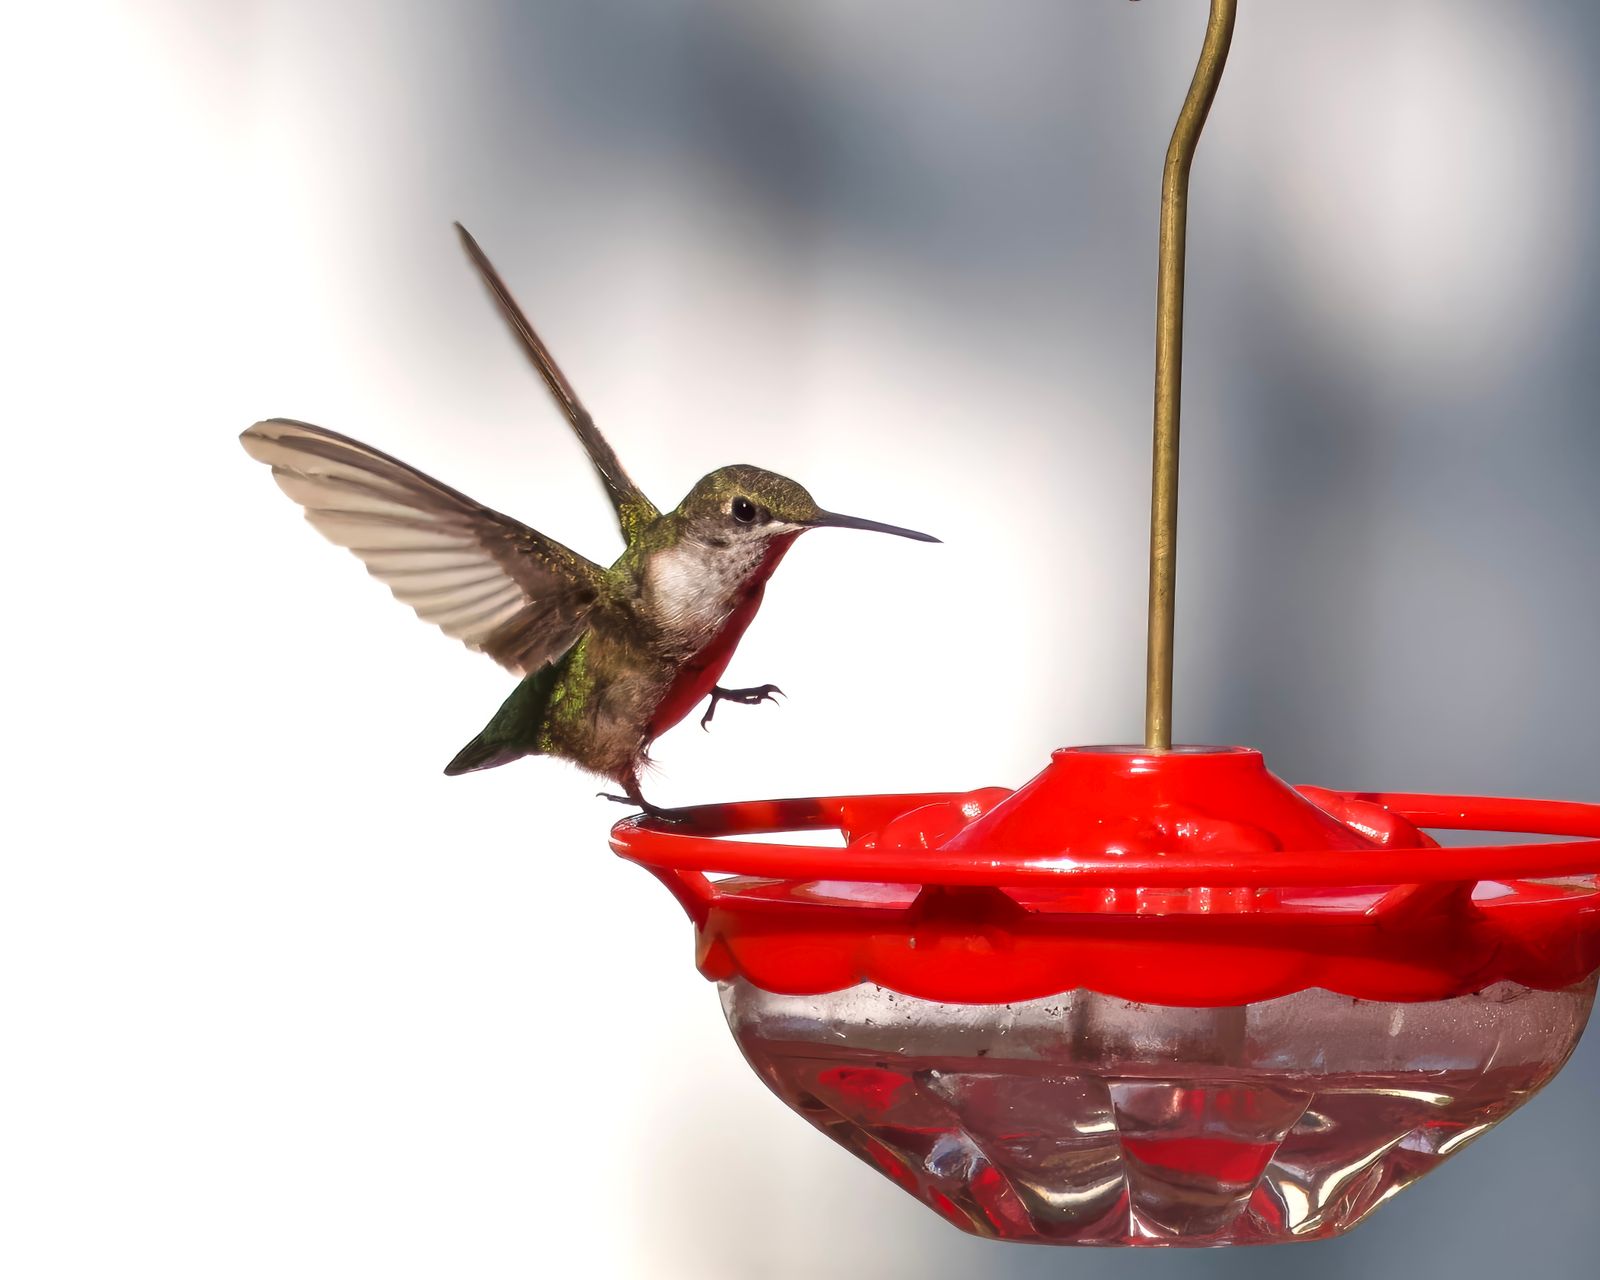
How to Clean a Solar Glass Hummingbird Feeder: Safe Seasonal Care Guide
Should you submerge your solar hummingbird feeder to clean it? Definitely not. Submerging the top solar cap will soak the underlying RGB LED circuit board and rechargeable battery housing, causing electrical failure. To clean your feeder safely, always unscrew and remove the solar module top first. Set the solar cap aside in a dry location, then wash the hand-blown glass reservoir and rust-coated metal base with a 4:1 mixture of warm water and distilled white vinegar.
Step-by-Step Solar Glass Feeder Cleaning Checklist
- [ ] Unscrew solar top module and wipe solar panel gently with a dry micro-fiber cloth; set aside in a dry area.
- [ ] Empty remaining nectar completely into the sink.
- [ ] Separate the hand-blown glass reservoir from the metal anti-rust base and silicone seals.
- [ ] Soak glass and metal base in warm water mixed with distilled white vinegar (4:1 ratio) for 15 minutes.
- [ ] Use a flexible small port brush to clean internal flower feeding ports and threads.
- [ ] For narrow-neck glass curves, swish 2 tablespoons of uncooked white rice with vinegar solution to dislodge stubborn algae.
- [ ] Rinse all non-electronic parts thoroughly with clean, lukewarm water until scent free.
- [ ] Air dry all components completely before refilling with fresh 4:1 water-sugar nectar and re-attaching the solar cap.
Quick-Reference Field Guide: 5-Minute Care Routine
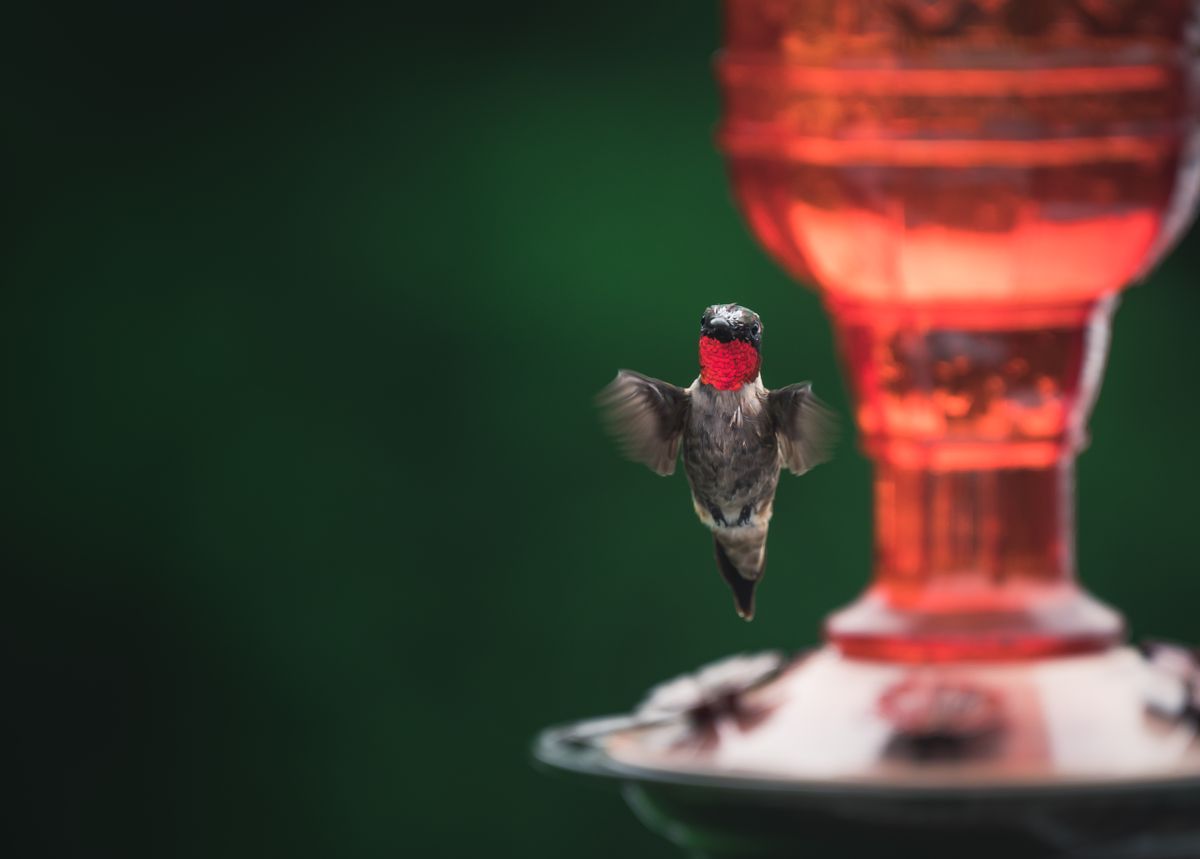
- Detach Solar Module: Never submerge or spray water onto the underside of the solar lighting cap.
- Natural Vinegar Ratio: Use 4 parts warm water to 1 part white distilled vinegar. Avoid all dish soaps and chemical detergents.
- Rice Swish Technique: Remove stubborn black mold from artisan glass curves using 2 tbsp dry white rice + vinegar solution.
- Clean Feeding Ports: Scrub metal flower ports with a small pipe brush to prevent mold blockages.
- Full Air Dry: Allow all parts to dry completely so tap water chemicals do not dilute fresh nectar.
- Solar Charging: Ensure the solar cap switch is turned ON and receives 6-8 hours of sunlight for optimal nighttime RGB lighting.
Artisan Glass Care: Preserving Hand-Blown Colors at 2,300°F
Every LUJII hand-blown glass feeder is shaped at 2,300°F by glass artisans, embedding rich colors directly into the glass rather than painting them on top. Because handcrafted glass features unique structural curves, sudden shifts in water temperature can induce thermal shock. Never pour boiling water into a cold glass bottle, and never place artisan glass in an automatic dishwasher. Stick to warm vinegar baths to preserve color brilliance and structural integrity for years to come.
Troubleshooting Common Solar & Glass Feeder Failure Modes
| Scenario / Failure Mode | Underlying Cause | Immediate Fix | Preventive Action |
| --- | --- | --- | --- |
| Solar light fails to turn on at night after washing | Water seeped into the battery compartment or power switch is toggled off | Remove solar cap, open battery door, dry thoroughly for 24-48 hours in a sunny window, replace AA Ni-MH battery if needed, and set switch to ON | Wipe top of solar module with a damp cloth only; never submerge or rinse under running water |
| Black mold patches inside narrow bottle neck | Fermented nectar sugar trapped in unbrushed glass curves | Pour 2 tbsp uncooked white rice + 1 cup vinegar solution into reservoir; cap open neck with hand and shake vigorously | Clean feeder every 2-3 days when temperatures exceed 80°F to prevent fermentation |
| Nectar leaking from metal base ports | Silicone seal misaligned during reassembly or thermal expansion in direct sun | Disassemble base, realign rubber/silicone washer flush against glass neck, tighten base firmly without overtightening | Hang feeder in afternoon partial shade to prevent thermal pressure expansion inside the 32 fl. oz tank |
| Cloudy nectar within 24 hours of refill | Bacterial contamination from unwashed feeding ports or warm tap water rinse | Dump nectar immediately, perform 15-minute white vinegar soak on metal base, scrub ports with micro-brush | Boil nectar water (1:4 refined white sugar ratio), cool completely to room temperature before filling bottle |
When something goes wrong with your solar feeder, start by addressing these primary failure modes.
The magical charm of a solar hummingbird feeder comes from its dual functionality: vibrant hummingbird activity by day and ambient RGB LED illumination by night. However, this hybrid design means your maintenance routine must separate moisture-tolerant parts from moisture-sensitive electronics.
The metal base of the LUJII feeder features an anti-rust coating engineered for continuous outdoor exposure. You can submerge the base completely in warm vinegar water and scrub the metal flower feeding ports with a bottle brush. In contrast, the top plastic solar housing contains the solar panel, light sensor, internal wiring, and rechargeable Ni-MH battery. Always treat the top cap as a wipe-down item only.
Key Takeaways for Long-Lasting Solar Feeder Beauty
Keep these vital rules top of mind whenever servicing your solar glass feeder.
Seasonal Cleaning Frequency & Nectar Freshness Schedule
- Above 90°F (32°C) — Clean and change nectar every 2 days. Inspect solar panel daily for dust accumulation.
- 80°F to 89°F (27°C - 31°C) — Clean and change nectar every 3 days. Perform deep vinegar soak on metal base weekly.
- 70°F to 79°F (21°C - 26°C) — Clean and change nectar every 4 to 5 days. Check solar battery runtime performance.
- Below 70°F (20°C) — Clean and change nectar every 5 to 7 days. Wipe solar lens weekly to maximize low-angle winter sunlight.
Fatal Cleaning Mistakes That Destroy Solar Feeders
Avoid these critical mistakes to protect your birds and keep your solar feeder operating for seasons to come.
Four-Season Solar Feeder Care & Storage Timeline
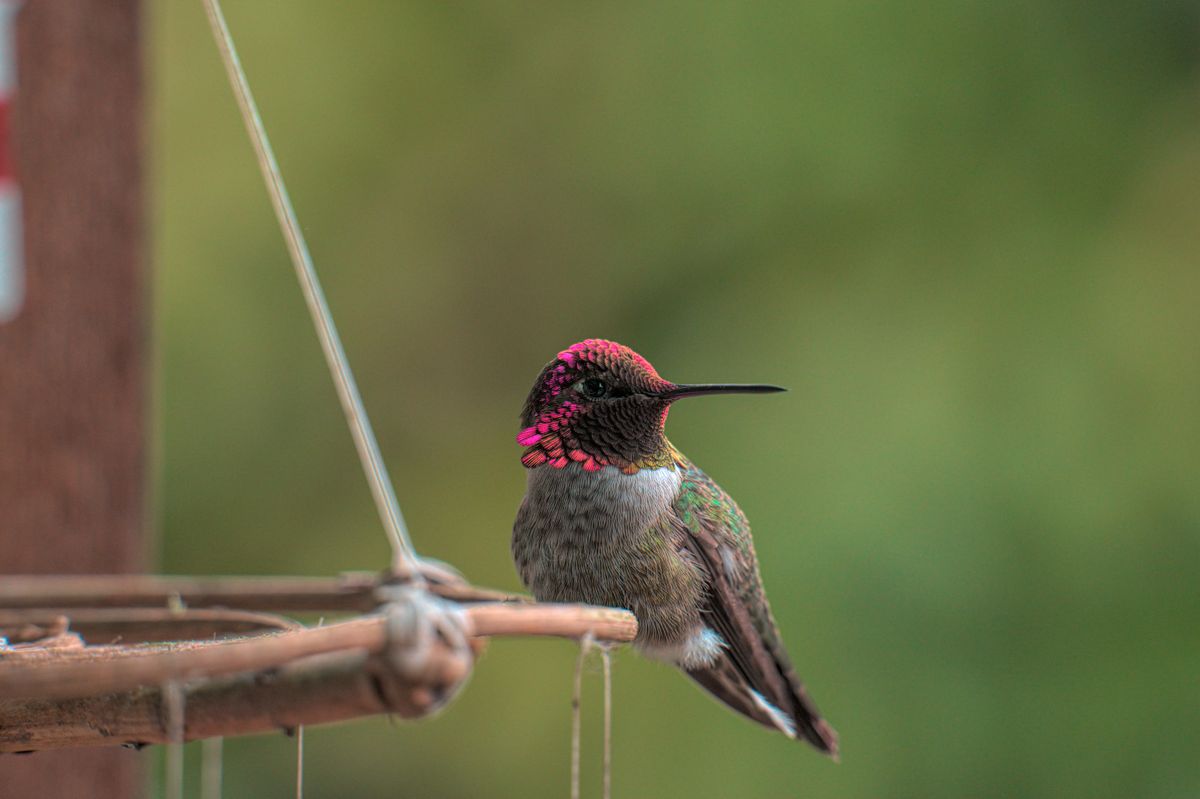
Photo by Townsend Walton on Pexels
- Spring Setup (March - April) — Inspect glass for winter storage damage. Clean battery contacts with a dry cotton swab. Place solar cap in direct sun for 8 hours to prime the rechargeable battery before filling with 4:1 nectar.
- Summer Peak (May - August) — Execute high-frequency temperature-based cleaning (every 2-3 days). Position feeder where it receives 6+ hours of solar exposure while providing shade for nectar during peak afternoon heat.
- Autumn Migration (September - October) — Keep feeders filled two weeks past the last hummingbird sighting to assist late migrants. Clean weekly as temperatures cool down.
- Winter Storage (November - February) — Before freezing weather arrives (under 32°F), bring hand-blown glass and metal bases indoors. Store solar cap near a sunny indoor window in the ON position to preserve battery charge capacity.
Essential Hummingbird Feeder & Outdoor Care Resources
Explore additional guides to optimize your backyard habitat and maintain outdoor garden decor.
Frequently Asked Questions
Answers to common questions about troubleshooting solar lights, removing mold, and protecting glass feeders.
Recommended Artisan Solar Hummingbird Feeders
Bring handcrafted art and vibrant nighttime lighting to your patio with our flagship solar glass feeder.
Your Immediate Action Plan for Solar Feeder Maintenance
Your decision: Determine if your feeder needs a quick routine rinse or a deep vinegar soak based on outdoor temperature and nectar clarity.
Do this next: Detach the top solar cap immediately, place it safely in a dry spot, and submerge the hand-blown glass reservoir and anti-rust metal base in a 4:1 warm water and distilled white vinegar bath.
- Read next: Explore LUJII Solar Hummingbird Feeders & Garden Lighting
LUJII Hand-Blown Solar-Powered Hummingbird Feeder with RGB LED Lights (32 fl oz capacity, leak-proof metal base).
Ready to get your solar hummingbird feeder spotless and fully charged for tonight's display?
Cover photo by A. G. Rosales on Pexels.