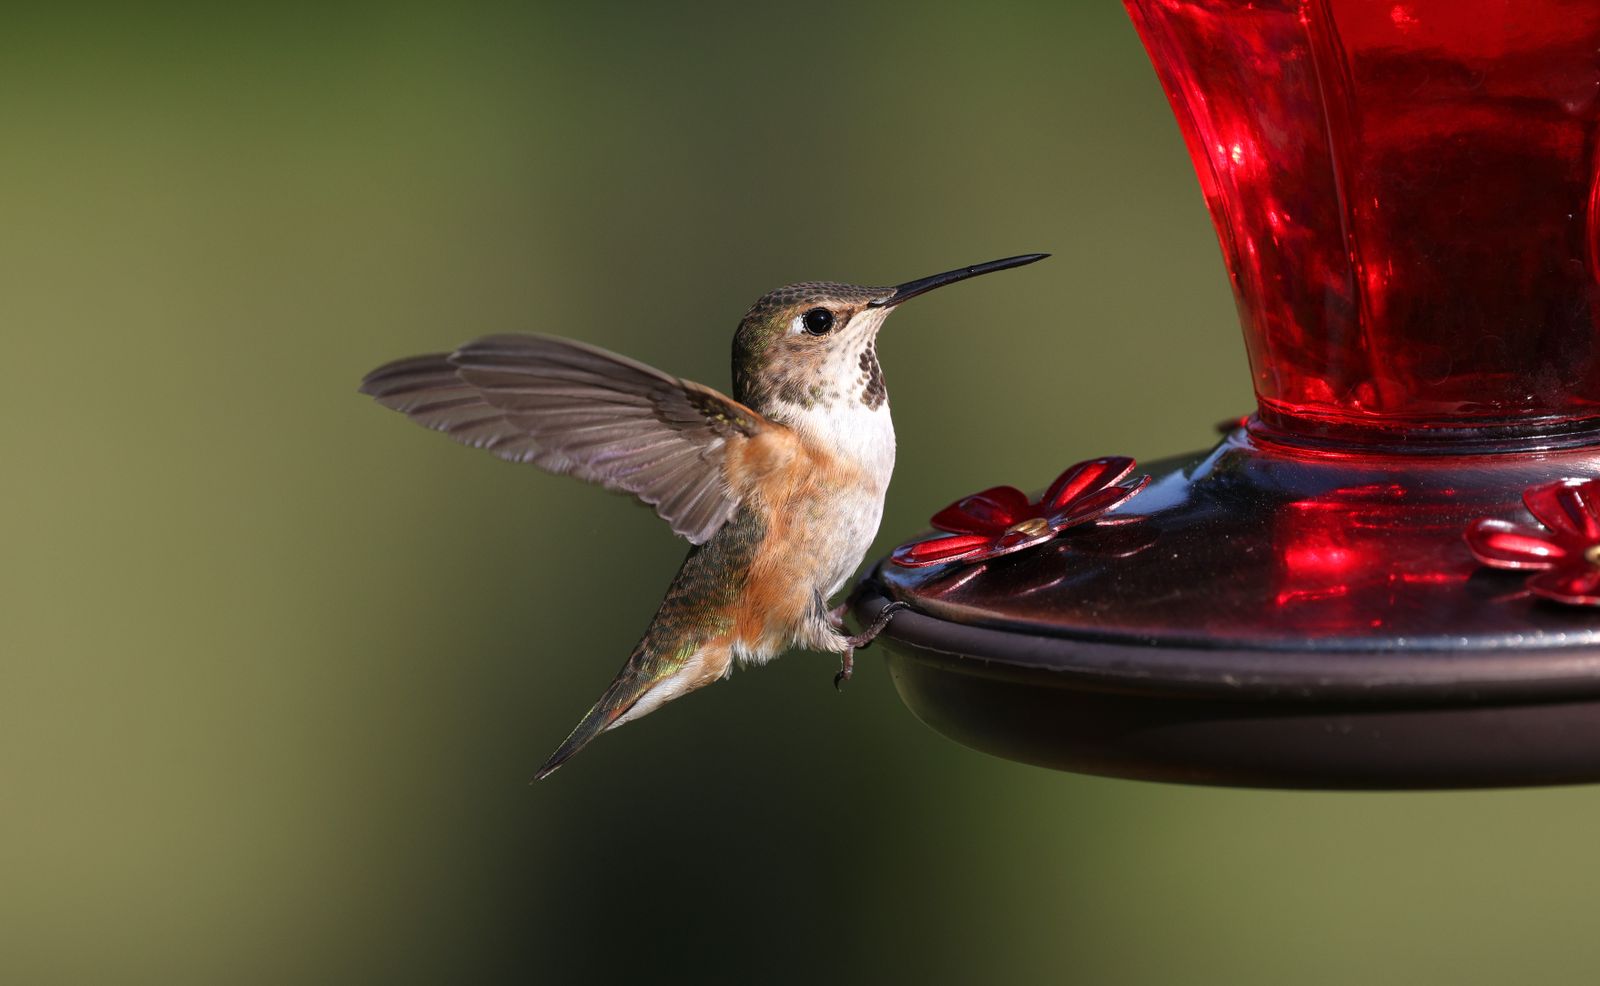
How to Stop a Hummingbird Feeder From Leaking (Easy Fixes)
To stop a hummingbird feeder from leaking immediately, realign or replace the rubber O-ring gasket, fill the reservoir completely to 95–100% capacity to establish a vacuum seal, relocate the feeder into afternoon shade to prevent thermal expansion, and ensure the bottle hangs perfectly level.
Feeder Leak Diagnostic Pathway
- Is nectar dripping constantly or only during sunny afternoons? → Yes: Constant dripping indicates a mechanical vacuum failure (missing O-ring gasket, cross-threaded base, or cracked plastic reservoir).. No: Afternoon-only dripping indicates solar thermal expansion (sunlight heating trapped air pockets inside the bottle)..
- Does liquid spill immediately when you invert the feeder? → Yes: Check internal rubber gasket alignment and tighten the metal or plastic base evenly.. No: Check hanging stability. Wind sway over 8–10 mph causes lightweight plastic feeders to tip and spill through ports..
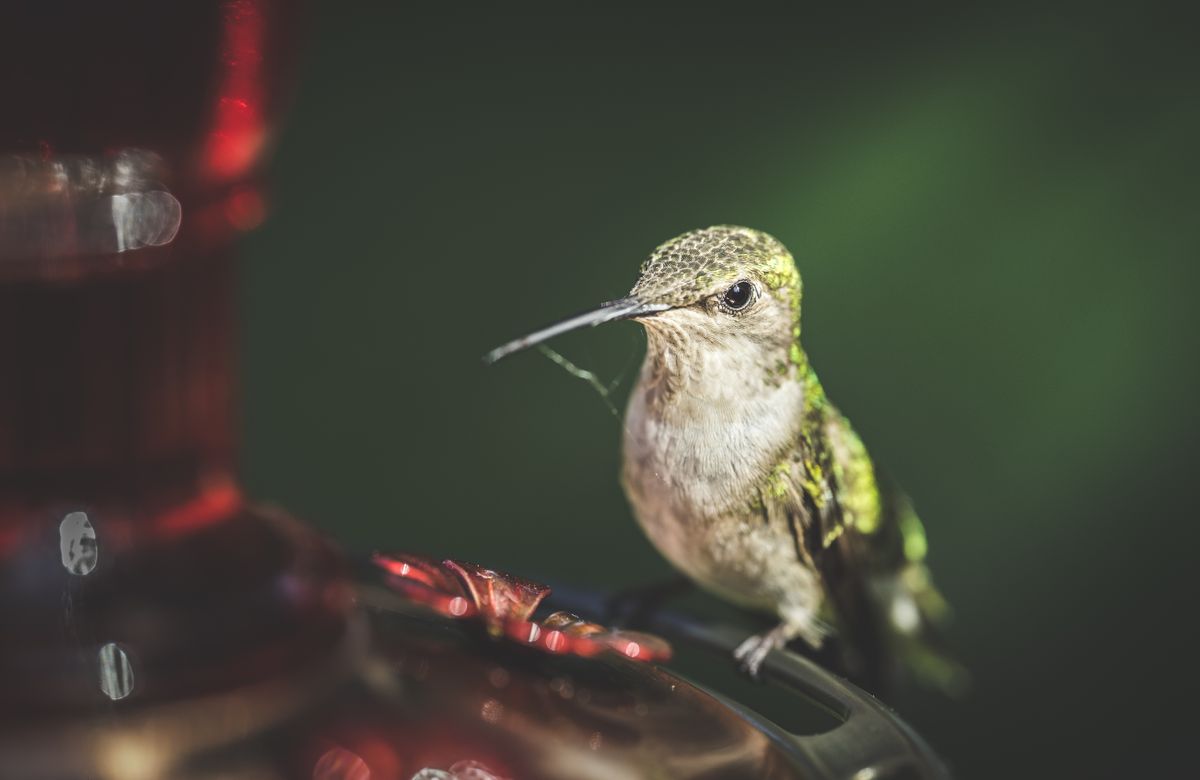
Feeder Leak Causes, Symptoms, and Quick Solutions Matrix
| Scenario & Symptom | Underlying Cause | Quick DIY Fix | Long-Term Prevention |
| --- | --- | --- | --- |
| Nectar drips steadily right after refilling and inverting | Broken vacuum pressure due to unseated O-ring gasket or air gap | Re-align rubber gasket, fill reservoir 100% full, and invert rapidly over a sink | Install a food-grade silicone replacement O-ring gasket |
| Feeder drips only between 1:00 PM and 4:00 PM on hot days | Thermal air pocket expansion inside bottle pushing nectar out ports | Relocate feeder to direct afternoon shade | Switch to a heavy hand-blown glass feeder that buffers temperature swings |
| Nectar splashes out during windy or breezy afternoons | Lightweight plastic body swinging on long hanging hooks | Shorten hanging cord and mount on a rigid shepherd hook | Upgrade to a heavy 32 oz artisan glass feeder with a weighted metal base |
| Syrup seeps slowly down external base threads | Stripped plastic threads or hairline stress fractures | Wrap male threads 2–3 times with food-grade PTFE Teflon tape | Replace warped plastic with an anti-rust metal base assembly |
Identify your specific leakage scenario below to find immediate DIY fixes and long-term remedies.
Pro-Tip: The Atmospheric Physics of Feeder Vacuum Seals
Inverted gravity hummingbird feeders rely entirely on fluid dynamics and atmospheric pressure balance. When you turn a filled feeder upside down, a small amount of nectar trickles out until the pressure of the outside air pushing up against the feeding ports equals the weight of the liquid inside the bottle.
If you leave a large air pocket at the top of the bottle, afternoon sunlight warms that trapped air. According to Gay-Lussac's Law, expanding air increases internal pressure, overcoming the liquid surface tension and forcing syrup out of the ports. By filling your reservoir to 95–100% capacity with cool nectar, you minimize air space, preserving the internal vacuum equilibrium even during hot weather.
Should You Repair Your Current Feeder or Upgrade?
- Is your current feeder made of thin plastic with stripped threads or micro-cracks? → Yes: Upgrade to a heavy hand-blown glass feeder featuring a sealed anti-rust metal base.. No: Proceed with gasket replacement, thread taping, and shade relocation.
- Has replacing the rubber O-ring and moving to full shade resolved the dripping? → Yes: Your feeder is fixed! Maintain weekly vinegar washings and inspect the seal regularly.. No: Structural stress fractures present. Replace with a handcrafted artisan solar feeder.
Immediate Action Plan for a Dry, Clean Garden Station
Your decision: Determine whether your feeder leak stems from air expansion, worn gaskets, or wind tilt.
Do this next: Inspect your rubber gasket seal, fill syrup completely to the top rim to secure vacuum pressure, and relocate your hanging station into afternoon shade. If light plastic components or stripped threads persist, upgrade to a hand-blown glass feeder with a weighted metal base.
- Read next: Hummingbird Feeder Care & Maintenance Hub
LUJII Hand-Blown Solar Hummingbird Feeder (32 oz leak-proof glass reservoir with anti-rust metal base)
Take these quick diagnostic steps to resolve syrup dripping and protect your backyard habitat.
Core Summary: Essential Leak Prevention Rules
- Fill inverted reservoirs to 95–100% capacity to eliminate air pockets and build a tight vacuum seal.
- Hang feeders in complete afternoon shade to prevent direct solar heat from expanding internal air.
- Inspect rubber O-ring gaskets during weekly cleanings to ensure they remain soft, flat, and crack-free.
- Apply food-grade PTFE Teflon tape to loose threads to eliminate fluid seepage.
- Choose heavy hand-blown glass reservoirs with anti-rust metal bases to prevent wind-induced tipping leaks.
Step-by-Step DIY Repair Guide for Inverted Feeders
Restore your feeder's airtight seal in under 10 minutes with this straightforward maintenance routine:
5 Common Mistakes That Accelerate Feeder Dripping
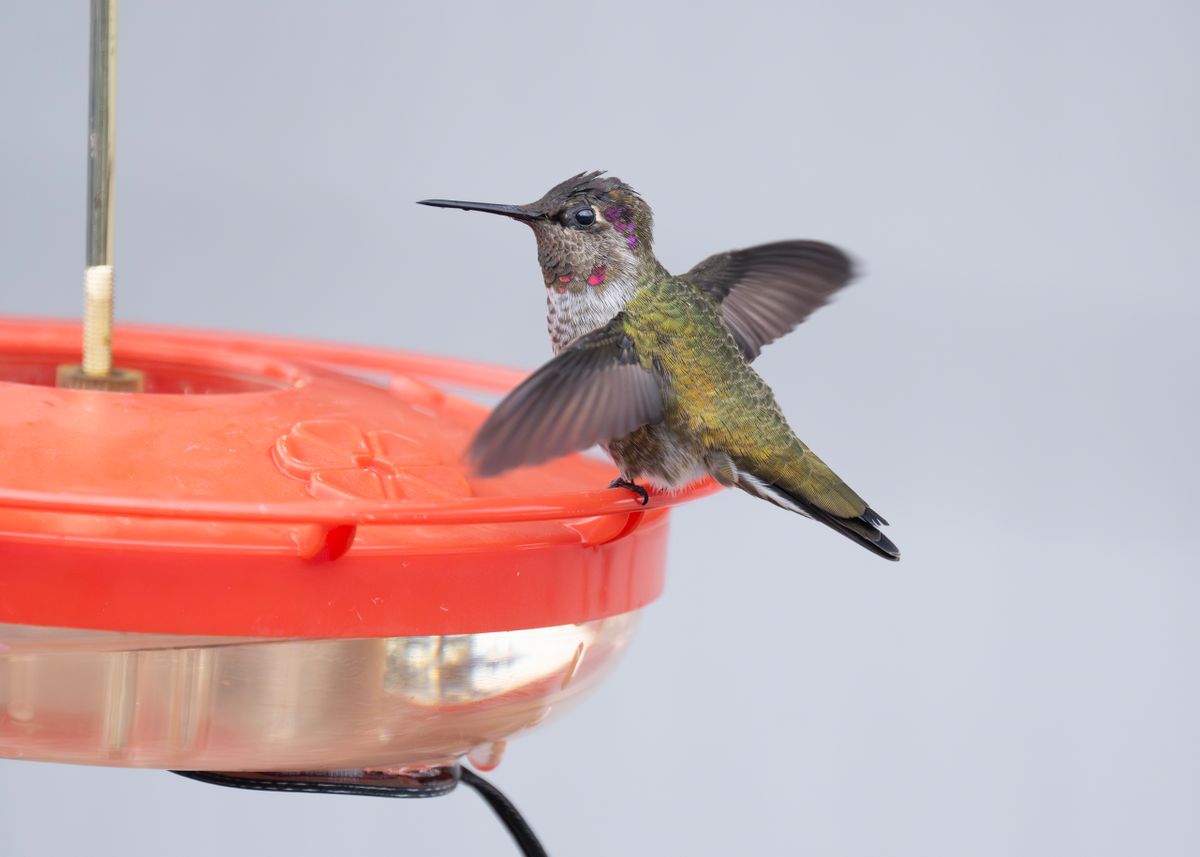
Photo by Frank Cone on Pexels
Avoid these frequent errors that destroy internal vacuum seals and ruin garden landscaping.
Explore Further: Garden Care & Hummingbird Guides
Continue enhancing your backyard bird sanctuary with these detailed guides:
- Hummingbird Feeder Care & Maintenance Hub: Essential steps for sanitizing glass and metal feeding stations.
- Hot Weather Nectar Ratios: How to manage sugar syrup freshness during intense summer heatwaves.
- DIY Safe Sugar Water Recipe: The ideal 4:1 boiling method without artificial dye or additives.
Frequently Asked Questions About Leaking Feeders
Why does my hummingbird feeder only leak in the afternoon?
Direct afternoon sun heats the air pocket trapped inside the top of the bottle, causing it to expand and push nectar out of the feeder ports. Moving your feeder to complete afternoon shade resolves heat-related dripping.
How do I safely clean sticky nectar drips off patio pavers and metal hooks?
Recommend warm water mixed with mild white vinegar to break down crystallized sugar without using harsh synthetic detergent chemicals near bird habitat areas.
Can wind cause a hummingbird feeder to leak even if it isn't broken?
Yes, lightweight plastic feeders swing in wind gusts over 8-10 mph, tipping nectar past port thresholds. Heavier hand-blown glass feeders remain steady.
Should I use plumber's Teflon tape on feeder base threads?
Yes, food-grade Teflon tape wrapped clockwise around metal or rigid glass threads can safely restore an airtight seal without leaching chemicals into syrup.
Answers to common questions regarding hummingbird feeder leaks, solar heat, and sticky patio cleanups.
The Permanent Leak-Proof Solution: LUJII Solar Hummingbird Feeder
Upgrade your garden with a feeder engineered specifically to solve vacuum failure, thermal expansion, and wind instability.
- Slender Leak-Proof Base: Crafted with a 32 fl. oz capacity, slender reservoir profile, and a precision-sealed anti-rust metal base that maintains atmospheric vacuum pressure.
- Hand-Blown Glass Artistry: Shaped by master glassmakers at 2,300°F, every translucent glass reservoir features unique color swirls, allowing effortless syrup level monitoring.
- Solar-Powered RGB Ambiance: Recharges automatically during the day to cast a magical glow for up to 8 hours at night with multiple color-changing modes.
- All-Weather Protection: Features a protective solar cap shielding nectar from intense sunlight, heavy rain, and snow, keeping syrup fresh and dry.
Final Recommendations & Next Steps
Your decision: Determine whether to adjust your current feeder placement or switch to a heavy-duty hand-blown glass solar model.
Do this next: Clean your feeder threads, re-seat the rubber O-ring gasket, fill syrup 100% full, and relocate your post to full afternoon shade. If your plastic feeder continues to sway and leak, upgrade to the leak-proof LUJII Solar Hummingbird Feeder.
- Read next: Hummingbird Feeder Care & Maintenance Hub
LUJII Hand-Blown Solar Hummingbird Feeder (32 oz capacity, leak-proof metal base)
Ready to stop sticky leaks and transform your backyard into an inviting hummingbird haven?
Cover photo by Veronika Andrews on Pexels.