How to Stop Hummingbird Feeders from Leaking: Step-by-Step Fixes & Physics Solutions
To stop a hummingbird feeder from leaking, rapidly invert the bottle after filling to establish an airtight vacuum, replace cracked rubber gaskets, hang the feeder in afternoon shade to prevent heat-induced gas expansion, and ensure the hook is completely level to keep nectar below port thresholds.
Visual Leak Diagnostic Flowchart
- Where is the nectar escaping from? → Yes: Feeding Ports (Go to Step 2). No: Base Threads / Seams (Go to Step 3).
- Does the dripping happen mostly in the afternoon? → Yes: Thermal Expansion: Relocate feeder to afternoon shade and fill bottle to the top to minimize air space.. No: Unlevel Hanging or Wind Sway: Adjust hook so feeder stays 100% horizontal..
- Is the base gasket/O-ring cracked, pinched, or missing? → Yes: Gasket Failure: Replace the rubber seal and avoid overtightening the metal base.. No: Cross-Threading: Unscrew base, clean nectar from glass threads, and re-screw smoothly..
Feeder Leak Troubleshooting Matrix
Photo by Erik Karits on Pexels
| Leak Scenario / Symptom | Root Physical Cause | Corrective Action |
| --- | --- | --- |
| Dripping begins in hot afternoon sun but stops at night | Thermal expansion of trapped air in upper bottle creates positive downward pressure, pushing nectar out through ports. | Fill reservoir 100% full with chilled nectar to eliminate air pockets, and move feeder to partial afternoon shade. |
| Continuous, steady stream dripping from base threads immediately after hanging | Broken vacuum lock or missing/misaligned rubber O-ring gasket allowing air to continuous enter the reservoir. | Inspect rubber gasket for alignment or micro-cracks. Unscrew, clean threads, seat gasket flat, and re-tighten firmly. |
| Nectar spills only when wind blows or birds land forcefully | Mechanical tilting forces nectar level above lower port lip thresholds, spilling liquid outward. | Mount feeder on a rigid, heavy-duty shepherd's hook and use a stabilizer rod or breeze baffle to reduce sway. |
| Fine misting or droplets forming along hand-blown glass exterior | Hairline crack in glass body or extreme temperature differential causing outer condensation mixing with port splashes. | Inspect bottle under bright light for hairline glass fractures. If cracked, replace bottle; if condensation, wipe clean. |
Identify your specific leakage symptom to apply the corresponding physical fix and mechanical correction.
Expert Tip: Understanding Vacuum Physics & Heat Expansion
Inverted hummingbird feeders rely entirely on negative air pressure—a vacuum lock—to keep fluid inside the bottle. When you fill a feeder and flip it upright, a small amount of liquid escapes until the pressure inside the top air pocket drops below atmospheric pressure outside.
However, air expands rapidly when heated (governed by Charles's Law). In direct sunlight, a large air pocket at the top of your glass reservoir will warm up, expand, and push nectar straight out of the feeding ports. By filling your reservoir to the absolute brim with cool nectar, you leave virtually zero air inside to expand, preserving the vacuum seal even on warm summer afternoons.
Diagram: Vacuum Physics in Inverted Glass Feeders
The diagram below illustrates how internal vacuum locks function compared to thermal pressure breaches in glass reservoirs.
Decision Tree: Repair Your Current Feeder or Upgrade?
- Is your glass bottle intact without cracks? → Yes: Check Gasket Integrity (Go to Step 2). No: Replace Feeder: Structural cracks break the vacuum lock permanently. Upgrade to a heavy-duty hand-blown glass feeder.
- Can you find a replacement silicone gasket for the base threads? → Yes: Replace Gasket & Re-test: Perform rapid inversion fill test over a sink.. No: Upgrade Base Hardware: Persistent leaks from stripped plastic bases require a precision-machined anti-rust metal base.
Your Immediate Action Plan
Your decision: Determine whether your leak is caused by simple fill/placement factors or structural thread failure.
Do this next: Clean spilled nectar off garden surfaces immediately using warm water and vinegar to prevent ant invasions, then re-fill your feeder with chilled nectar using the swift inversion method in afternoon shade.
- Read next: Sustainable Backyard Decor & Eco-Friendly Hummingbird Care
If your current feeder base has stripped threads or a cracked gasket, upgrade to the LUJII Solar-Powered Hand-Blown Glass Hummingbird Feeder featuring an anti-rust metal base and leak-resistant silicone seal.
Take these simple steps right now to eliminate drips and restore peace to your garden setup.
Key Principles of Drip-Free Hummingbird Feeding
- Master the Flip: Perform a quick, continuous 180-degree flip over a sink when hanging an inverted feeder to lock in negative pressure instantly.
- Fill to the Brim: Leaving minimal air space reduces the gas volume available to expand under summer sun.
- Cool Before Filling: Never pour warm sugar water into a cool glass reservoir; thermal shifts cause instant pressure loss and leaks.
- Protect the Gasket: Keep rubber O-rings clean of sugar crystals and avoid over-tightening the base threads.
- Shade is Essential: Position feeders in areas shielded from harsh afternoon sun to maintain consistent internal air temperatures.
Selecting Feeder Architectures That Resist Leaking
Comparing inverted vacuum reservoirs, top-fill systems, and sealed metal-base artisan glass feeders.
Best choice for
- Thick Hand-Blown Glass with Metal Base — Dense glass provides superior thermal insulation compared to thin plastic, slowing air pocket warming.
- Sealed Metal Base with Silicone O-Rings — Precision metal threading prevents cross-threading leaks common with plastic base caps.
- Thin snap-on plastic bases that deform in summer heat.
- Feeders without dedicated rubber or silicone sealing gaskets.
- Saucer-style feeders — Eliminates vacuum pressure completely, though holds less volume than 32 oz bottle feeders.
Featured Solution: LUJII Sealed-Base Hand-Blown Solar Feeder
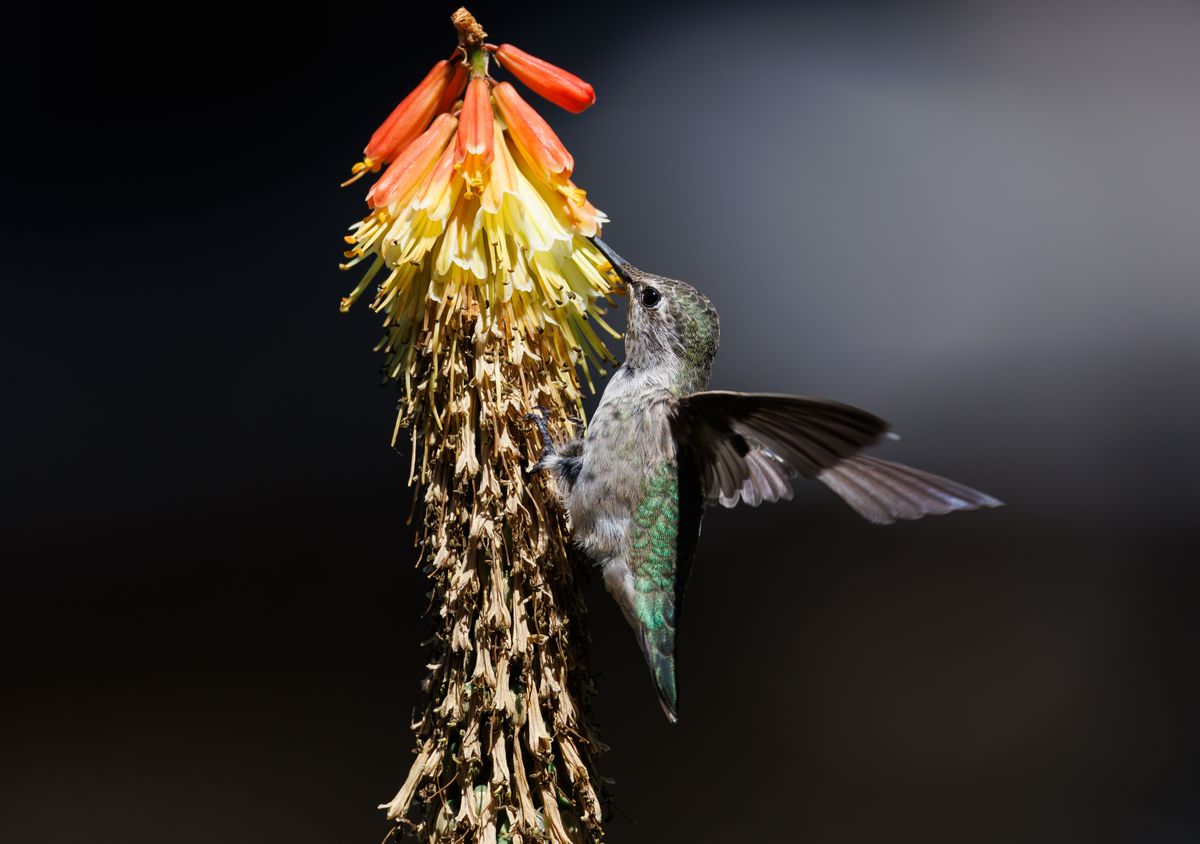
Photo by Veronika Andrews on Pexels
For gardeners seeking an artistic centerpiece that combines leak-free engineering with nighttime charm, the LUJII Solar-Powered Hummingbird Feeder is built to solve common feeding troubles.
Crafted from thick, 2,300°F hand-blown glass, each 32 fl.oz reservoir provides natural insulation against hot summer air. Its heavy-duty anti-rust metal base features a precision-fitted silicone seal to prevent drips, while the solar-powered cap lights up with glowing RGB colors at dusk for up to 8 hours.
Feeder Design Comparison: Leak Resistance & Durability
| Feature / Performance Aspect | Standard Plastic Feeder | Basic Thin Glass Feeder | LUJII Solar Hand-Blown Glass Feeder |
| --- | --- | --- | --- |
| Base Thread Material | Molded Plastic (Prone to cross-threading) | Thin Stamped Metal or Plastic | Coated Anti-Rust Metal Base |
| Thermal Insulation | Low (Heats up rapidly in sun) | Moderate | High (Thick 2,300°F artisan glass) |
| Sealing Mechanism | Friction Fit or Thin Rubber Ring | Standard Rubber Washer | Precision Silicone O-Ring Gasket |
| Capacity & Visibility | 16–24 oz (Fades over time) | 20–32 oz (Clear) | 32 oz See-Through Handcrafted Glass |
| Nighttime Aesthetics | None | None | RGB Solar Cap (Auto 8-hr light) |
Compare how different feeder constructions perform under daily summer heat and wear.
The 5-Step Airtight Inverted Fill Technique
Follow this mechanical sequence every time you refill your inverted feeder to guarantee an airtight vacuum seal.
5 Critical Mistakes That Ruin Your Vacuum Seal
Avoid these common errors that cause unwanted drips, ruined nectar, and unwanted insect visitors.
Explore Related Backyard Care Guides
Expand your backyard wildlife knowledge with these complementary guides:
- Hand-Blown Glass vs. Plastic Hummingbird Feeders: Performance & Aesthetics
- How to Safely Clean Nectar Out of Patio Pavers and Garden Soil
- The Ultimate Guide to Solar Garden Lighting and Wild Bird Care
Frequently Asked Questions About Feeder Leaks
Get rapid answers to the most common questions about feeder seals, afternoon dripping, and nectar maintenance.
Cover photo by Veronika Andrews on Pexels.