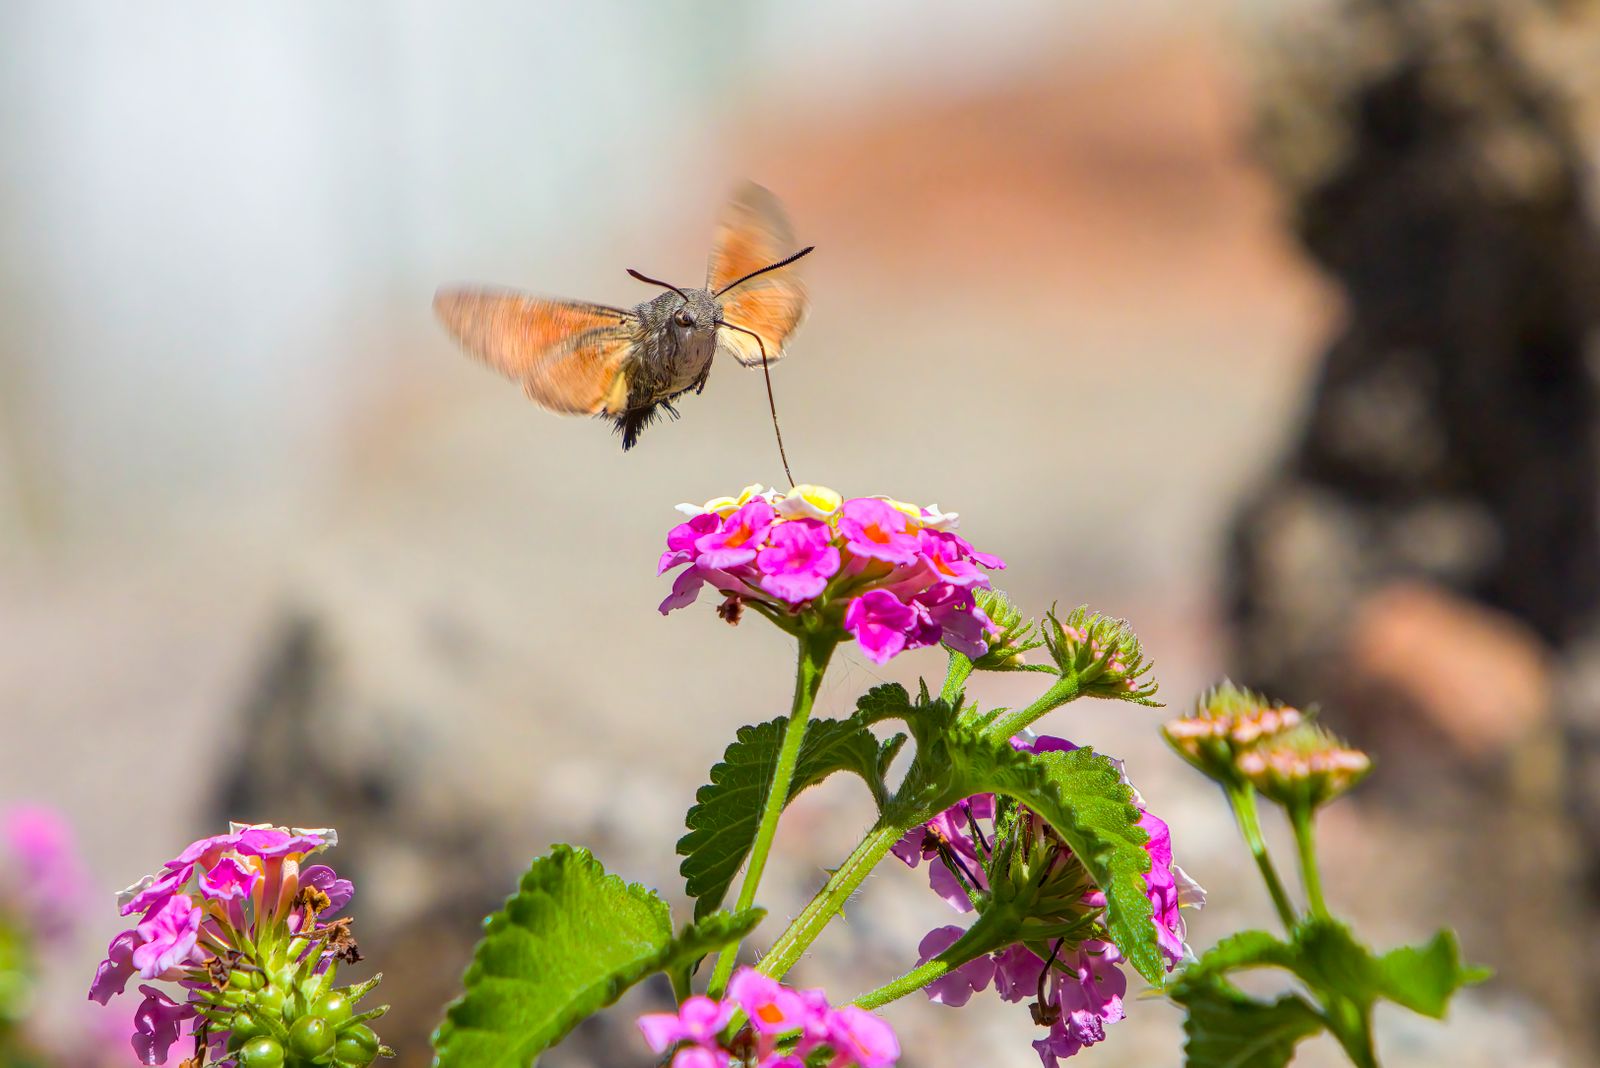
Hummingbird Feeder Leak Troubleshooting: Stop Nectar Drips Fast
Is your hummingbird feeder turning your garden patio into a sticky, bee-attracting puddle?
A leaking hummingbird feeder is usually caused by a broken vacuum seal, sugar buildup on base threads, thermal expansion from direct sun, or a pinched silicone O-ring. To stop leaks, clear sugar crust from threads, fill nectar completely to 100% capacity to minimize air space, tighten the metal base squarely, and hang in partial afternoon shade.
Pre-Fill Leak Prevention Checklist
- [ ] Rinse base threads thoroughly with warm water to remove dried sugar crust buildup.
- [ ] Inspect the silicone O-ring gasket for cracks, twists, or misaligned seating.
- [ ] Fill the translucent glass reservoir 100% to the top to minimize internal air pocket volume.
- [ ] Align metal base threads squarely with the glass neck without applying excessive force.
- [ ] Tighten the base until firm; do not over-torque artisan hand-blown glass.
- [ ] Invert the feeder rapidly over a sink before hanging it in partial afternoon shade.
Printable Field Sheet: Feeder Seal Diagnostic Guide
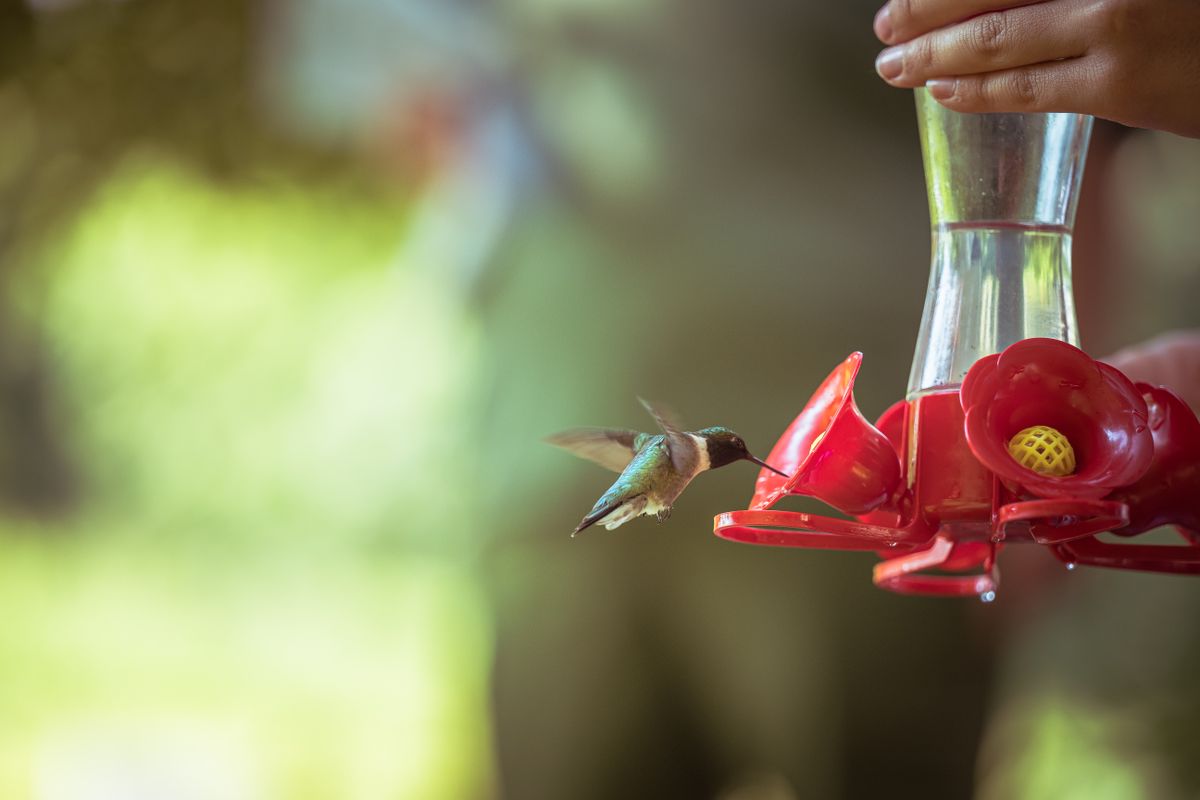
- Check Fluid Vacuum: Atmospheric pressure holds liquid up inside an inverted reservoir; any incoming air bubble causes an equal volume of liquid to drop out.
- Eliminate Air Pocket Expansion: Sun heating air trapped in half-full reservoirs pushes nectar down through feeding ports.
- Clean Thread Junctions: Invisible dried sugar crystals break thread seals and create micro-air pathways.
- Inspect Silicone O-Rings: Twisted or missing gaskets mean 100% loss of vacuum within minutes.
- Hang Level & Shielded: Severe wind swaying breaks surface tension and spills liquid out of port basins.
Artisan Glass Tip: Hand-Blown Thread Alignment
Handcrafted, hand-blown glass reservoirs are created at 2,300 degrees Fahrenheit, giving every feeder unique, individual curves and handcrafted thread ridges. Because glass threads lack the harsh industrial uniformity of molded plastic, always back-thread when attaching the anti-rust metal base.
Turn the metal base counter-clockwise gently until you feel a soft click—this indicates the metal threads have dropped perfectly into the glass channels. From there, twist clockwise until snug. Never force or over-torque the connection, as over-tightening pinches and deforms the silicone gasket, destroying your airtight vacuum seal.
Visualizing Feeder Vacuum Physics: Sealed vs. Leaking
Understanding how fluid equilibrium works in gravity-fed glass hummingbird feeders makes diagnosing leak locations effortless.
Leak Troubleshooting Matrix: Failure Modes & Instant Fixes
| Failure Mode & Symptom | Root Cause (Physics/Hardware) | Immediate Corrective Action |
| --- | --- | --- |
| | | |
| | | |
| | | |
| | | |
Match your feeder's exact failure mode and physical symptoms with the root cause and immediate corrective action below.
Immediate Actions to Stop Drips & Keep Nectar Safe
Your decision: Determine whether your feeder leak is caused by environmental heat expansion or a mechanical base/thread misalignment.
Do this next: Empty nectar into a clean glass container, wash glass threads with warm water, re-seat the internal silicone gasket flat, fill reservoir to 100% capacity, tighten base squarely, and hang in afternoon shade.
- Read next: Hot Weather Nectar Ratios: How to Keep Food Fresh in Summer
- Read next: How to Clean and Maintain Your Hand-Blown Solar Hummingbird Feeder
Upgrade to the LUJII Hand-Blown Solar Hummingbird Feeder featuring a 32 fl. oz leak-proof sealed base and rust-coated metal housing.
Ready to fix your feeder right now? Follow these diagnostic next steps to restore your garden's peaceful feeding station.
Core Rules for Maintaining a Drip-Free Feeder
- Vacuum is Everything: An inverted feeder relies entirely on an airtight vacuum. A single micro-gap lets air in and pushes nectar out.
- Fill to the Top: The less air inside your glass reservoir, the less gas available to expand when warm weather hits.
- Clean Glass Threads: Microscopic sugar crystals act like wedge shims that breach gasket seals.
- Protect from Afternoon Direct Sun: Shading your feeder prevents thermal expansion and keeps sweet nectar fresh longer.
Routine Base & Solar Cap Inspection Schedule
- Every Refill (Every 3-5 Days) — Rinse glass neck threads with warm water. Inspect silicone gasket positioning before filling to 100% volume.
- Bi-Weekly Cleaning — Deep clean base ports with a soft bottle brush. Remove silicone O-ring, soak in warm water, and inspect for cracks or compression stiffening.
- Monthly Solar Cap Check — Wipe top plastic solar cap with a soft damp microfiber cloth to remove dust and bird debris, maintaining solar panel charging efficiency.
- End of Season / Storage — Dry all metal anti-rust parts completely. Store silicone gasket flat in a cool place to prevent dry-rotting over winter.
5 Critical Mistakes That Destroy Your Feeder's Vacuum Seal
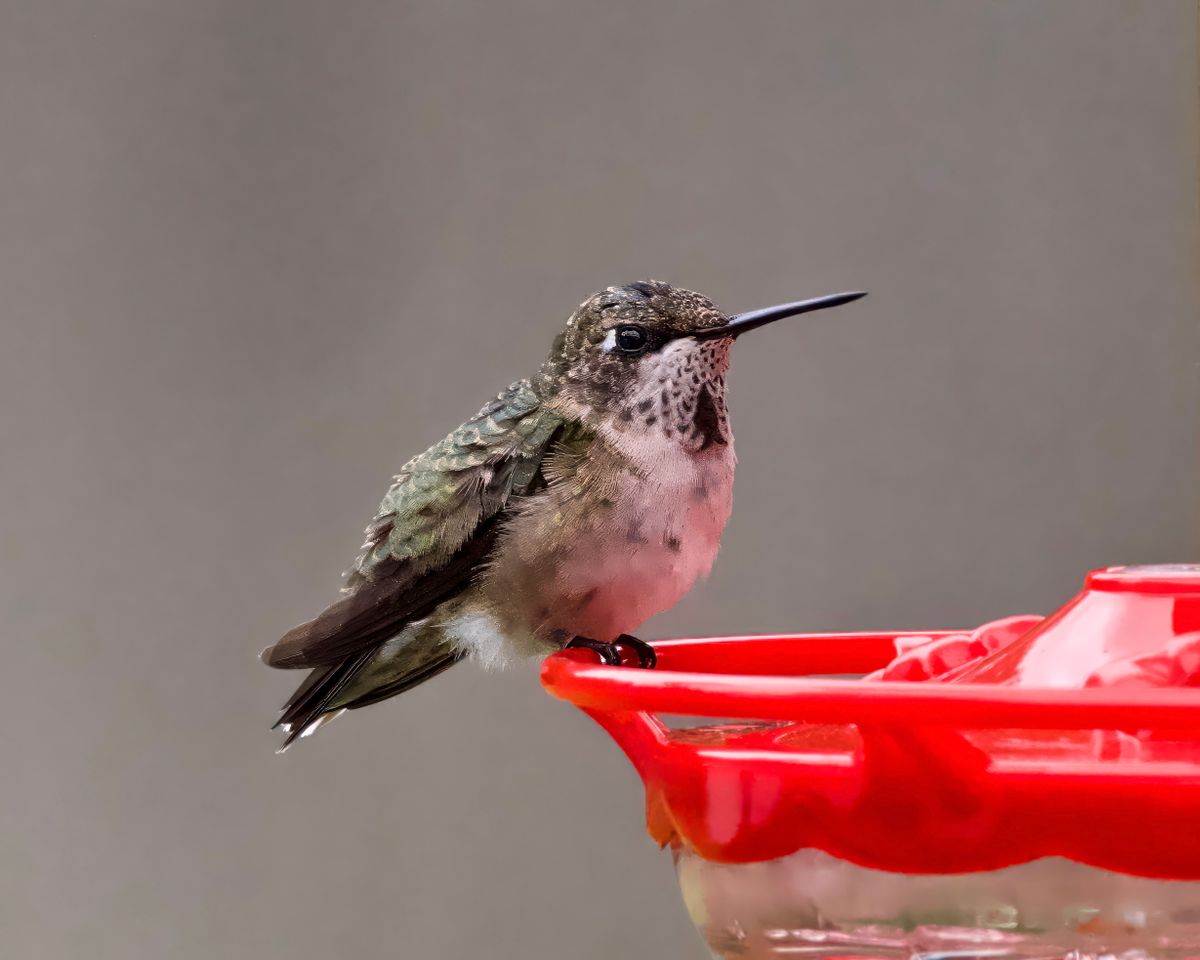
Photo by A. G. Rosales on Pexels
Avoid these widespread errors that cause unexpected drips, ruin seals, or damage delicate hand-blown glass.
Component Lifespan & Seal Wear Timeline
- Months 1–6 — Peak performance. Silicone gasket is flexible and soft. Keep threads clean of sugar crust.
- Months 6–18 — Routine wear. Inspect silicone O-ring for compression set or minor stiffening due to summer heat.
- Months 18–36+ — Long-term care. Replace silicone gasket if stiffness occurs. Anti-rust metal base remains durable under normal weather exposure.
Essential Guides for Feeder Care & Garden Setup
Expand your backyard birdkeeping knowledge with these detailed resources:
- Hot Weather Nectar Ratios: How to Keep Food Fresh in Summer - Learn how temperature affects nectar spoil rates and feeding behavior.
- How to Clean and Maintain Your Hand-Blown Solar Hummingbird Feeder - Step-by-step sanitation instructions for artisan glass and solar components.
- How to Hang Your Solar Feeder to Block Ants and Crawling Insects - Protect your leak-free setup from pest invasions.
Frequently Asked Questions: Feeder Base, Cap & Weather Leaks
Get quick, clear answers to common long-tail feeder leak questions.
Recommended Leak-Free Feeder Upgrades
Elevate your garden aesthetic while eliminating messy nectar drips with engineered leak-proof craftsmanship.
Final Action Plan for a Drip-Free Garden
Your decision: Identify whether mechanical seal breaches or afternoon sun heat expansion is causing your feeder drips.
Do this next: Execute the 6-Step Leak-Free Refill Protocol: wash threads, seat gasket, fill 100%, tighten squarely, and hang in afternoon shade.
- Read next: Hot Weather Nectar Ratios
Discover the 🌟 LUJII Solar-Powered Hummingbird Feeder 🌟 featuring 2,300°F hand-blown glass, an anti-rust metal base, and ambient solar RGB night lighting.
Taking action now will keep your hummingbird sanctuary clean, welcoming, and magical all season long.
Cover photo by Erik Karits on Pexels.