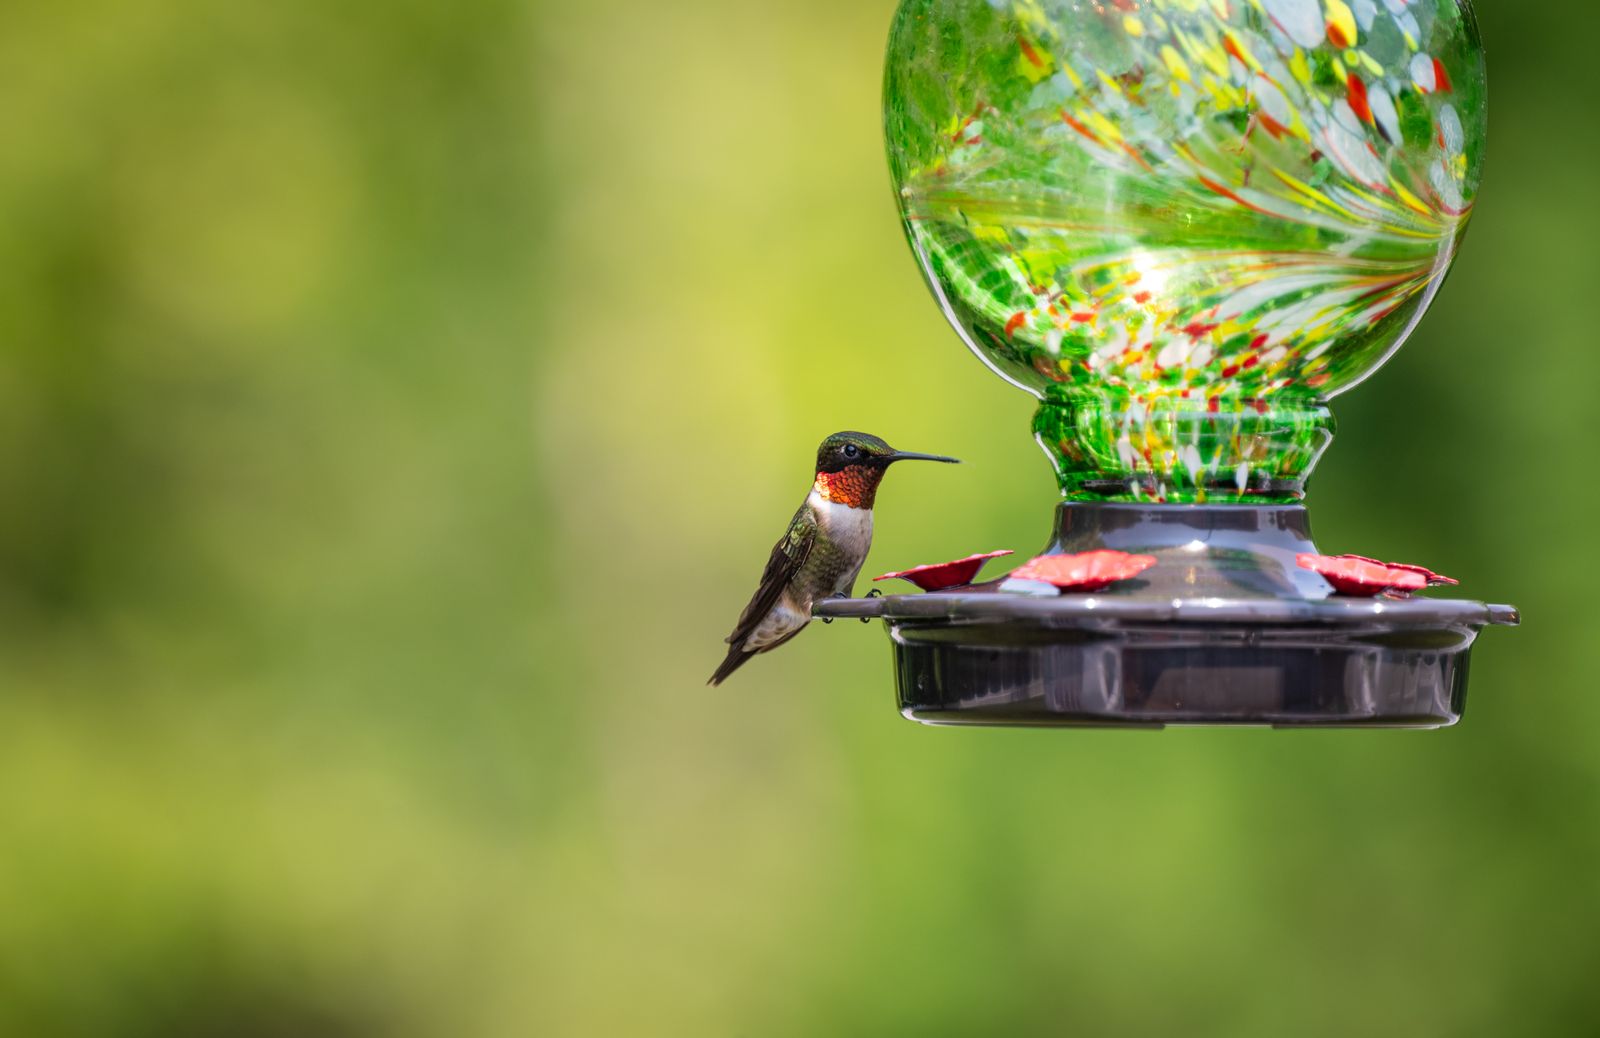
How to Stop Your Hummingbird Feeder From Leaking: Quick Fixes & Seal Guide
To stop a hummingbird feeder from leaking, invert it fully before hanging to establish a tight vacuum seal, move it to partial shade to prevent thermal air expansion, replace worn rubber gaskets, and ensure it hangs perfectly level. Never fill past the neck line or thread components unevenly.
Visual Diagnostic: Feeder Leak Troubleshooting Flowchart
- Is nectar dripping continuously right after filling? → Yes: Check thread alignment and rubber O-ring gasket. Re-invert rapidly over a sink to establish vacuum pressure.. No: Proceed to time-of-day leak inspection..
- Does the feeder only leak during warm afternoon hours? → Yes: Thermal air expansion is forcing liquid out. Relocate feeder to 70% afternoon shade and fill nectar to neck line.. No: Proceed to environmental inspection..
- Does nectar spill when wind sways the feeder? → Yes: Feeder is tilting beyond port threshold. Switch to a heavier rigid hook or upgrade to a heavier hand-blown glass reservoir.. No: Inspect glass body and base seam for hairline stress cracks or warped threads..
Feeder Leak Troubleshooting Matrix: Symptoms, Causes, and Fixes
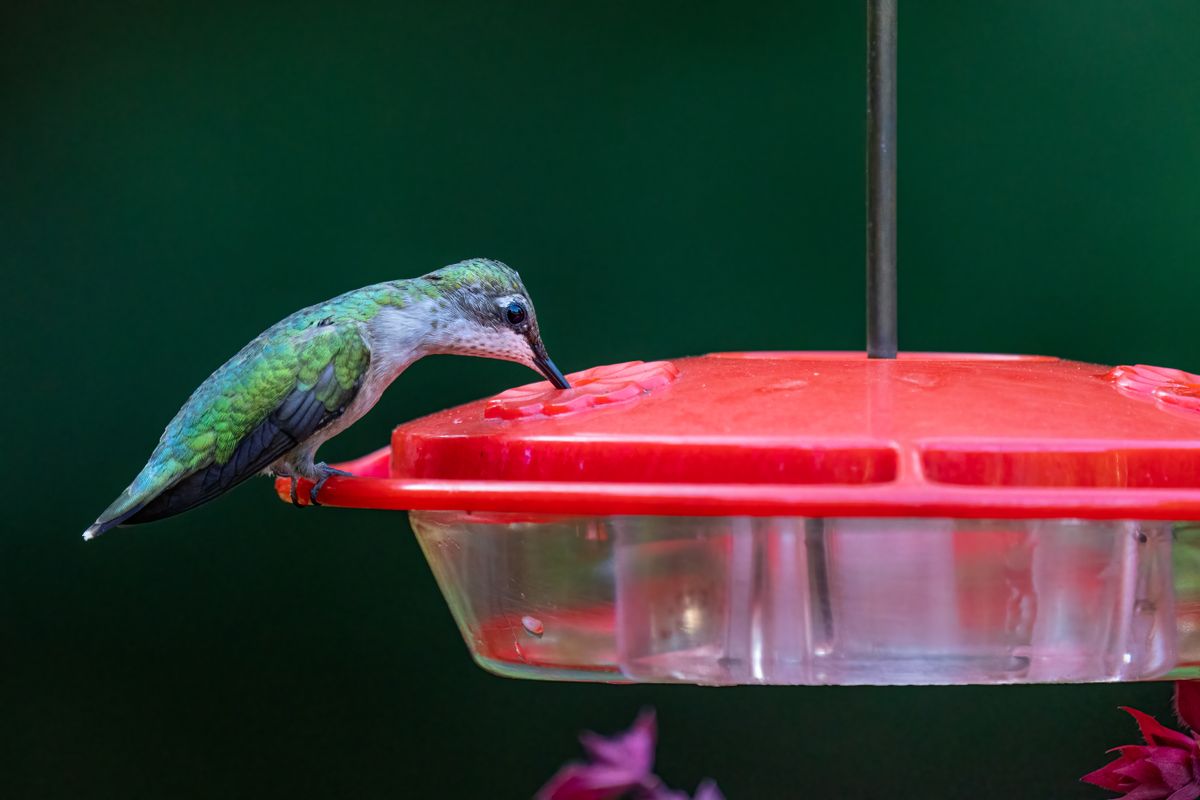
Photo by Skyler Ewing on Pexels
| Scenario & Leak Symptom | Physical Cause | Immediate Diagnostic Fix | Long-Term Prevention Strategy |
| --- | --- | --- | --- |
| Dripping exclusively between 1:00 PM and 5:00 PM | Solar radiation heats air pocket trapped inside inverted reservoir, expanding air and forcing liquid down through port openings. | Relocate feeder to direct afternoon shade or under an awning. | Fill reservoir to full neck capacity so less air is trapped inside to expand. |
| Steady nectar stream escaping from base threading | Missing, pinched, or sugar-crusted rubber gasket; cross-threaded base connection. | Unscrew base, clean threads with warm water, inspect O-ring, and thread straight. | Replace dry-rotted rubber washers annually and hand-tighten without over-torquing. |
| Nectar pouring out of feeding ports immediately upon hanging | Failure to create internal vacuum pressure airlock during initial inversion. | Invert feeder in one swift 180-degree motion directly over a clean sink. | Cool cooked sugar solution to room temperature before pouring into reservoir. |
| Rhythmic dripping during breezy or windy conditions | Feeder sways past level horizontal threshold, breaking liquid surface tension at port openings. | Shorten hanging cord or transfer feeder to a heavy-gauge rigid Shepherd's hook. | Switch from lightweight thin plastic to heavy, hand-blown glass reservoir feeders. |
| Continuous seep along bottom metal/plastic tray seam | Hairline fracture in glass base or warped plastic seating caused by UV degradation. | Apply water test to isolate crack location; discontinue use if plastic is warped. | Upgrade to a hand-blown glass feeder featuring a precision-sealed metal base. |
Identify your specific feeder scenario below to diagnose physical causes and apply precise fixes.
Pro Tip: Mastering Vacuum Pressure Physics in Inverted Glass Feeders
Inverted glass hummingbird feeders rely entirely on continuous atmospheric balance. When you turn a full glass feeder upside down, a small amount of liquid escapes through the ports until negative air pressure creates a vacuum seal inside the top chamber.
The Quick-Flip Technique: Always invert your feeder over a sink in one rapid 180-degree motion. Turning it slowly or tilting it sideways lets excess atmospheric air enter the liquid chamber, destabilizing the vacuum airlock and causing continuous slow dripping. Furthermore, filling with chilled or room-temperature nectar—never warm nectar—ensures the internal air pocket does not immediately expand and push syrup out through the feeding ports.
Decision Tree: Repair Your Current Feeder vs. Upgrade to Leak-Proof Glass
- Are threads on the plastic base warped, cracked, or stripped? → Yes: Replace feeder. Warped plastic cannot maintain airtight vacuum seals.. No: Proceed to gasket check.
- Is the rubber O-ring gasket missing or coated in dried sugar crystals? → Yes: Clean gasket thoroughly with warm water or replace with a food-grade silicone O-ring.. No: Proceed to position evaluation.
- Is the feeder exposed to direct sunlight for more than 4 hours daily? → Yes: Relocate feeder to shaded branch. Sun heat causes air expansion leaks.. No: Inspect glass for invisible micro-cracks.
Action Plan: Immediate Steps to Stop Nectar Spills Today
Your decision: Determine whether your current feeder can be sealed with cleaning, shade relocation, and gasket replacement, or if warped plastic components necessitate an upgrade to a handcrafted glass feeder with a fitted metal base.
Do this next: Invert your feeder immediately after filling over a clean sink, inspect the O-ring for sugar crust or dry rot, and relocate the feeder to a shaded garden branch.
- Read next: How to Clean and Maintain Your Hand-Blown Solar Hummingbird Feeder
- Read next: Hand-Blown Glass vs. Plastic Hummingbird Feeders
LUJII Hand-Blown Solar Hummingbird Feeder (32 oz Leak-Proof Sealed Metal Base)
Take these concrete steps right now to stop active leaks, protect your garden foliage, and secure your feeding station.
Essential Rules for a Drip-Free Backyard Feeder
- Respect Vacuum Physics: Inverted feeders require an airtight chamber seal; never leave base threads loose or misaligned.
- Control Thermal Expansion: Shade prevents afternoon sun rays from heating internal air pockets and pushing nectar out.
- Cool Nectar First: Never pour warm sugar solution into glass reservoirs, as heat breaks airlocks immediately.
- Maintain Level Balance: Hang feeders from rigid hooks that resist sway during wind gusts.
- Inspect Gaskets Regularly: Keep rubber O-rings clean of sticky sugar crusts and replace cracked seals promptly.
Step-by-Step Guide: Resetting the Seal on Inverted Hummingbird Feeders
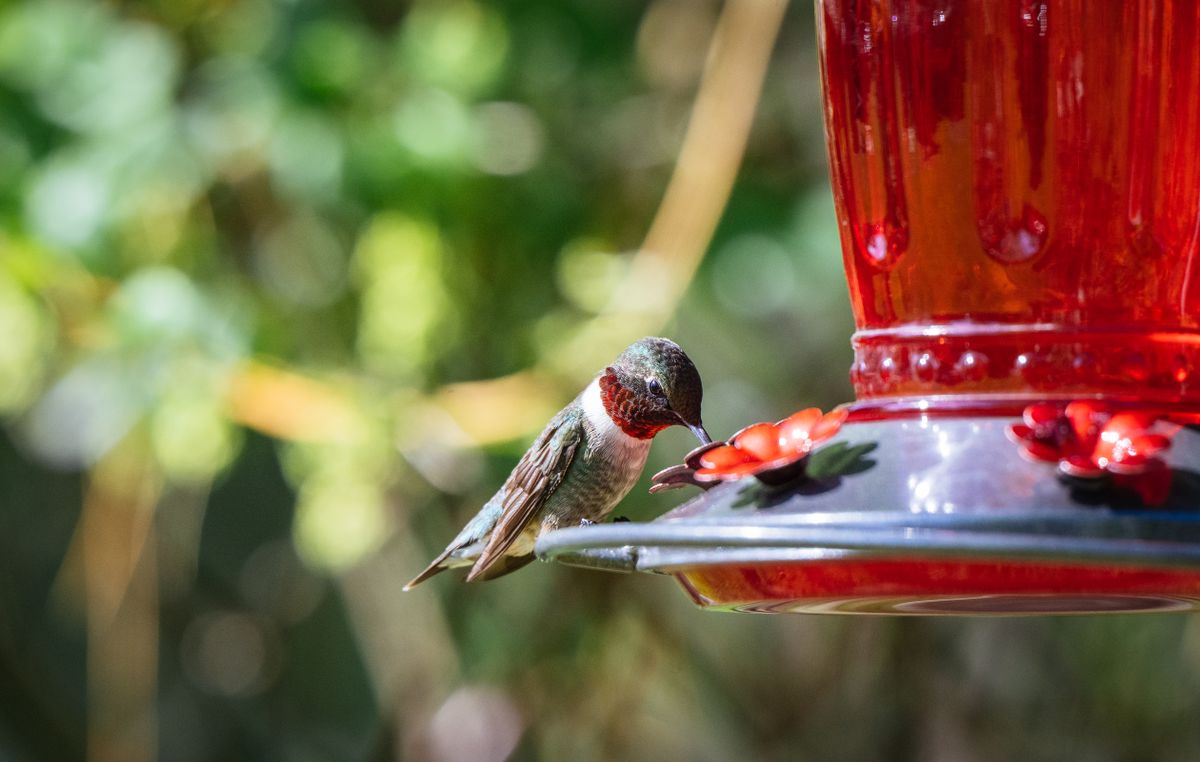
Follow this chronological process to restore an airtight vacuum seal and stop nectar leaks.
5 Dangerous Feeder Fix Mistakes to Avoid
Avoid these tempting quick fixes that harm hummingbirds or permanently damage garden equipment:
Explore Related Backyard Living & Maintenance Guides
Enhance your garden bird feeding experience with these helpful guides:
- How to Clean and Maintain Your Hand-Blown Solar Hummingbird Feeder
- Hand-Blown Glass vs. Plastic Hummingbird Feeders: Which Elevates Your Garden Experience?
- Hot Weather Nectar Ratios: How to Keep Hummingbird Food Fresh in Summer
- Summer Storm Protection: Weatherproofing Your Glass Solar Hummingbird Feeder Setup
Frequently Asked Questions About Hummingbird Feeder Leaks
Answers to common troubleshooting questions about leaks, nectar safety, and feeder care.
Recommended Upgrade: Heavy-Gauge Leak-Proof Solar Glass Feeders
If continuous leaks from warped plastic components have ruined your birdwatching enjoyment, upgrade to a durable, handcrafted glass solution designed for stability and visual brilliance.
Cover photo by Chris F on Pexels.