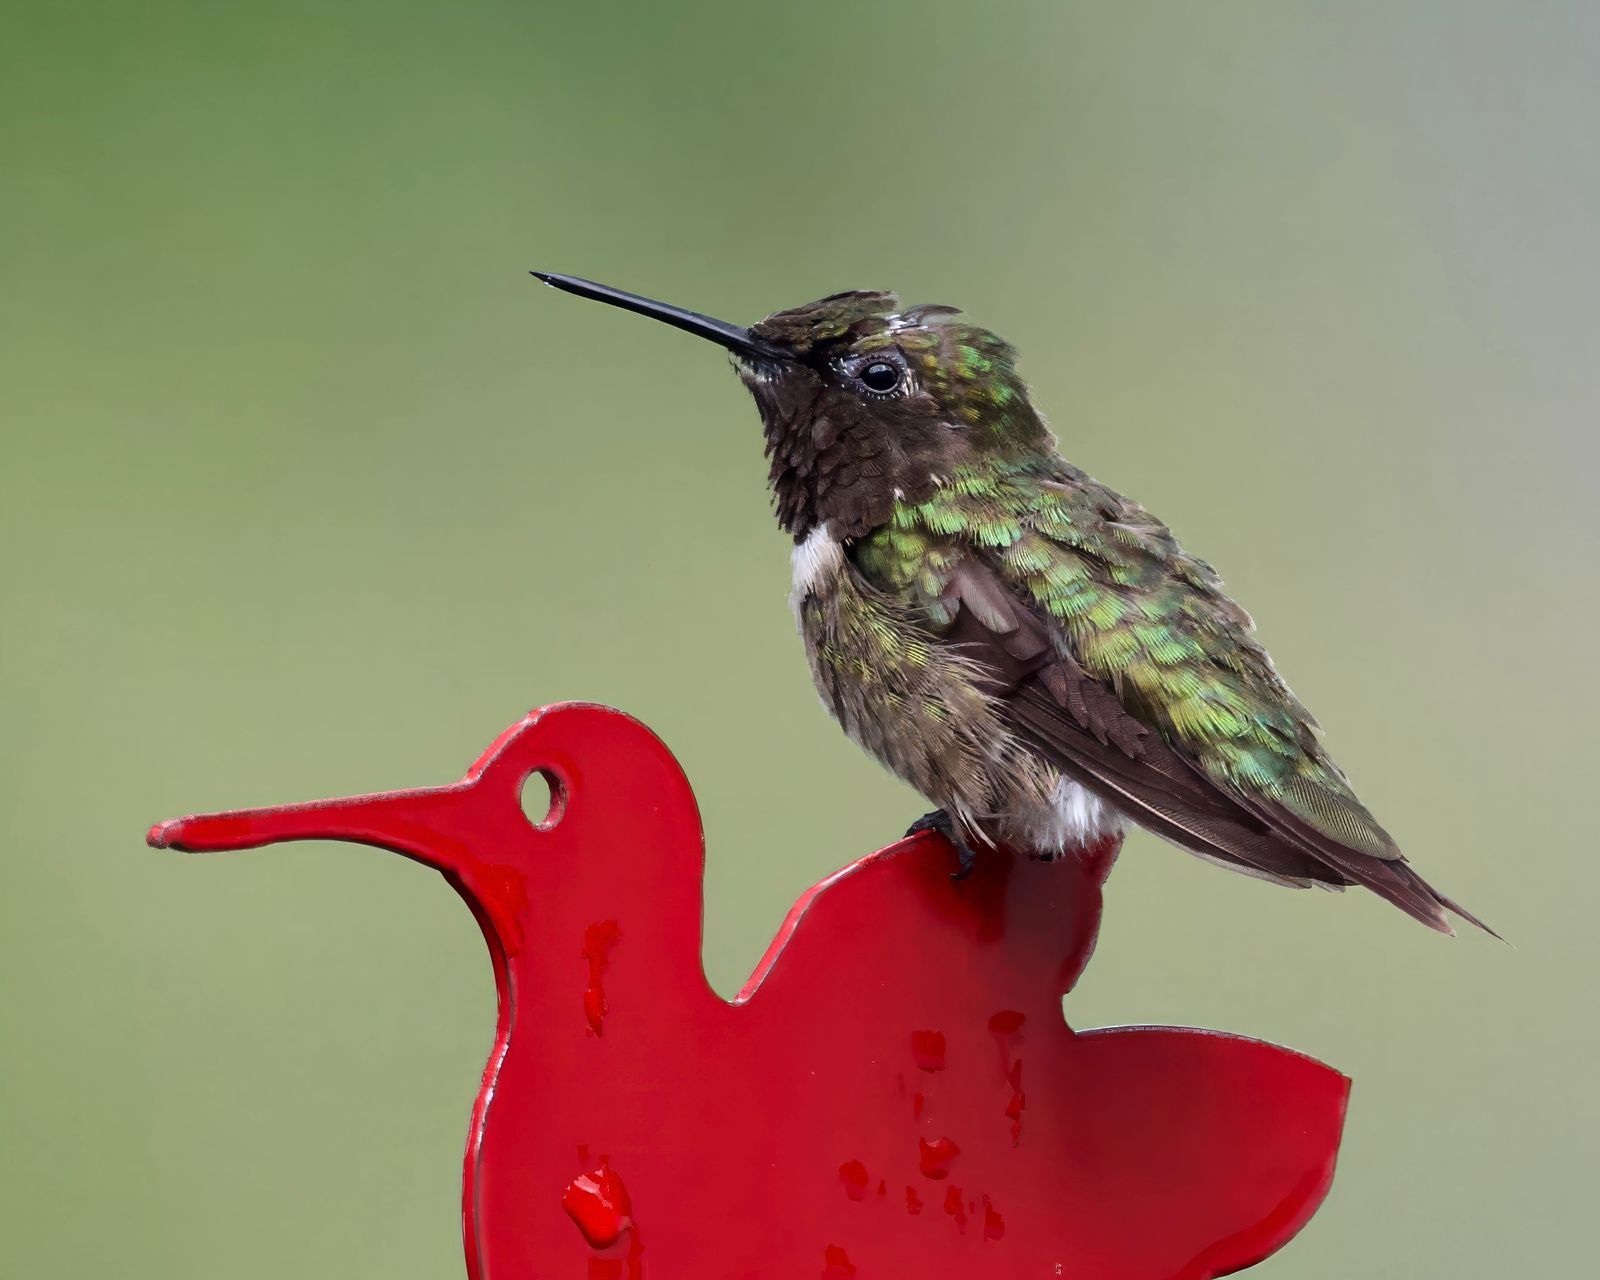
Why Is My Hummingbird Feeder Leaking? (And How to Fix It Fast)
A hummingbird feeder leaks primarily due to broken thermal vacuum seals when solar heat expands trapped air, faulty base gaskets, wind sway, or underfilling. To fix it fast, hang your feeder in afternoon shade, fill the reservoir completely to minimize air space, replace worn base gaskets, and ensure it hangs perfectly level.
Visual Diagnostic Flowchart: Pinpointing Your Feeder's Leak Source
- Is nectar leaking from the feeding ports or the lower threaded seam? → Yes: Feeding Ports -> Go to Question 2. No: Threaded Seam -> Go to Question 3.
- Does the dripping occur mostly during hot afternoon hours? → Yes: Thermal Expansion: Fill bottle 95%+ to remove air pocket and relocate feeder to afternoon shade.. No: Mechanical Tilt / Wind: Re-level hanging bracket and install a wind stabilizer..
- Is the silicone base gasket twisted, dirty, or pinched in the threads? → Yes: Gasket Alignment Error: Remove base, clean threads, flush gasket flat into groove, and hand-tighten.. No: Thread Over-Tightening: Slightly loosen base to relieve crushed seal distortion, or replace worn O-ring..
Feeder Leak Diagnostic Matrix: Symptoms, Causes, and Quick Fixes
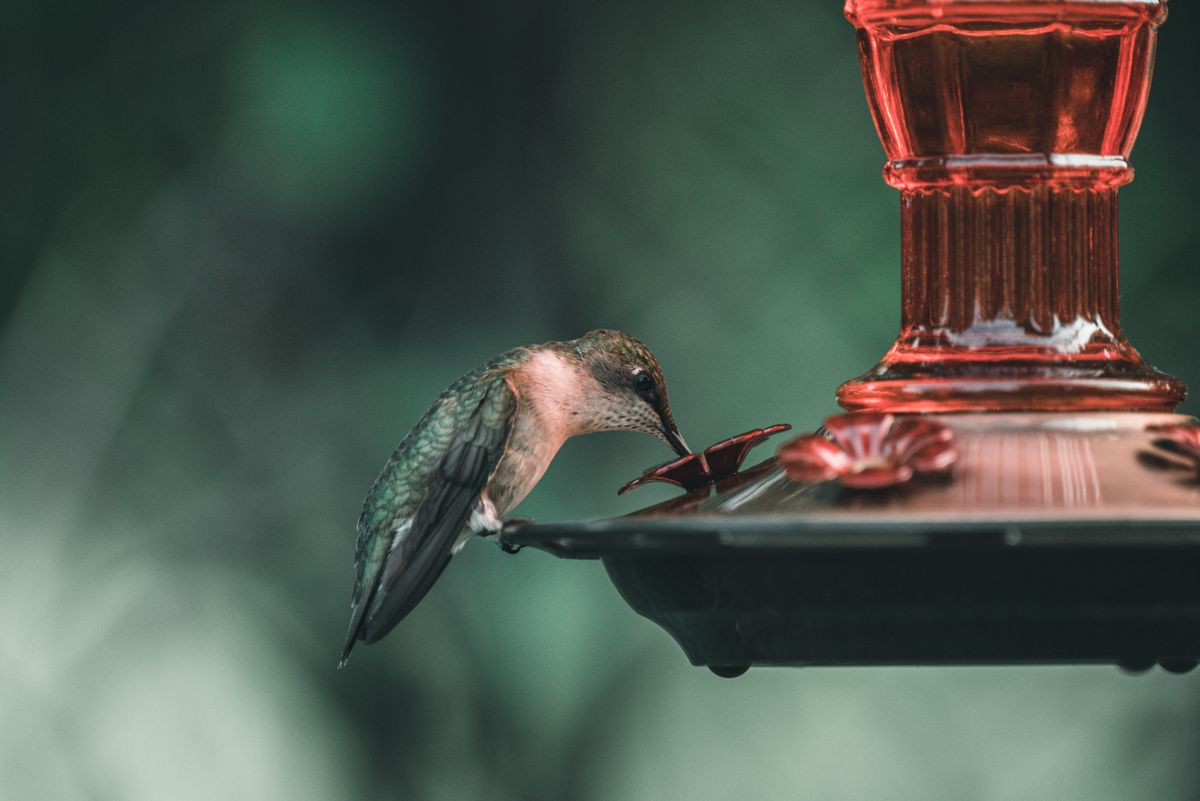
| Symptom / Scenario | Primary Cause | Immediate Action | Long-Term Solution |
| --- | --- | --- | --- |
| Dripping from feeding ports only between 12 PM and 4 PM | Solar thermal expansion of trapped air pocket inside glass reservoir | Move feeder to partial afternoon shade | Fill reservoir to 95%+ capacity to minimize internal air volume |
| Continuous slow seepage around lower metal/plastic base seam | Misaligned, twisted, or unseated silicone O-ring gasket | Unscrew base, clean sugar residue, seat gasket flat | Inspect rubber seal during every fill; replace worn gaskets annually |
| Feeder empties completely within hours without bird activity | Complete vacuum failure or cross-threaded base connection | Submerge filled feeder in basin to check air tightness | Re-thread base carefully by hand without forcing or over-torquing |
| Nectar splashing onto ground during windy afternoons | Excessive branch sway breaking port liquid surface tension | Move feeder to a sturdy shepherd's hook or sheltered porch | Upgrade to a heavier hand-blown glass feeder with an anti-sway mount |
Match your feeder's specific behavior to the underlying physical cause to implement the right solution immediately.
Expert Insight: Managing Thermal Expansion in Hand-Blown Glass
Inverted glass hummingbird feeders rely on atmospheric pressure to maintain a natural vacuum. When sun rays strike an inverted glass reservoir, solar heat warms the trapped air bubble above the liquid level. Air expands far faster than liquid, increasing internal PSI and forcing nectar down through the feeding ports.
To neutralize thermal expansion, always fill your reservoir with cool nectar right to the top shoulder (95% to 98% full). A smaller air bubble produces less pressure shift when temperatures fluctuate.
Decision Tree: Is It Time to Repair, Relocate, or Replace?
- Does the glass reservoir show visible stress fractures or micro-cracks? → Yes: Replace Feeder: Structural glass cracks ruin vacuum pressure and cannot be safely sealed.. No: Check Seals & Placement -> Go to Question 2
- Is the leak stopped when the feeder is moved out of direct afternoon sunlight? → Yes: Relocate Feeder: Keep placement in morning sun and afternoon shade.. No: Inspect Gasket -> Go to Question 3
- Does adjusting the silicone O-ring gasket stop base thread seepage? → Yes: Repair Successful: Maintain clean threads and check seating during weekly cleaning.. No: Replace Base Hardware: Upgrade to an anti-rust coated metal base with precision seals.
Essential Rules for Preventing Nectar Dripping
- Fill Completely: Eliminate internal air pockets by filling glass reservoirs to at least 95% capacity.
- Provide Afternoon Shade: Direct sun expands trapped air bubbles, forcing liquid out of port openings.
- Protect the Vacuum: Invert feeders swiftly after assembly to establish immediate liquid surface tension.
- Check Gasket Alignment: Ensure silicone rubber O-rings lay completely flat inside metal base grooves.
- Clean Sugar Crust: Dried nectar inside threads prevents tight mechanical seals—rinse threads with warm water during every refill.
5 Steps to Re-Establish a Perfect Vacuum Seal
Follow this exact sequence whenever refilling your inverted glass feeder to ensure a drip-free installation:
Common Mistakes That Accelerate Feeder Leaks
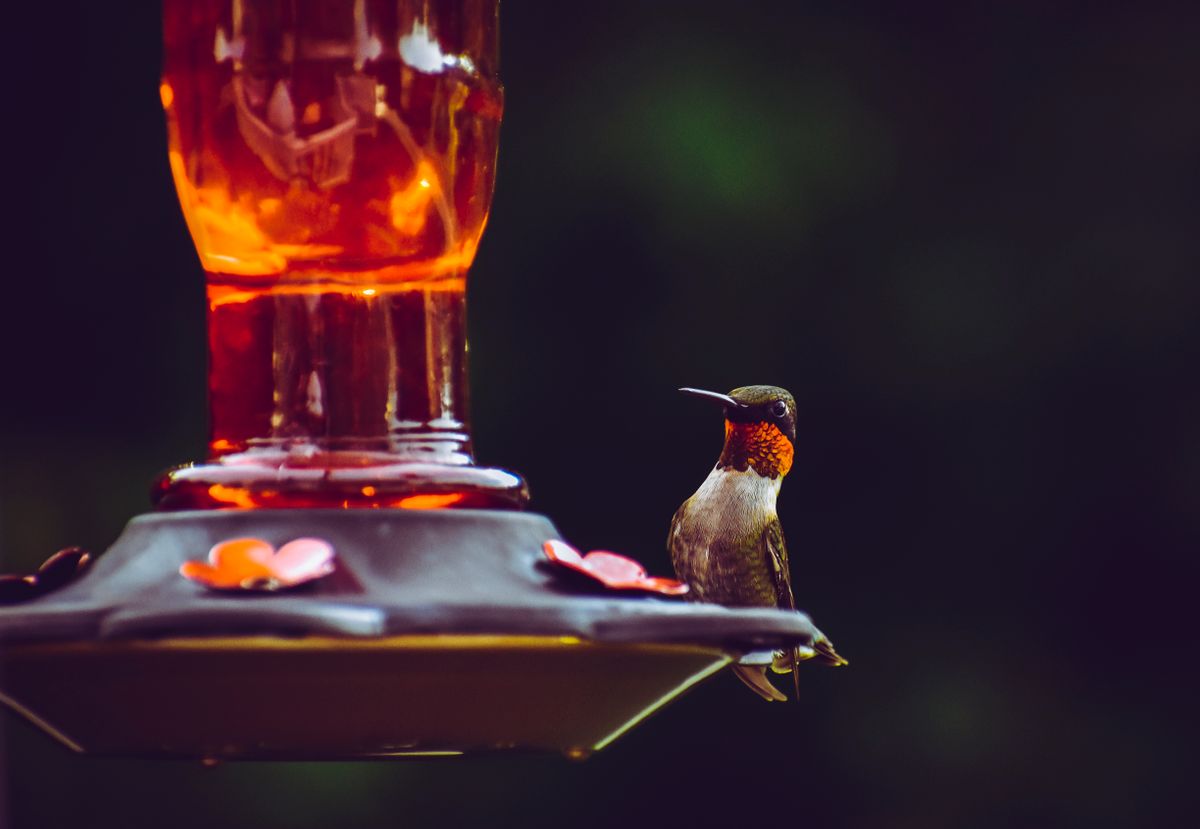
- Underfilling the Glass Reservoir: Leaving half the bottle empty creates a massive air pocket that rapidly expands under morning solar heat.
- Over-Tightening Threaded Metal Bases: Excessive force pinches or stretches silicone gaskets, opening micro-gaps for air intake.
- Hanging Feeders on Unstable Branches: Flexible tree limbs sway dramatically in light breezes, breaking port liquid tension and splashing nectar.
- Neglecting Base Thread Sanitation: Dried sugar residue acts like sand between metal threads, preventing tight seals.
Recommended Guides for Backyard Birding Success
Expand your knowledge on feeder care, pest management, and garden aesthetics with these detailed resources:
- How to Clean and Maintain Your Hand-Blown Solar Hummingbird Feeder
- Hot Weather Nectar Ratios: Keeping Sugar Water Fresh in Summer Heat
- Best Ant Moats for Hummingbird Feeders: Built-In vs. Hanging Hooks
- Summer Storm Protection: Weatherproofing Your Outdoor Solar Decor
Frequently Asked Questions About Feeder Leaks
Answers to common concerns regarding solar lighting, ambient heat, and nectar management.
Featured Upgrade: Handcrafted Leak-Proof Solar Hummingbird Feeders
If your current feeder suffers from warped plastic bases or recurring vacuum failures, upgrade your garden experience with LUJII art-glass technology. Each feeder features hand-blown artisan glass shaped at 2,300°F, paired with a anti-rust coated metal base engineered for superior seal integrity. High-efficiency solar caps illuminate integrated RGB lights at dusk without emitting thermal energy near nectar channels.
Immediate Action Plan for a Leak-Free Garden
Your decision: Determine whether your feeder leak stems from thermal expansion in direct sunlight or a worn base gasket.
Do this next: Relocate the feeder to partial afternoon shade, fill the glass bottle 95%+ full to remove air pockets, and verify silicone base gasket alignment.
- Read next: How to Clean and Maintain Your Hand-Blown Solar Hummingbird Feeder
- Read next: Troubleshooting Nectar Leaks and Solar Lights on Handcrafted Feeders
LUJII Hand-Blown Glass Solar Hummingbird Feeder with Precision Sealed Anti-Rust Base
Take these simple steps today to preserve your nectar supply and keep your backyard sanctuary dry and beautiful.
Cover photo by A. G. Rosales on Pexels.