How to Fix a Leaking Glass Hummingbird Feeder: Vacuum Seal & Thermal Expansion Fixes
To fix a leaking glass hummingbird feeder, fill the reservoir to 85–90% capacity with completely cooled nectar, align and seat the silicone gasket flat against the base threads, screw the base on snugly without forcing, and swiftly invert the feeder over a sink. Hang it in afternoon shade to prevent thermal air expansion from breaking the vacuum seal.
Visual Flowchart: 3-Step Leaking Diagnostic Flow
- Where is the nectar leaking from? → Yes: Base Seam (Threads) -> Check silicone gasket alignment and clean sugar crystals from glass threads.. No: Feeding Ports -> Go to next step..
- Does the dripping happen continuously right after filling? → Yes: Immediate Vacuum Failure -> Reservoir filled with too much air or nectar was filled warm. Re-fill to 90% with cold nectar and invert swiftly.. No: Midday Dripping -> Go to next step..
- Does dripping only occur during warm afternoon hours or windy conditions? → Yes: Thermal Expansion or Wind Sway -> Move feeder to partial afternoon shade and stabilize hanging hook.. No: Inspect glass neck for hairline fractures..
Diagnostic Matrix: Feeder Leak Causes & Rapid Fixes
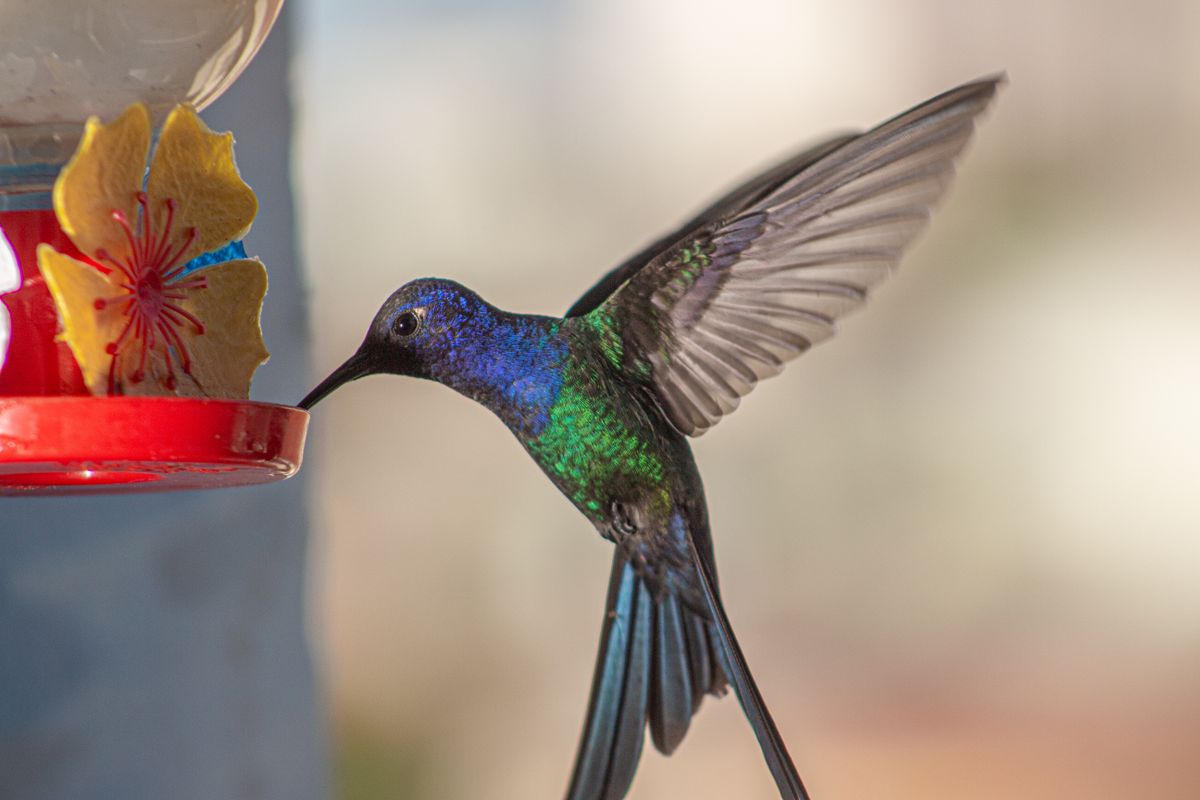
Photo by Lucas Pezeta on Pexels
| Scenario / Symptom | Root Cause | Fluid Physics Mechanism | Immediate Corrective Action |
| --- | --- | --- | --- |
| Steady stream pouring from feeding ports upon inversion | Initial vacuum seal failed to establish during flip | Atmospheric pressure outside equals pressure inside; no low-pressure air pocket formed at reservoir top | Invert feeder in one swift 180-degree motion over a sink; do not tilt slowly or pause mid-flip |
| Dripping begins between 12:00 PM and 3:00 PM on sunny days | Solar heating of internal air pocket (Thermal Expansion) | Sunlight heats air space above nectar, causing gas expansion that pushes nectar down and out the ports | Relocate feeder to afternoon shade or fill bottle to 90% capacity to minimize initial air pocket volume |
| Nectar seeping around the metal base connection seam | Misaligned, twisted, or dirty silicone base gasket | Imperfections in hand-blown glass threads aren't cushioned by rubber seal, breaking liquid barrier | Unscrew base, wash threads with warm water, seat silicone ring completely flat, and screw on until snug |
| Intermittent drips during breezy or windy weather | Kinetic swaying breaking liquid surface tension at ports | Centrifugal motion forces liquid level above internal air tube seal threshold | Hang feeder from a stiff pole or install an S-hook sway dampener near a windbreak structure |
Use this scenario matrix to match your feeder's exact behavior with its root physical cause and immediate remedy.
Master Gardener Tip: The Swift-Flip Technique for Instant Vacuum Seals
The secret to an instant, drip-free hang lies in the fluid dynamics of inverted reservoirs. When you turn a glass feeder upside down, a small amount of nectar must exit the ports to create a low-pressure air vacuum in the sealed dome above.
If you flip the feeder slowly, air continuously bubbles inside while nectar cascades out, preventing that delicate vacuum equilibrium from forming. Always hold the base tightly against the filled glass bottle and invert it in one smooth, half-second rotational snap over your kitchen sink. You will see 2 to 3 air bubbles rise to the top dome and then stop completely—confirming your vacuum seal is locked!
Pre-Hanging Seal Integrity Checklist
- [ ] Inspect silicone gasket for cracks, debris, or pinching
- [ ] Ensure glass threads are free of sticky residue or sugar crystals
- [ ] Cool sugar water completely to cold/room temperature before filling
- [ ] Fill glass reservoir to 85–90% capacity to minimize air pocket volume
- [ ] Tighten metal base until snug without forcing artisanal glass threads
- [ ] Invert feeder in one smooth, swift motion over a sink to establish vacuum
Anatomy of an Inverted Glass Vacuum Seal
Understanding how air pressure, gravity, and thermal dynamics interact inside a hand-blown glass reservoir is key to maintaining a dripless garden sanctuary.
Decision Tree: Seal Damage, Thermal Drips, or Mechanical Misalignment?
- Is the silicone gasket intact, clean, and seated flat in the metal base groove? → Yes: Check nectar filling temperature and fill percentage.. No: Remove gasket, wash under warm water, re-seat evenly, or replace if cracked.
- Was nectar poured into the bottle while still warm or hot? → Yes: Empty feeder, chill nectar to 50–60°F in refrigerator, refilling bottle to 90% full.. No: Check sunlight exposure at hanging location.
- Does the glass reservoir receive direct afternoon sunlight during summer heat? → Yes: Move feeder to partial afternoon shade or under a patio canopy to eliminate thermal air expansion.. No: Inspect metal base ports for bent flowers or surface tension obstruction.
Mid-Diagnostic Check: Action Plan
Your decision: Determine if your feeder leak is caused by environmental heat expansion or mechanical seal alignment.
Do this next: Clean base threads, chill fresh nectar to 50-60°F, fill reservoir to 90% capacity, ensure silicone gasket sits flat, invert quickly over a sink, and re-hang in afternoon shade.
- Read next: How to Clean and Maintain Your Hand-Blown Solar Hummingbird Feeder
LUJII Hand-Blown Solar Hummingbird Feeder with Precision Anti-Rust Base Seal
Follow these quick steps to immediately stop active dripping before completing the full guide.
Core Takeaways for Dripless Hummingbird Feeding
- Vacuum Pressure is Essential: Inverted glass feeders rely on atmospheric pressure pressing upward against a low-pressure air pocket inside the sealed top dome.
- Mind the Fill Level: Always fill glass bottles to 85–90% capacity. Larger air spaces expand rapidly when warmed by the sun, forcing liquid out.
- Never Fill Warm: Pouring warm nectar into a cold glass feeder creates immediate pressure instability as the air trapped inside shifts temperature.
- Protect the Gasket: Hand-blown glass neck threads require a flexible, food-grade silicone gasket to cushion artisanal variations and maintain an airtight seal.
- Shade Prevents Leaks: Relocating your feeder to afternoon shade keeps nectar cool, prevents fermentation, and stops thermal expansion drips.
Choosing the Right Placement & Maintenance Strategy for Your Yard
To stop an inverted glass feeder from leaking, you must establish an airtight vacuum, maintain clean base threads, and shield the glass reservoir from direct afternoon heat.
Best choice for
- Deep morning shade placement + 90% cold nectar fill — Prevents rapid internal air trap expansion that pushes nectar out through port openings.
- Silicone O-ring inspection + quick smooth inversion — Ensures thread imperfections in hand-crafted glass are fully sealed by flexible food-grade gaskets.
- Hanging feeders in unshaded direct sunlight during peak noon heat
- Filling with hot or warm nectar liquid before cooling completely
- Over-tightening metal bases onto delicate glass threads which distorts silicone seals
- Saucer-style top-fill feeders — Eliminates vacuum pressure mechanics entirely, though lacks the glowing hand-blown glass art aesthetic.
Recommended Solution: LUJII Hand-Blown Solar Hummingbird Feeder
Photo by A. G. Rosales on Pexels
If you are looking for a reliable, leak-resistant, and visually breathtaking garden centerpieces, the LUJII Solar-Powered Hummingbird Feeder is engineered with both artistry and fluid mechanics in mind.
- Precision Sealed Metal Base: Features an anti-rust coated metal base with a thick, tailored silicone gasket designed to form a airtight seal against hand-blown glass neck threads.
- 32 fl. oz. Heavy-Wall Glass Reservoir: Handcrafted by glass artists at 2,300°F, providing a thick, translucent body that makes monitoring nectar levels easy while resisting outdoor temperature drops.
- Solar-Powered RGB LED Cap: The waterproof solar cap shields nectar from sun exposure while charging during the day to cast a magical glow for up to 8 hours every evening.
- Leak-Proof Slender Silhouette: Designed with balanced port heights and tight surface tension flower feeding stations to prevent wind-induced drips.
Feeder Base & Seal Mechanism Comparison
| Seal Type / Design | Vacuum Reliability | Thermal Expansion Resistance | Durability & Care |
| --- | --- | --- | --- |
| Threaded Metal Base with Silicone Gasket (LUJII Style) | High — Precision threads squeeze flexible silicone ring to seal glass neck irregularities | Moderate to High — Heavy-wall glass insulates nectar while snug gasket maintains vacuum | High — Anti-rust metal withstands weather; silicone ring easily removable for washing |
| Push-In Rubber Stopper Plug | Moderate — Relies entirely on friction fit inside smooth glass neck | Low — Temperature swings cause rubber to expand/contract, loosening friction grip | Moderate — Rubber hardens and cracks over 1–2 seasons of UV exposure |
| All-Plastic Snap Thread Base | Low to Moderate — Plastic threads warp easily under summer heat stress | Low — Thin plastic walls transfer sun heat rapidly into nectar reservoir | Low — UV rays cause embrittlement and thread stripping within a single year |
Compare how different feeder seal designs handle thermal expansion, UV exposure, and wear over time.
Step-by-Step Guide: Resetting Your Feeder's Vacuum Seal
Follow this thorough reset protocol to clean, assemble, and hang your glass feeder for a completely drip-free performance.
5 Common Mistakes That Sabotage Your Feeder's Vacuum Seal
Avoid these frequent errors that lead to wasted nectar, sticky lawns, and unwanted wasp visits:
Further Reading for Backyard Sanctuary Care
Explore these related guides to keep your outdoor sanctuary thriving:
How to Clean and Maintain Your Hand-Blown Solar Hummingbird Feeder* Best Ant Moats for Hummingbird Feeders: Built-in vs Hanging Hooks* Summer Storm Protection: Weatherproofing Your Glass Solar Hummingbird Feeder Setup*
Frequently Asked Questions About Leaking Glass Feeders
Get expert answers to common maintenance and cleaning questions.
Your Next Steps to a Drip-Free, Glowing Garden Sanctuary
Your decision: Determine if your feeder leak is caused by environmental heat expansion or mechanical seal alignment.
Do this next: Clean base threads, chill fresh nectar to 50-60°F, fill reservoir to 90% capacity, ensure silicone gasket sits flat, invert quickly over a sink, and re-hang in afternoon shade.
- Read next: How to Clean and Maintain Your Hand-Blown Solar Hummingbird Feeder
🌟 LUJII Solar-Powered Hummingbird Feeder 🌟 — Hand-blown glass art with precision anti-rust metal vacuum seal base and glowing RGB solar lighting.
Ready to transform your yard with trouble-free hummingbird feeding? Follow this summary action path.
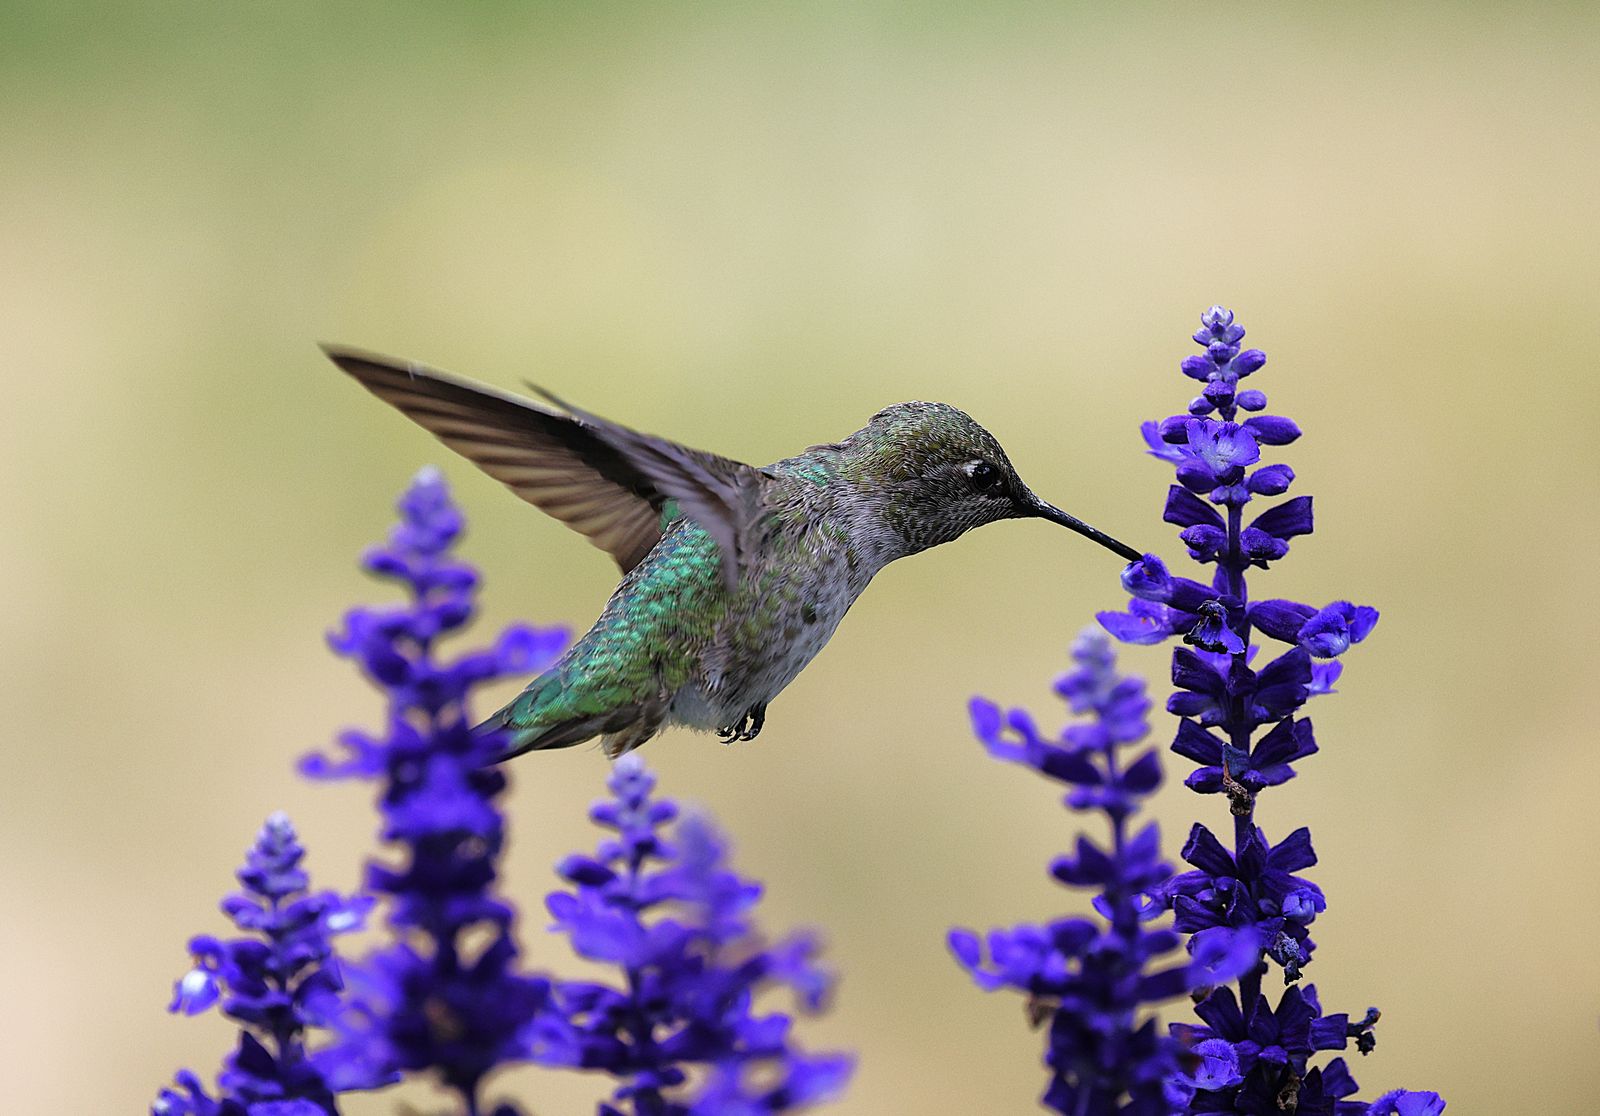
Cover photo by Veronika Andrews on Pexels.