Why Is My Hummingbird Feeder Leaking? 5 Quick Causes & Fixes
Hummingbird feeders leak primarily when the internal vacuum seal breaks or ambient sun warms trapped air inside the reservoir, forcing nectar out through the feeding ports. To stop drips immediately, ensure the rubber O-ring is seated flush, fill with cold nectar, invert quickly, and hang in partial afternoon shade.
Visual Leak Anatomy: Vacuum Seals & Thermal Expansion
- Is nectar dripping from the feeding ports or the threaded base connection? → Yes: Feeding Ports: Check internal air temperature and reservoir fluid levels.. No: Base Threads: Check rubber O-ring gasket alignment and thread seating..
- Is the feeder placed in direct afternoon sunlight or filled below 50% capacity? → Yes: Thermal Expansion: Solar heat expands the trapped air pocket, pushing nectar downward. Move feeder to afternoon shade and fill reservoir to 80-90%.. No: Wind/Mechanical Displacement: Check if wind sway is tipping the feeder past horizontal or if port washers are damaged..
- Is the silicone O-ring gasket present, flat, and free of dirt or cracks? → Yes: Cross-Threading or Micro-Fracture: Unscrew base, clean threads, re-align, and check glass bottle under light for microscopic cracks.. No: Gasket Failure: Re-seat, clean, or replace the rubber O-ring gasket before hanging..
Feeder Leak Diagnostic Matrix
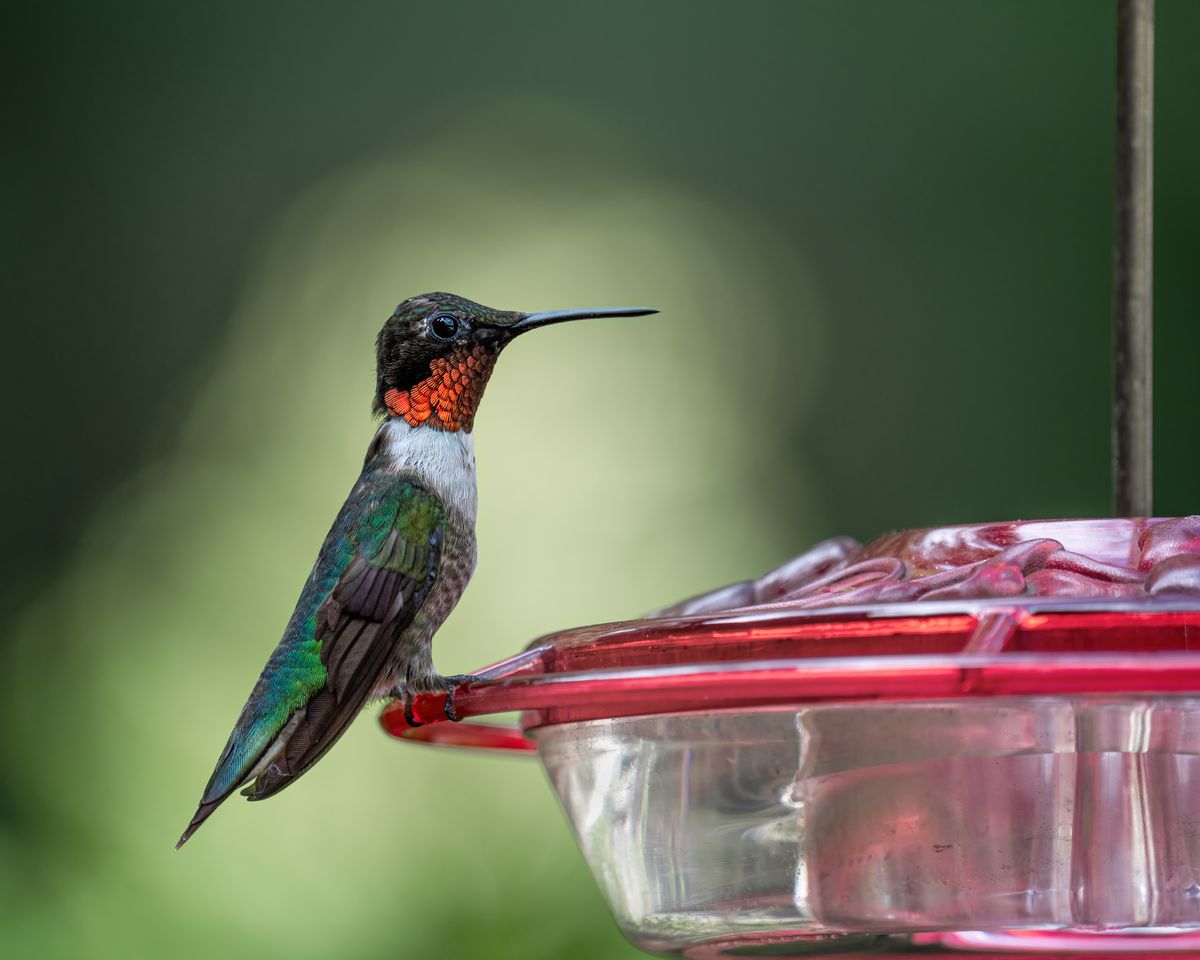
Photo by Skyler Ewing on Pexels
| Symptom / Scenario | Root Physical Cause | Immediate Quick Fix | Long-Term Prevention |
| --- | --- | --- | --- |
| Dripping starts around 1:00 PM on hot, sunny days | Thermal expansion of trapped internal air pushing liquid down | Relocate feeder to partial afternoon shade; refill nectar to 90% capacity | Use heavy hand-blown glass feeders that insulate nectar against rapid temperature spikes |
| Constant steady drip from base threads right after filling | Misaligned, pinched, missing, or cracked rubber O-ring gasket | Unscrew base, re-seat silicone gasket flush, and hand-tighten firmly without over-torquing | Inspect and lightly clean gaskets during weekly maintenance; avoid harsh dishwashers |
| Spilling and sloshing whenever a light breeze blows | Pendulum oscillation swinging inverted reservoir past fluid equilibrium angle | Hang feeder from a rigid hook or shorten hanging cord to reduce sway arc | Upgrade to a heavier, slender glass vessel with a weighted anti-rust metal base |
| Heavy continuous dripping regardless of temperature or wind | Hairline crack in glass reservoir or cross-threaded base connection | Unscrew base to check for cross-threading; inspect glass under bright light for micro-fractures | Replace damaged glass reservoirs with durable, artisan hand-blown thick glass designs |
Identify your exact leak scenario below to isolate the physical root cause and apply the correct repair step immediately.
5-Minute Pre-Hang Leak-Prevention Checklist
Run through this quick 5-step checklist every time you wash and refill your feeder to guarantee a watertight vacuum seal before hanging it outdoors:
- [ ] Inspect the Rubber Gasket: Ensure the silicone O-ring is sitting flat and clean inside the base threads without twists or debris.
- [ ] Cool Nectar Completely: Always let homemade sugar-water nectar cool to room temperature (or chill in the fridge) before filling.
- [ ] Fill to 80–90% Capacity: Minimize the top air pocket volume; less air space means less expansion when heated.
- [ ] Thread Base Snugly: Screw the metal or plastic base onto the glass neck until snug. Do not force or over-tighten, which deforms the rubber seal.
- [ ] Perform a Rapid Inversion: Flip the feeder right-side up over a sink in one smooth, quick motion to establish the internal vacuum pressure immediately.
Pro Tip: Controlling Thermal Expansion in Direct Sunlight
The physics of inverted feeders is simple: liquid stays inside because external atmospheric pressure pushes upward against the small liquid surface at the ports, balancing the downward weight of the nectar and internal air pressure. However, air expands significantly faster than liquid when heated by direct sunlight.
When sun beams strike a half-empty reservoir, the trapped top air pocket heats up, expands, and exerts force on the nectar below, breaking the pressure equilibrium and forcing sweet liquid out through the ports. To prevent midday drips, position your feeder under a shade canopy, tree branch, or north-facing patio overhang where it gets morning sun but stays shielded during peak afternoon heat.
Visual Leak Troubleshooting Decision Tree
- Where is nectar leaking from? → Yes: From Feeding Ports -> Go to Step 2. No: From Base Threads or Hanger -> Go to Step 3
- Is the nectar warm, or is the reservoir less than half full? → Yes: Thermal air expansion is forcing nectar out. Chill nectar before filling, top off to 90%, and move feeder to shade.. No: Check wind exposure. Gusts may be swinging the feeder. Hang from a sturdy, rigid branch or hook.
- Is the rubber O-ring missing, twisted, or dirty? → Yes: Clean, align, or replace the silicone O-ring gasket. Ensure base is screwed on straight.. No: Inspect glass neck and bottle for hairline fractures that leak air into the vacuum vault.
Essential Leak Prevention Rules
- Vacuum Dynamics: Inverted feeders require an airtight seal and stable atmospheric pressure differential to hold nectar inside.
- Temperature Control: Solar heat causes trapped air pockets to expand; filling reservoirs to 80–90% capacity drastically reduces thermal drip risk.
- Gasket Integrity: A clean, properly aligned silicone O-ring prevents continuous slow leaks from base threads.
- Cool Nectar Fills: Never pour warm or hot nectar into a glass feeder; doing so disrupts initial vacuum pressure.
- Stable Placement: Hanging feeders in wind-shielded, shaded locations prevents both pendulum sloshing and heat expansion leaks.
How to Correctly Invert and Seal a Glass Feeder Without Drips
Top 4 Mistakes That Break Your Feeder's Air Vacuum
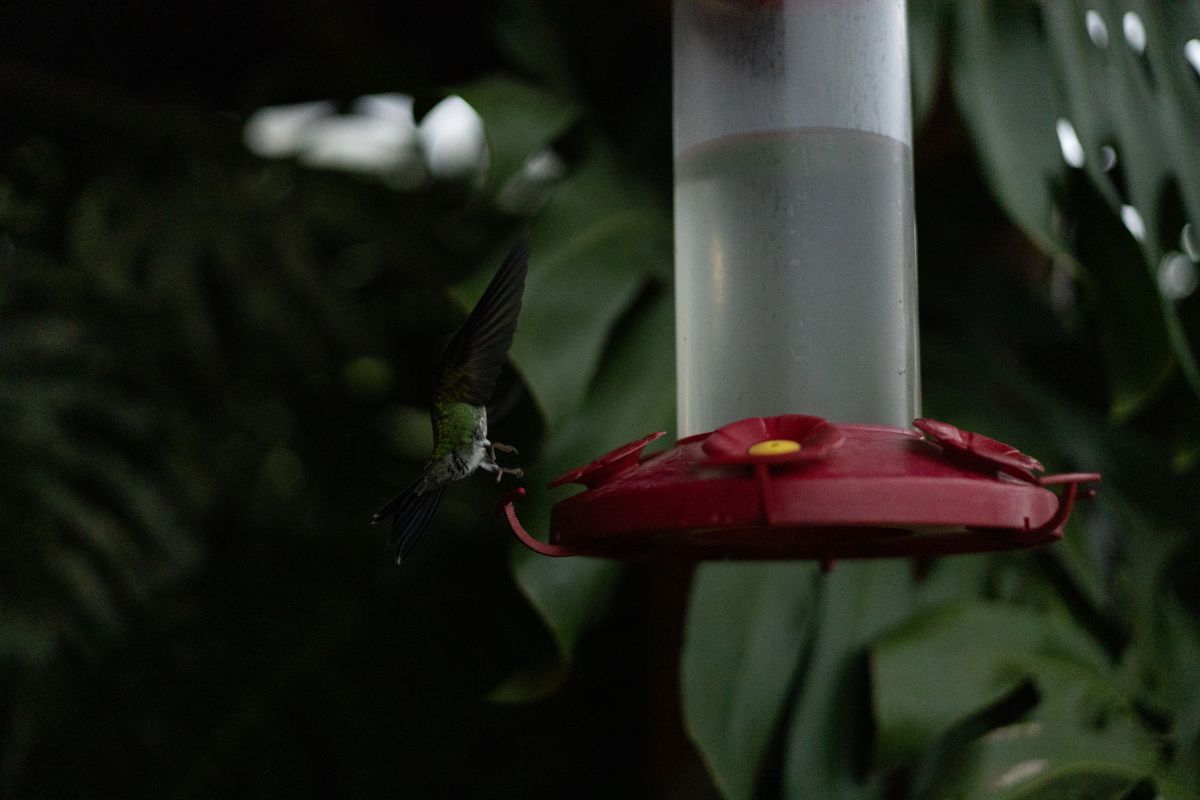
Photo by Dante Muñoz on Pexels
Frequently Asked Questions About Feeder Leaks
Recommended Leak-Resistant Solar Hummingbird Feeder
Tired of sticky drips, wasted sugar water, and pest invasions? Upgrade your backyard sanctuary with a feeder engineered for leak-resistant durability and striking visual charm.
Immediate Action Plan for Spilled Nectar & Pest Prevention
Your decision: Identify whether your leak is caused by air seal breakdown, thermal heat expansion, or wind motion.
Do this next: Inspect the rubber gasket, cool your nectar before filling, tighten the base securely, and hang in partial afternoon shade.
Related resource: How to Clean and Maintain Your Hand-Blown Solar Hummingbird Feeder
LUJII Hand-Blown Glass Solar Hummingbird Feeder (32 fl oz, anti-rust metal sealed base).
Clean up spilled nectar under your feeder immediately with warm water to prevent ants, wasps, and yellowjackets from establishing scent trails in your yard.