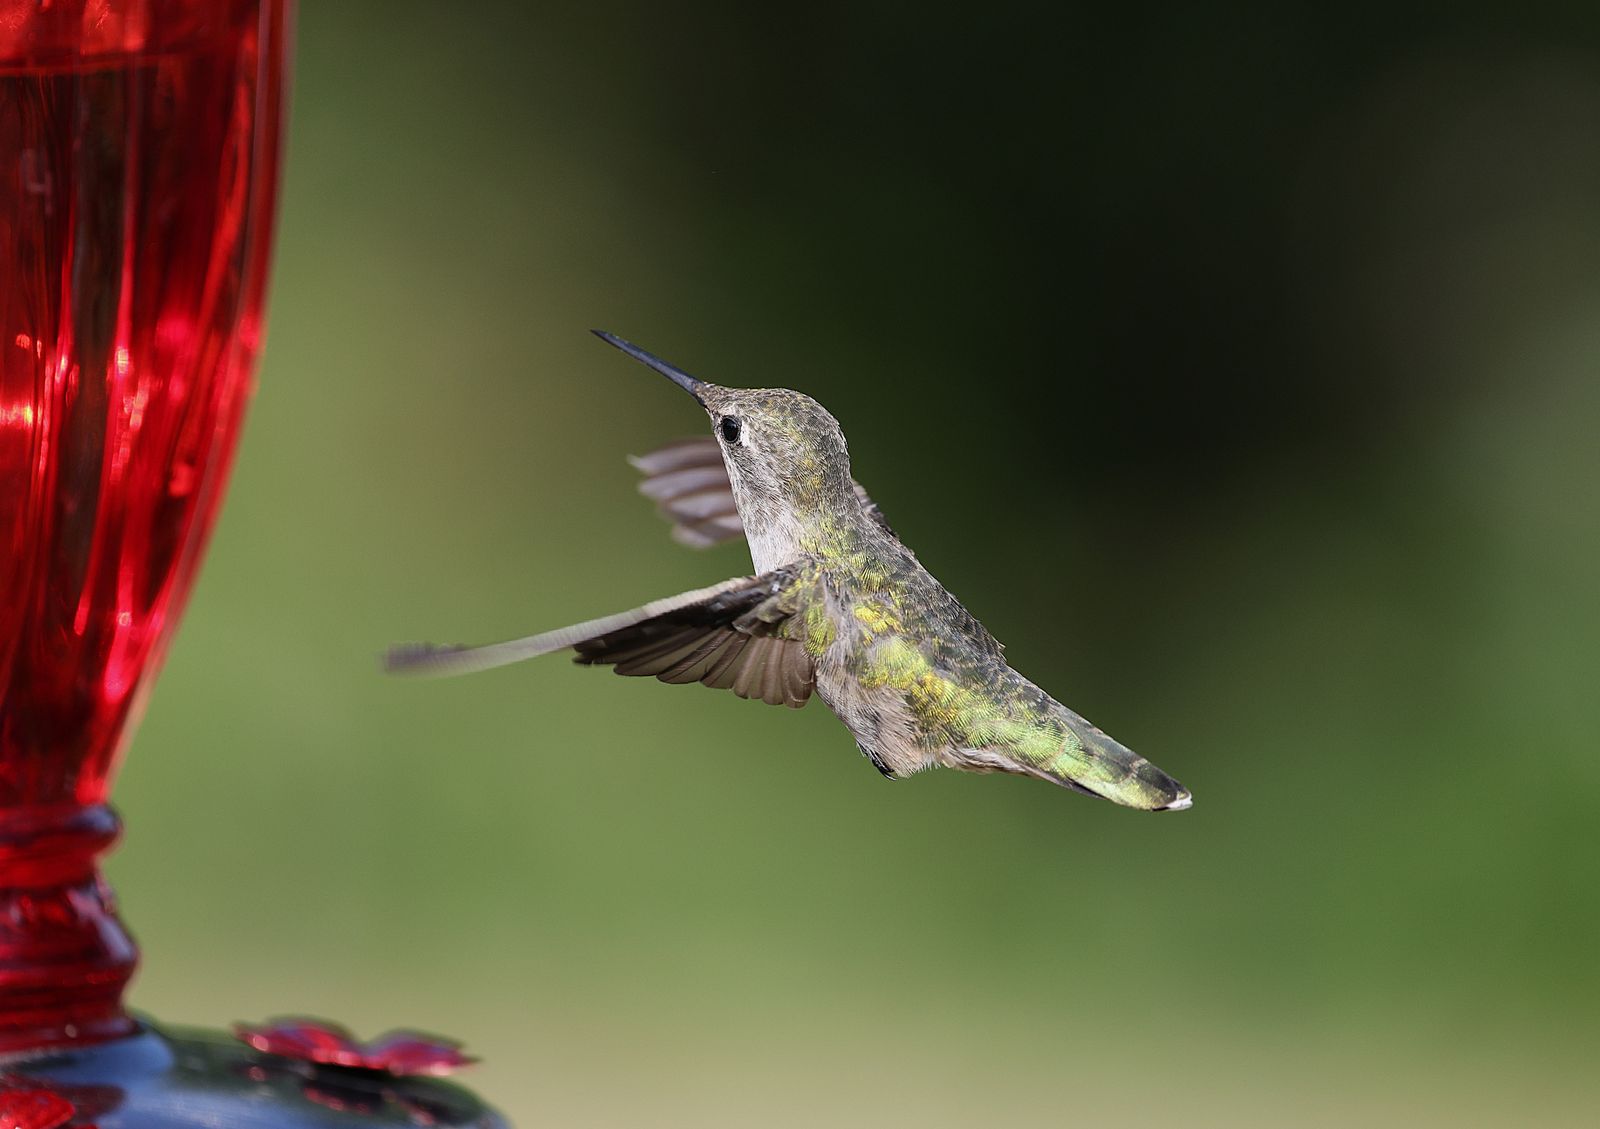
Why Is My Glass Hummingbird Feeder Leaking? Causes & Engineering Fixes
Glass hummingbird feeders leak primarily due to lost internal vacuum pressure caused by direct sunlight heating trapped air, missing or misaligned rubber O-ring gaskets, or loose base threading. To stop dripping immediately, fill the reservoir completely with cool nectar, seat the rubber gasket firmly in the metal base channel, thread hand-tight, invert quickly over a sink, and hang the feeder in full afternoon shade.
Visual Leak Troubleshooting Flowchart
- Where is the nectar dripping from? → Yes: If dripping from the base threads, inspect the rubber O-ring gasket.. No: If dripping from the feeding ports, check thermal exposure and fill level..
- Is the rubber O-ring gasket intact and seated flat in the metal base groove? → Yes: Gasket is fine. Check if base threads are cross-threaded or under-tightened.. No: Replace or properly seat the food-grade silicone O-ring gasket before refilling..
- Is the feeder hung in direct afternoon sunlight with partial nectar fill? → Yes: Trapped air is expanding under solar heat (Boyle's Law), forcing liquid out of ports. Move to partial shade and fill to 95-100% capacity.. No: Inspect the hand-blown glass reservoir for hairline structural fractures or micro-cracks..
Diagnostic Matrix: Leak Scenarios & Engineering Fixes
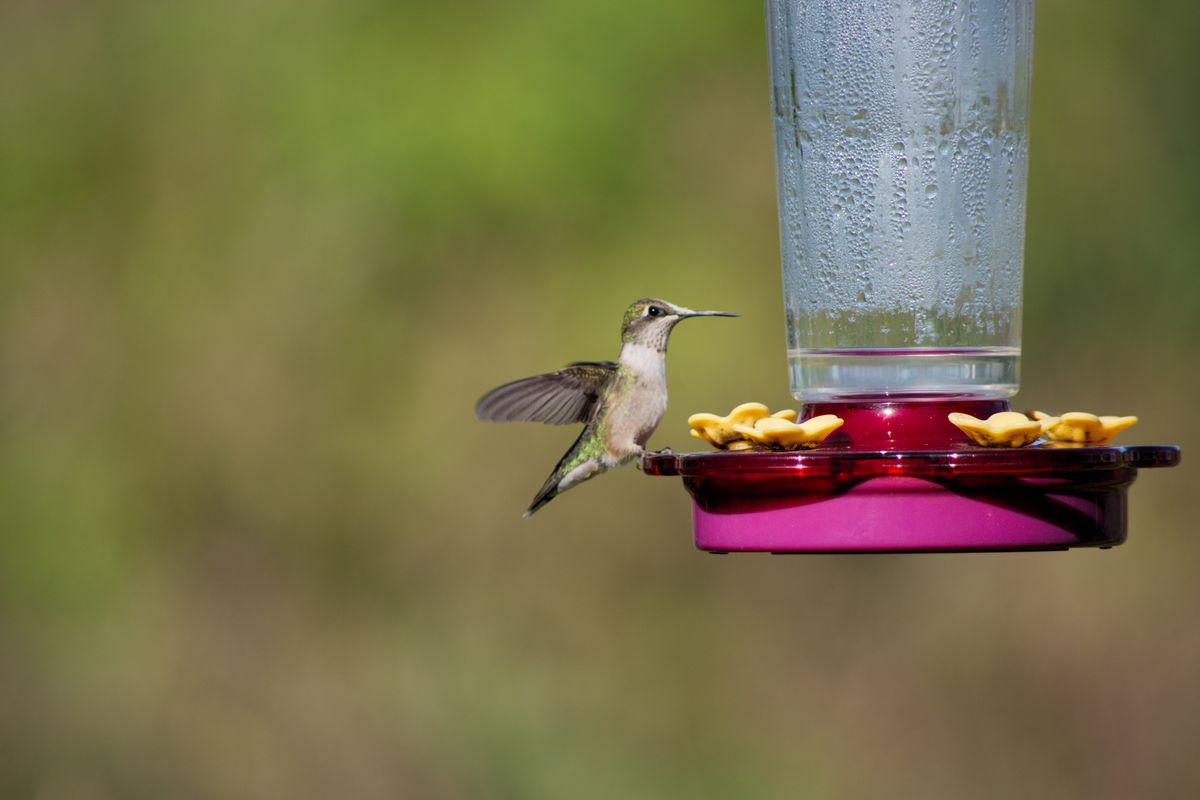
Photo by Sean Ewing on Pexels
| Leak Scenario & Symptom | Fluid Dynamic Cause | Immediate Fix Protocol | Long-Term Solution |
| --- | --- | --- | --- |
| Continuous heavy dripping from feeding ports immediately after hanging. | Large air pocket trapped inside reservoir expands rapidly; vacuum equilibrium failed to establish during inversion. | Fill reservoir to 95-100% capacity before inverting in one swift motion over a sink. | Use feeders with slender glass necks that naturally limit initial air bubble size upon inversion. |
| Nectar seeping continuously around metal base threads. | Air entering base threads due to missing, twisted, or pinched rubber O-ring gasket, breaking internal vacuum. | Unscrew base, inspect gasket groove, flatten O-ring, and thread hand-tight until firm resistance. | Upgrade to engineered metal bases with recessed gasket channels that lock O-rings in place. |
| Feeder stays sealed in morning, but drips steadily every afternoon. | Thermal expansion of trapped air air pocket under direct sunlight pushes nectar downward through ports. | Relocate feeder to a location receiving morning sun and full afternoon shade. | Select solar-powered glass feeders designed with insulated top caps and shade-optimized mounting. |
| Nectar dripping from flower ports when winds blow or feeder sways. | Mechanical tilting breaks liquid barrier across internal port stems, allowing atmospheric air into reservoir. | Shorten hanging wire, stabilize pole mount, or install an S-hook swivel stabilizer. | Ensure feeder heavy base maintains low center of gravity when fully loaded. |
Identify your specific leakage symptom to understand the underlying fluid dynamic failure and apply the permanent physical fix.
Master Tip: The Cold-Water Vacuum Priming Method
When refilling your hand-blown glass hummingbird feeder, never use lukewarm nectar. Warm liquid warms the air trapped above it. As that air cools down outdoors, or warms up further in the sun, pressure swings cause immediate leaking.
The Solution: Cool your sugar water solution in the refrigerator prior to filling. Fill the glass reservoir to the top brim (leaving less than 1/4 inch of air space). Screw the base on hand-tight. Before flipping the feeder right side up, run cold tap water over the exterior threads of the base for 5 seconds. Invert the feeder in one quick, continuous motion over your sink. You will see 2 to 3 initial drops fall as atmospheric pressure equalizes against internal vacuum pressure—and then the dripping will stop completely. This technique locks in maximum vacuum pressure before you even step outside.
5-Point Leak Prevention Assembly Checklist
- [ ] Gasket Seating: Confirm the rubber O-ring is resting completely flat inside the metal base channel without twists.
- [ ] Fill Level: Ensure nectar fills the glass reservoir to at least 95% capacity to minimize air volume.
- [ ] Thread Engagement: Screw the reservoir into the anti-rust metal base hand-tight until firm; do not over-torque.
- [ ] Rapid Inversion: Flip the feeder upside down in a single swift motion over a sink to establish equilibrium.
- [ ] Shade Positioning: Hang the feeder where it receives morning sun and full afternoon shade to prevent thermal pressure spikes.
Inverted Vacuum Physics: How Glass Feeders Hold Nectar
Understanding how air pressure and vacuum balance interact inside your hand-blown glass feeder explains why small seal defects cause big leaks.
Repair vs. Replace Decision Tree
- Does the glass reservoir show visible cracks, chips along the threaded neck, or hairline stress fractures? → Yes: Replace Feeder: Damaged glass cannot maintain vacuum pressure and presents safety risks.. No: Proceed to check base hardware integrity.
- Is the metal or plastic base thread stripped, warped, or cracked around the gasket groove? → Yes: Replace Base or Feeder: Warped threads prevent uniform compression against the O-ring seal.. No: Proceed to simple gasket and placement adjustments.
- Is the rubber O-ring missing, dried out, or cracked? → Yes: Replace Gasket: Install a food-grade silicone O-ring matching the neck diameter.. No: Perform Cold-Water Priming and relocate feeder to afternoon shade.
Essential Leak-Proof Physics Principles
- Vacuum Integrity: Inverted glass feeders rely on air pressure equilibrium; any air entering through bad threads causes continuous dripping.
- Thermal Expansion: Trapped air bubbles expand significantly when heated by afternoon sun, pushing liquid out through feeding ports.
- Gasket Compression: Precision rubber O-rings must sit completely flat in anti-rust metal channels to seal micro-gaps.
- Fill Volume: Maximum nectar fill (95-100%) minimizes internal air volume, reducing thermal expansion risks.
Feeder Base Engineering Comparison Guide
Plastic bases frequently warp under summer thermal load, while precision-machined metal bases with recessed rubber channels maintain structural seal integrity year-round.
Best choice for
- Coated Anti-Rust Metal Base with Recessed Gasket Channel — Metal threads retain rigid geometry without distorting under high temperature.
- Hand-Blown Glass Reservoir with Heavy-Gauge Metal Port Base — Thick glass necks withstand repeated thread cycling without chipping.
- Thin unsealed plastic threaded bases that lack a dedicated rubber O-ring groove.
- Feeders hung on lightweight flexible shepherd hooks prone to excessive sway in high wind.
- Dish-style top-fill feeders — Eliminates inverted vacuum mechanics entirely, though offers lower capacity and higher evaporation.
Recommended Leak-Proof Feeder Solution
If your current feeder suffers from warped plastic threads or missing seals, upgrade to a precision-engineered artisan design.
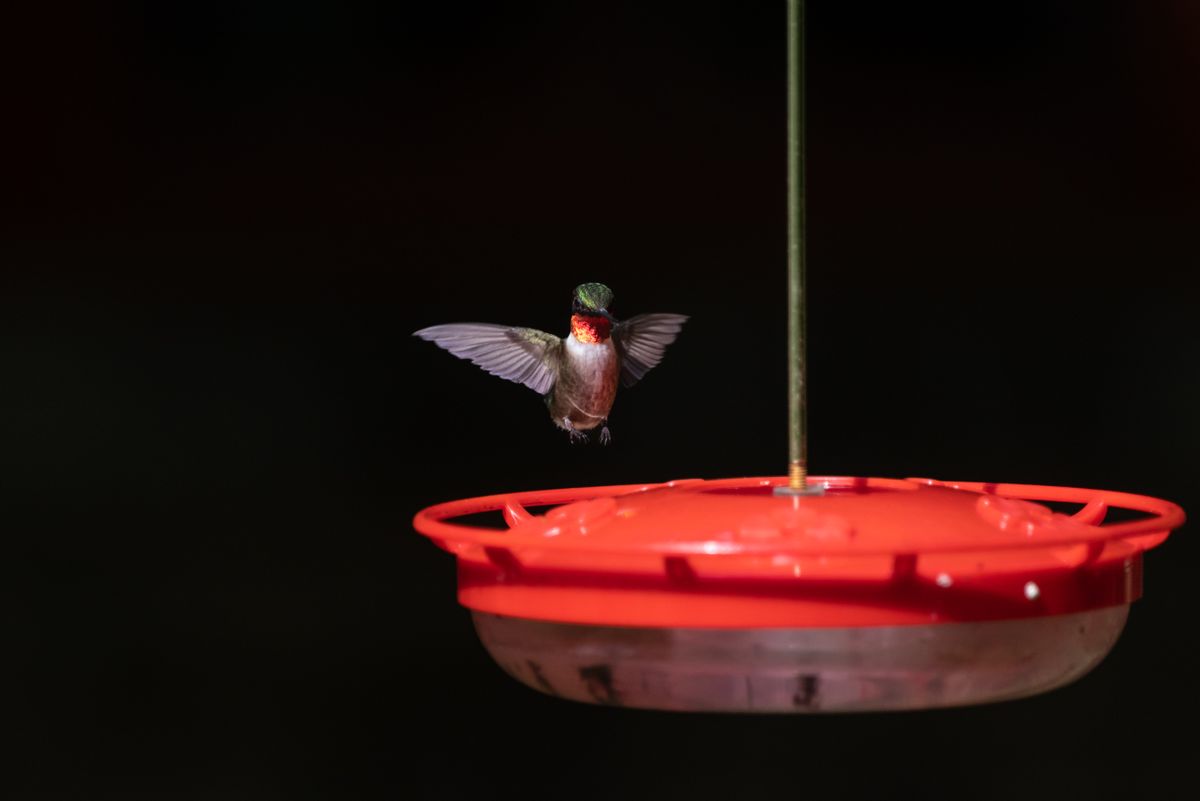
Standard Plastic Base vs. LUJII Engineered Metal Base
| Design Feature | Standard Plastic Thread Base | Unsealed Sheet Metal Base | LUJII Precision Metal Base |
| --- | --- | --- | --- |
| Thread Thermal Stability | Poor (Warps in 85°F+ sun) | Moderate (Deforms under load) | Excellent (Rigid anti-rust coated metal) |
| Gasket Retention System | Loose un-channeled washer | No gasket channel | Recessed locked O-ring groove |
| Vacuum Seal Reliability | Frequent port dripping | Thread seeping under temperature shift | Stable air-tight vacuum balance |
| Capacity & Solar Feature | 16-20 oz / No lighting | 24 oz / Basic cap | 32 fl.oz / Integrated RGB solar lighting |
Compare structural and functional differences across feeder base constructions.
Step-by-Step Instructions: Resetting Vacuum Integrity
Follow these steps to disassemble, inspect, seal, and correctly invert your glass hummingbird feeder.
Common Mistakes That Cause Hummingbird Feeder Leaks
Avoid these simple operational errors that unintentionally destroy vacuum pressure and cause nectar spills.
Related Maintenance & Styling Guides
- Why Is My Hummingbird Feeder Leaking? 5 Quick Causes & Fixes
- Why Is My Hummingbird Feeder Leaking? Causes & Fast Fixes
- Stop Leaks & Night Pests on Solar Hummingbird Feeders
Frequently Asked Questions About Feeder Leaks
Clear answers to essential questions about glass feeder seals, gasket maintenance, and fluid physics.
Action Plan & Next Steps
Your decision: Identify whether your leak is caused by simple thermal air expansion, missing gaskets, or warped base threads.
Do this next: Fill your glass feeder 95-100% full with cool nectar, inspect and seat the rubber gasket, invert quickly over a sink, and hang in full afternoon shade. If threads are stripped or unsealed, upgrade to a precision-engineered sealed metal base feeder.
- Read next: How to Clean and Maintain Your Hand-Blown Solar Hummingbird Feeder
- Read next: Hand-Blown vs. Molded Glass Feeders: Why Handcrafted Detail Matters
LUJII Hand-Blown Glass Solar Hummingbird Feeder with Leak-Proof Sealed Metal Base
Take these simple steps right now to restore your feeder seal or upgrade your setup.
Cover photo by Veronika Andrews on Pexels.