Where to Place a Solar Hummingbird Feeder for Sun & Safety
Imagine stepping out onto your back patio with a exquisite hand-blown glass solar feeder, eager to watch fluttering hummingbirds by day and enjoy glowing RGB glass art by night—only to wonder where to hang it so the sun charges the lights without cooking the nectar.
Hang your solar hummingbird feeder where it receives 4 to 6 hours of direct morning sun (East exposure) and afternoon shade (West protection). Position the feeder base 5 feet off the ground, 10 to 15 feet from shrubs for predator cover, and either under 3 feet or over 10 feet from glass windows.
Pre-Hanging Site Audit Checklist
- [ ] Spot receives direct morning sunlight between 7 AM and 11 AM.
- [ ] Spot is shaded from harsh afternoon heat between 1 PM and 5 PM.
- [ ] Feeder base will hang 5 feet above ground level.
- [ ] Location is 10–15 feet away from dense shrubs (close enough for escape, far enough to prevent cat ambush).
- [ ] Feeder is placed either under 3 feet or over 10 feet from glass window panes.
- [ ] Solar cap has unobstructed sky view above without low-hanging leaves blocking the panel.
Step-by-Step: Finding and Setting Up Your Feeder's Ideal Micro-Location
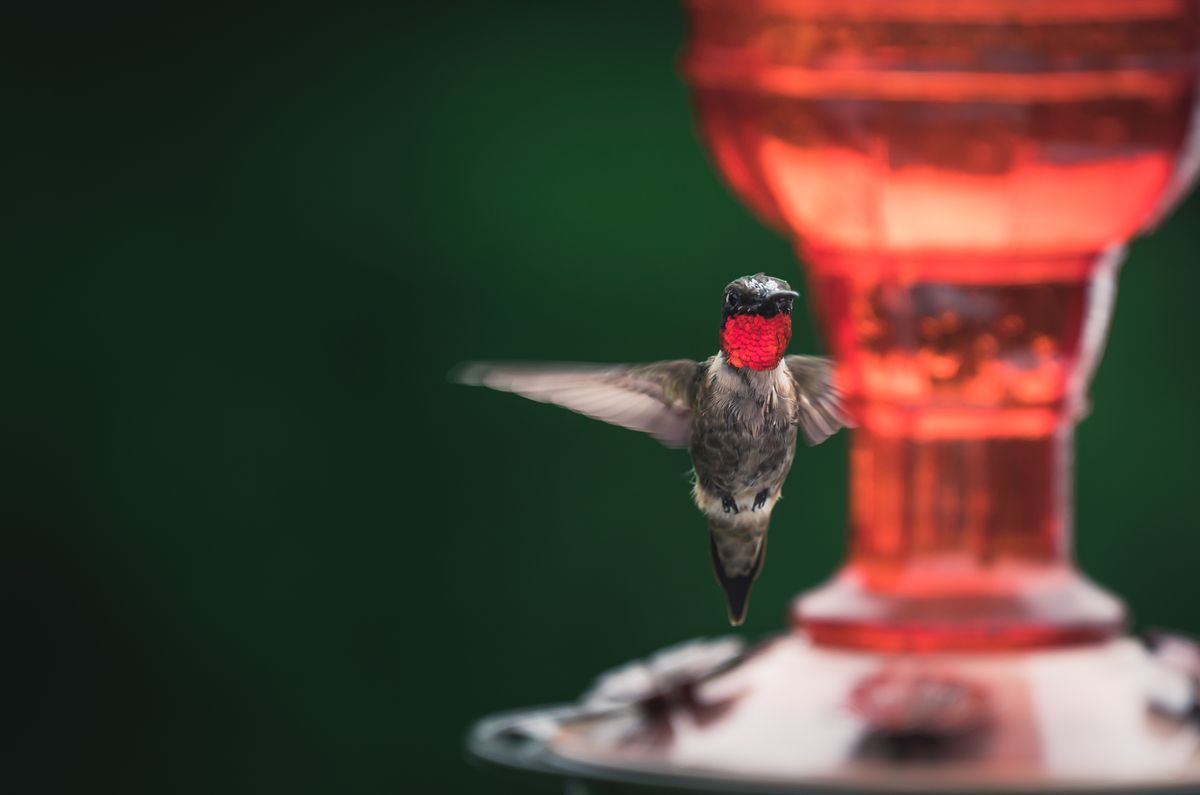
Finding the sweet spot for a solar-powered glass hummingbird feeder takes a quick four-step spatial audit of your outdoor living space.
Step 1: Map Your Yard's Morning Sun vs. Afternoon Heat
Observe your yard at 9 AM and again at 2 PM. Look for an East-facing garden area, porch edge, or open lawn zone that catches early light to recharge the solar battery cap, but becomes enveloped in cooling shadow once peak ambient temperatures arrive in the afternoon.Step 2: Apply the 5-10-15 Safety and Sightline Rule
Measure your physical clearances. Set the height so the bottom feeding ports hang precisely 5 feet above the ground. Ensure there is dense tree canopy or shrubbery 10 to 15 feet away—this provides perching branches where territorial hummers can rest while scanning for rivals. Finally, place the feeder 15 feet from indoor sitting areas or main windows for clear viewing without causing window strikes.Step 3: Test Solar Angle & Overhead Canopy Clearance
Check directly above the solar cap. Ensure overhanging leaves, roof eaves, or patio umbrellas do not cast a permanent shadow across the solar panel. The solar top needs clear sky access during morning hours to generate a full 8-hour charge for evening RGB lighting.Step 4: Anchor Heavy-Duty Mounting Hardware
Hand-blown glass feeders with a 32 fl.oz nectar capacity carry substantial weight when full. Use a multi-prong steel shepherd's hook or solid wood wall bracket anchored into a stud. Attach a locking S-hook to keep wind gusts from lifting the feeder off its mount.Pro Tip: The Micro-Climate Angle for Glass Solar Feeders
If your yard lacks natural afternoon shade from tall trees, create a micro-climate shadow using building architecture. Mount an angled wall bracket on an East-facing wall right beneath an eave roof line. By pitching the hook outward at a 45-degree angle, the top solar cap extends forward to catch low morning sunlight, while the hand-blown glass reservoir below remains shaded under the roof line as the sun rises overhead into afternoon heat.
Placement Decision Tree: Where Should You Hang Yours?
- Does your yard have an East-facing area receiving 4-6 hours of morning sun? → Yes: Proceed to check for nearby shrub cover (10-15 feet away). Mount on a Shepherd's hook in East garden bed.. No: Do you have a covered South or West porch/deck?
- Do you have a covered South or West porch/deck? → Yes: Use an extended deck pole bracket that positions the solar cap outside the roof line while keeping the glass body shaded.. No: Mount on an open yard pole using an anti-heat weather baffle shield above the solar cap.
Immediate Action Plan for Your Feeder Setup
Your decision: Identify your East-facing garden zone that receives morning light and afternoon shade.
Do this next: Set up a heavy-duty shepherd's hook 5 feet off the ground, precisely 10-12 feet away from nearby bushes.
Related resource: Downloadable Yard Placement Blueprint (PDF)
LUJII Hand-Blown Glass Solar Hummingbird Feeder with RGB LED Lighting
Once you have selected your ideal East-facing location, take these immediate steps to complete your sanctuary setup:
Core Rules of Solar Feeder Positioning
- Prioritize 4-6 hours of East-facing morning sunlight to charge the RGB battery without overheating sugar water.
- Maintain a strict 5-foot height clearance from ground level to deter prowling ground predators like outdoor cats.
- Keep feeders 10-15 feet from bushes so birds have a safe staging perch to check for territorial rivals.
- Prevent fatal window collisions by placing feeders closer than 3 feet OR further than 10 feet from window glass.
- Use heavy-duty steel mounting hooks capable of supporting handcrafted glass reservoirs up to 32 fl.oz.
Evaluating Potential Hanging Spots in Your Yard
Balancing solar illumination with nectar preservation requires selecting mounting spots that limit thermal exposure while maintaining high solar cap clearance.
Best choice for
- East Garden Bed — Provides ideal morning solar charging while surrounding house structures cast protective afternoon shadows.
- Deck Railing Extension — Positions solar panel outside roof shade for maximum night charge while keeping feeder at convenient eye level.
- Unshaded West lawn pole (causes extreme thermal fermentation of sugar nectar above 90°F within 24 hours).
- Deep interior tree canopy (blocks solar cap from direct sunlight, leaving evening LED lights uncharged).
- Covered Porch Outer Eave — Provides overhead rain/snow shelter for hand-blown glass while exposing outer solar cap to direct sky light.
Featured Craftsmanship: LUJII Hand-Blown Solar Feeder
When placing a feeder in variable weather conditions, high-grade materials make all the difference in durability and bird attraction.
- Artisan Hand-Blown Glass: Each reservoir is handcrafted at 2,300°F with unique translucent patterns, allowing easy viewing of nectar levels while creating glowing nighttime garden art.
- Integrated Solar Cap & RGB LED: Waterproof plastic solar top shields against rain and snow while charging solar batteries for up to 8 hours of ambient evening color shifting.
- Leak-Proof Metal Base: Sealed 32 fl.oz slender reservoir with anti-rust coated metal base prevents drips, protecting your patio floor and deterring crawling insects.
Sun Exposure vs. Nectar Freshness: Placement Scenarios Compared
| Placement Scenario | Solar Battery Yield | Nectar Freshness Window | Predator Protection | Overall Suitability |
| --- | --- | --- | --- | --- |
| Full Afternoon Sun (West Lawn) | 100% (8+ hrs RGB light) | 1-2 Days (High fermentation risk) | Low (Open lawn risk) | Poor (Spoils nectar quickly) |
| Deep Tree Canopy (100% Shade) | 0-25% (Dim/No evening light) | 5-7 Days (Stays cool) | Medium (Branch hiding spots) | Sub-optimal (Defeats solar feature) |
| East Wall / Garden Bed (Morning Sun) | 85-100% (6-8 hrs RGB light) | 3-5 Days (Optimal balance) | High (10-15ft shrub clearance) | Optimal (Best overall performance) |
| Covered Porch Eave (Filtered Sun) | 50-75% (4-6 hrs RGB light) | 4-5 Days (Sheltered heat) | High (Structure safety) | Good (Convenience & protection) |
Review how different micro-locations across your yard impact battery charging yields, nectar preservation, and bird visiting rates.
Visualizing the 5-10-15 Safety and Sightline Rule
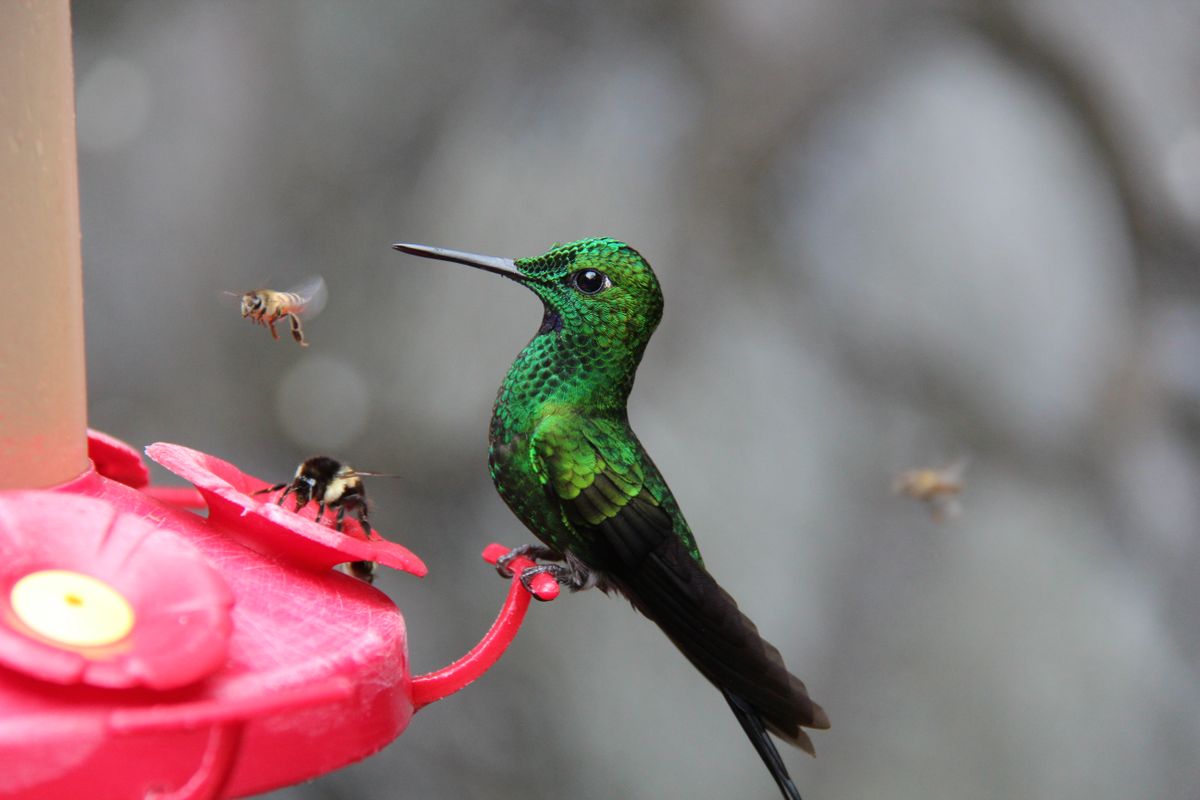
Photo by Dick Scholten on Pexels
This spatial diagram details the precise physical clearance measurements required for optimal yard placement.
5 Placement Blunders That Spoil Nectar and Scare Birds
Avoid these frequent setup errors that compromise bird safety and feeder longevity:
Seasonal Placement Adjustment Timeline
- Early Spring (Migration Arrival) — Hang feeder in open East exposure. Bare tree branches allow maximum early sun to charge solar lights and warm early spring nectar.
- Late Spring / Early Summer — Audit tree leaf canopy. Ensure growing foliage hasn't cast complete shade over the solar cap while maintaining afternoon shade on the glass.
- Peak Summer (July - August Heat) — Shift feeder slightly further under roof overhangs or canopy shadows to protect nectar from intense 90°F+ afternoon solar radiation.
- Autumn (Southward Migration) — Move feeder back into fuller sun exposure to keep nectar visible to traveling migrants and maximize battery runtime during lengthening nights.
Recommended Reading for Garden Birding
Enhance your backyard bird sanctuary with these guide topics:
- How to Hang Your Solar Hummingbird Feeder to Block Ants and Crawling Insects
- How to Clean and Maintain Your Hand-Blown Solar Hummingbird Feeder
- Understanding Nighttime Garden Decor and Bird Roosting Behavior
Frequently Asked Questions About Solar Feeder Placement
Answers to common questions regarding lighting, sun exposure, weather protection, and bird safety.
Start Creating Your Backyard Sanctuary
Your decision: Ready to bring handcrafted glass art, bright solar light, and hummingbirds to your garden?
Do this next: Select your favorite hand-blown glass style and mount your feeder in an East-facing morning sun zone today.
Related resource: https://solarhummingbirdfeeder.com
🌟 LUJII Solar-Powered Hummingbird Feeder 🌟
Now that you know the exact formula for placement, you're ready to transform your garden into a colorful refuge for hummingbirds.
Cover photo by Robert So on Pexels.