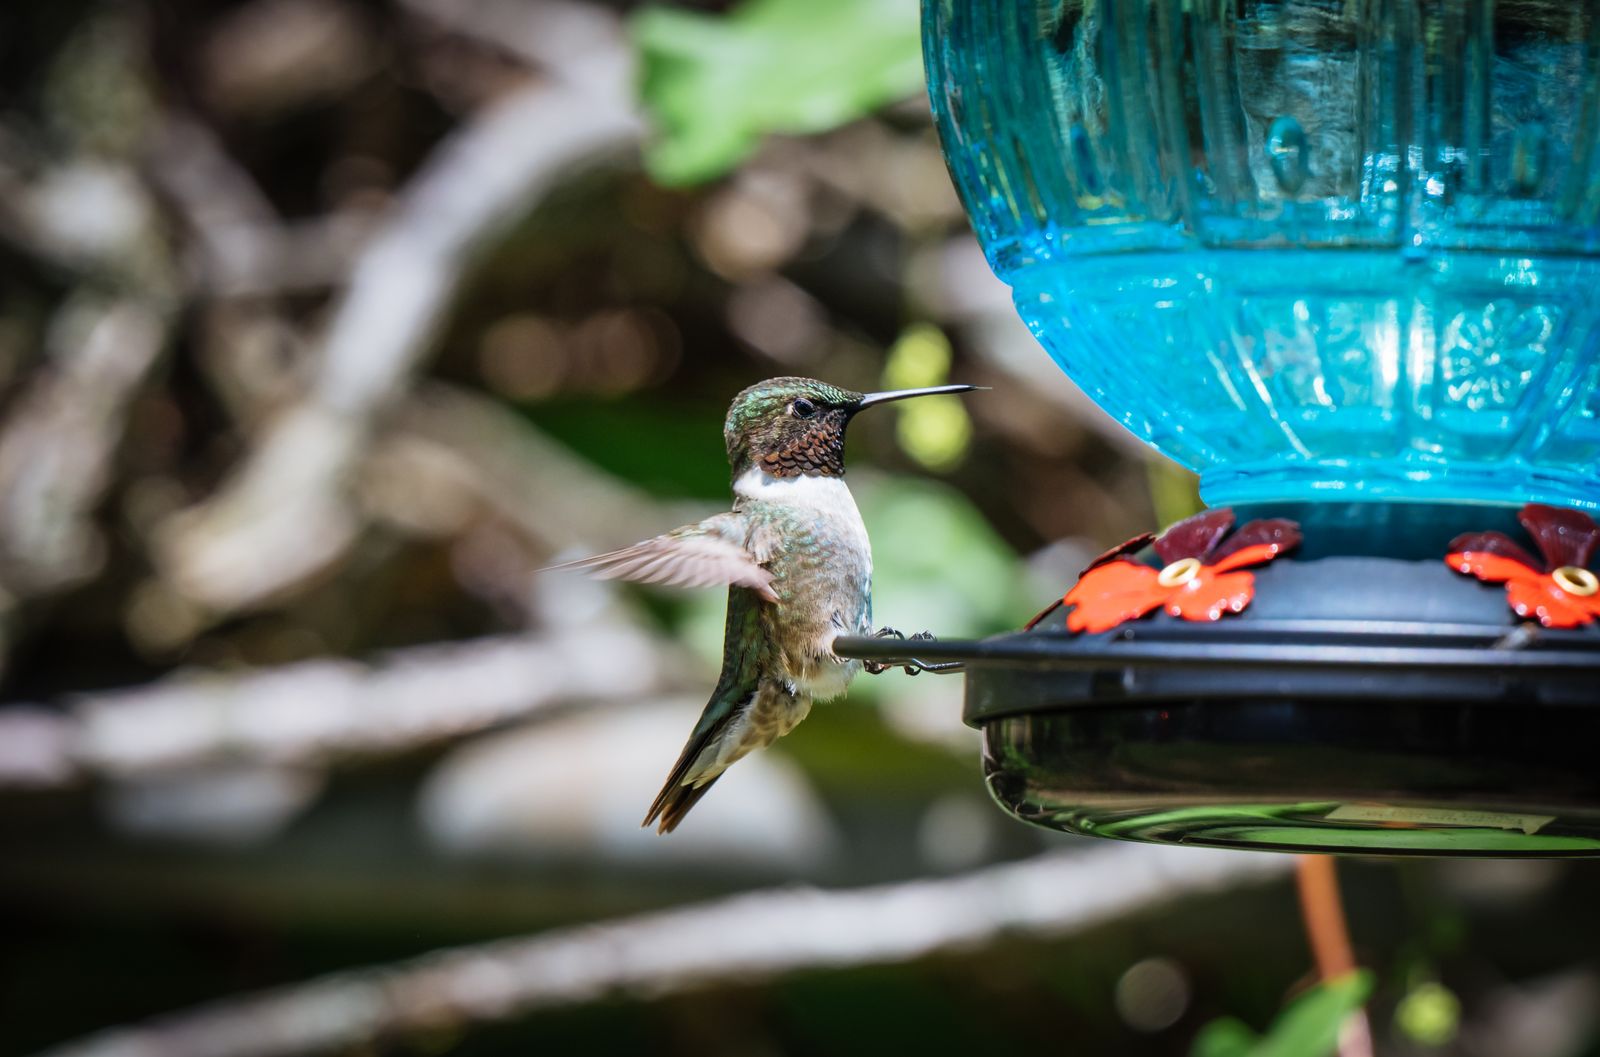
Why Isn't My Solar Hummingbird Feeder Lighting Up? Troubleshooting & Placement Fixes
If your solar hummingbird feeder isn't lighting up at dusk, the most common causes are an un-toggled power switch under the cap, insufficient direct sunlight during the day, light sensor interference from ambient porch lights, or a depleted AA Ni-MH rechargeable battery. Ensure the switch is turned ON, clean the photo-sensor, and give the top panel 6 to 8 hours of direct sun daily while keeping the hand-blown glass nectar reservoir safely shaded.
Solar Feeder Illumination Diagnostic Flowchart
- Is the power switch under the plastic solar cap toggled to 'ON'? → Yes: Proceed to test the light sensor.. No: Toggle switch to ON. Expose top solar panel to direct sunlight for 6–8 hours to complete a full recharge..
- When you completely cover the top solar cap with a dark cloth in a daytime room, do the RGB LEDs glow? → Yes: The electronics work! The issue is nighttime ambient light interference (e.g., streetlights or porch lights keeping the sensor in 'day' mode). Relocate feeder 15+ feet away from artificial lights.. No: Proceed to inspect solar exposure and photo-sensor cleanliness..
- Is the top solar panel receiving at least 6 hours of unshaded, direct sunlight daily? → Yes: Proceed to test or replace the internal rechargeable battery.. No: Reposition feeder so the top cap catches direct sunlight, or detach the top solar module daily to charge in direct sun while keeping the nectar reservoir shaded..
- Does replacing the internal 1.2V AA Ni-MH rechargeable battery restore the dusk-to-dawn RGB lights? → Yes: Problem solved! Your old rechargeable cell had reached the end of its operational charge cycle.. No: Inspect battery terminal contacts for corrosion or contact customer support for a replacement solar cap module..
Troubleshooting Matrix: Symptoms, Root Causes & Fixes
Photo by Jennelope 🩷 on Pexels
| Scenario / Symptom | Likely Cause | Immediate Fix | Prevention Routine |
| --- | --- | --- | --- |
| Feeder fails to light up at all after dark | Power switch is OFF, or clear factory protective film is still covering the solar panel panel face | Peel off protective plastic film from top panel; push rubber-sealed toggle switch under the cap to ON | Always verify switch is set to ON during initial seasonal setup |
| Lights stay dark despite a full day of sunlight | Nearby ambient light (porch bulb, floodlight) tricks dusk sensor into detecting daylight | Move feeder to a darker garden section at least 15 feet away from bright porch lights | Test dusk sensor by covering solar panel cap with your hand in a dim room |
| RGB LEDs turn on but shut off after 10–30 minutes | Rechargeable Ni-MH battery has degraded or panel received less than 3 hours of direct sunlight | Charge top panel in direct sun for 8 full hours; if runtime remains short, replace AA 1.2V Ni-MH battery | Replace internal solar battery annually before spring hummingbird migration |
| LED lights flicker or flash erratically | Corrosion on internal metal battery terminal contact tabs inside waterproof plastic housing | Unscrew battery compartment, wipe away oxidation with a dry cotton swab, re-seat battery firmly | Ensure plastic solar cap is tightly sealed after battery maintenance to block moisture |
| Glass nectar reservoir grows warm/cloudy while solar cap charges | Entire feeder hung in direct, all-day sun to maximize solar battery charging | Relocate glass body into dappled leaf shade while positioning top solar panel into high sun | Use a tree canopy or hanging extension hook to balance sun exposure on top with shade below |
Identify your solar feeder's specific behavior below to find the exact root cause and quick resolution action.
Expert Tip: The Micro-Climate Placement Secret
The single biggest challenge solar hummingbird feeder owners face is balancing energy with ecology: solar panels need direct sunlight to power evening RGB LEDs, but sugar water nectar spoils rapidly when heated above 88°F (31°C).
The Solution: Use the 'Micro-Climate Split Placement' technique. Hang your feeder on a south-facing tree branch where the top plastic solar cap extends just past the leaf canopy into full sun, while the heavy hand-blown glass reservoir sits tucked safely beneath the cooling shade of leaf foliage. Alternatively, high-quality models feature removable solar caps—allowing you to detach the solar module to charge on a sunny patio table during the morning before snapping it back onto your shaded feeder before dusk!
Decision Tree: Relocate, Recharge, or Replace Battery?
- Has the feeder worked continuously for over 12 to 18 months in the same location? → Yes: The rechargeable battery inside the solar cap has reached its end-of-life cycle. Replace with a standard 1.2V AA Ni-MH solar battery.. No: Proceed to test daily sun exposure.
- Is the solar feeder placed beneath dense porch eaves or heavy shade all day? → Yes: Relocate feeder to a dappled tree branch or use an extended shepherd's hook so the panel receives 6+ hours of solar rays.. No: Proceed to test for artificial light interference.
- Does the solar light illuminate when taken into a pitch-black closet or room? → Yes: The solar panel and battery are functional. The issue is ambient garden lighting. Move the feeder away from porch lights.. No: Check power switch state, clean photo-sensor diode, and verify battery terminals are free of moisture.
Immediate Action Steps to Restore Evening Illumination
Your decision: Determine whether your non-lighting feeder needs a switch adjustment, sensor clearance, location tweak, or a fresh Ni-MH battery.
Do this next: Perform the 30-second dark room sensor test: set switch to ON, cover the top solar cap completely with a dark cloth, and inspect if RGB LEDs illuminate.
Related resource: Downloadable Solar Feeder Maintenance & Placement Guide
If internal solar components have suffered weather damage after years of use, upgrade to the LUJII Hand-Blown Glass Solar Hummingbird Feeder featuring an IP65 waterproof plastic solar cap and anti-rust coated metal base.
Follow these quick steps to get your feeder glowing softly by tonight.
Key Takeaways for Solar Feeder Maintenance
- Switch On First: Solar feeders will not charge their internal battery while the power switch is in the OFF position.
- 6 to 8 Hours Direct Sunlight: Photovoltaic solar cells require unobstructed sun rays to generate up to 8 hours of evening RGB illumination.
- Protect Your Nectar: Never sacrifice nectar quality for solar power. Always keep the hand-blown glass reservoir shaded while exposing the solar cap to sunlight.
- Watch Porch Lights: Automatic dusk-to-dawn photo-sensors will disable RGB LEDs if placed within 15 feet of bright ambient garden lighting.
- Annual Battery Maintenance: Standard AA Ni-MH 1.2V rechargeable solar batteries typically require replacement every 12 to 24 months.
Printable Quick-Reference Field Guide
- Check Solar Panel: Remove plastic shipping film and clean dust or bird droppings from top glass/plastic.
- Verify Power Toggle: Turn rubber-covered switch to 'ON' position before placing in sun.
- Dark Room Test: Cover solar cap completely with hand or dark cloth; verify RGB LEDs glow.
- Positioning Check: Sun on top solar cap (6+ hours), shade over artisan glass body.
- Distance Check: Mount feeder at least 15 feet away from porch lights, street lamps, and security floodlights.
- Battery Care: Replace internal AA 1.2V Ni-MH battery every 1-2 seasons or after prolonged winter storage.
Placement Scenarios: Solar Charge Efficiency vs. Nectar Safety
| Placement Scenario | Direct Sun Exposure | Solar LED Runtime | Nectar Spoilage Risk | Overall Garden Rating |
| --- | --- | --- | --- | --- |
| Full Open Lawn / Unshaded Shepherd Hook | 8+ Hours Direct Sunlight | 8 Hours (Full Brightness) | HIGH (Nectar ferments in 24 hours under high heat) | Not Recommended (Endangers bird health) |
| Deep Porch / Covered Patio Overhang | 0–1 Hours Direct Sunlight | 0–1 Hours (Dim or No Light) | LOW (Nectar stays cool) | Poor (Solar panel receives insufficient charge) |
| Dappled Tree Canopy (South Facing Branch) | 5–7 Hours Filtered/Direct Sun | 6–8 Hours (Optimal Glow) | LOW-MEDIUM (Glass shaded by leaf foliage above) | EXCELLENT (Ideal balance of solar charge & shade) |
| Detached Cap Charging (Patio Sun / Shaded Hook) | 6–8 Hours (Cap charged separately) | 8 Hours (Full Brightness) | VERY LOW (Nectar stays completely shaded in garden) | BEST FOR SHADE GARDENS (Maximum flexibility) |
Compare garden placement scenarios to maximize battery run-time while preserving sugar water fresh for visiting hummingbirds.
Diagram Brief: The Golden Balance Layout
This diagram illustrates how to position an artisan solar hummingbird feeder to catch sunlight on top while shielding nectar from direct heat rays.
Calculator Brief: Solar Exposure & Placement Diagnostic Tool
Photo by Veronika Andrews on Pexels
Use this diagnostic tool specification to evaluate your feeder placement based on sun hours, ambient lighting distance, and local summer temperatures.
5 Steps to Test and Fix Your Solar Feeder Electronics
Follow this step-by-step technical restoration process to clean, test, and repair non-illuminating solar caps:
Common Mistakes That Prevent Nighttime Lighting
Avoid these frequent missteps to ensure your solar feeder provides years of reliable dusk-to-dawn illumination and safe feeding for hummingbirds:
- Charging With the Switch Turned OFF: Most solar charging circuits require the switch to be in the ON position to transfer solar energy into the internal rechargeable battery. Leaving it OFF means zero charge accumulates during the day.
- Placing Near Porch Lights or Security Floodlights: The integrated photo-sensor detects ambient foot-candles. If mounted too close to outdoor house lighting, the sensor assumes it is still daytime and prevents the RGB LEDs from turning on.
- Using Standard Non-Rechargeable Alkaline Batteries: Inserting standard 1.5V AA alkaline batteries into a solar charging cap can cause chemical leakage, permanent circuit damage, or housing failure. Always use Ni-MH 1.2V rechargeable solar batteries.
- Ignoring Seasonal Cleaning: Dust buildup on solar panels can reduce photovoltaic efficiency by up to 30% over a single summer season.
Related Guides on Hummingbird Care & Garden Decor
- Why Isn't Your Solar Hummingbird Feeder Lighting Up? Easy Troubleshooting & Fixes
- Troubleshooting Your Solar Hummingbird Feeder: Battery, Lighting, and Nectar Care Tips
- Solar Hummingbird Feeders as Outdoor Lighting: Runtime, Safety & Placement FAQ
Frequently Asked Questions
Find answers to technical and ecological questions regarding solar-powered illuminated hummingbird feeders.
Recommended Hand-Blown Solar Hummingbird Feeders
Looking to upgrade your outdoor space with a durable, leak-proof, and mesmerizing solar garden accent? Discover artisan craftsmanship engineered for both wild birds and evening aesthetics.
Restore Your Solar Feeder Glow Today
Your decision: Determine if your feeder requires a quick switch toggle, photo-sensor clearance, shade adjustment, or a replacement Ni-MH solar battery.
Do this next: Run the 30-second dark-room sensor test now. Check your power switch, wipe down the top panel, and ensure your hand-blown glass reservoir is shaded while charging.
Related resource: Downloadable Solar Feeder Spring Setup & Placement Checklist
Upgrade your garden decor with the LUJII Hand-Blown Glass Solar-Powered Hummingbird Feeder—featuring hand-blown 2,300°F artisan glass, a 32 fl. oz leak-proof capacity, an anti-rust metal base, and IP65 waterproof solar cap with automatic RGB night lighting.
Ready to bring enchanting RGB lighting and vibrant hummingbird activity back to your garden? Follow our diagnostic steps or upgrade to a premium artisan feeder built to withstand the elements.