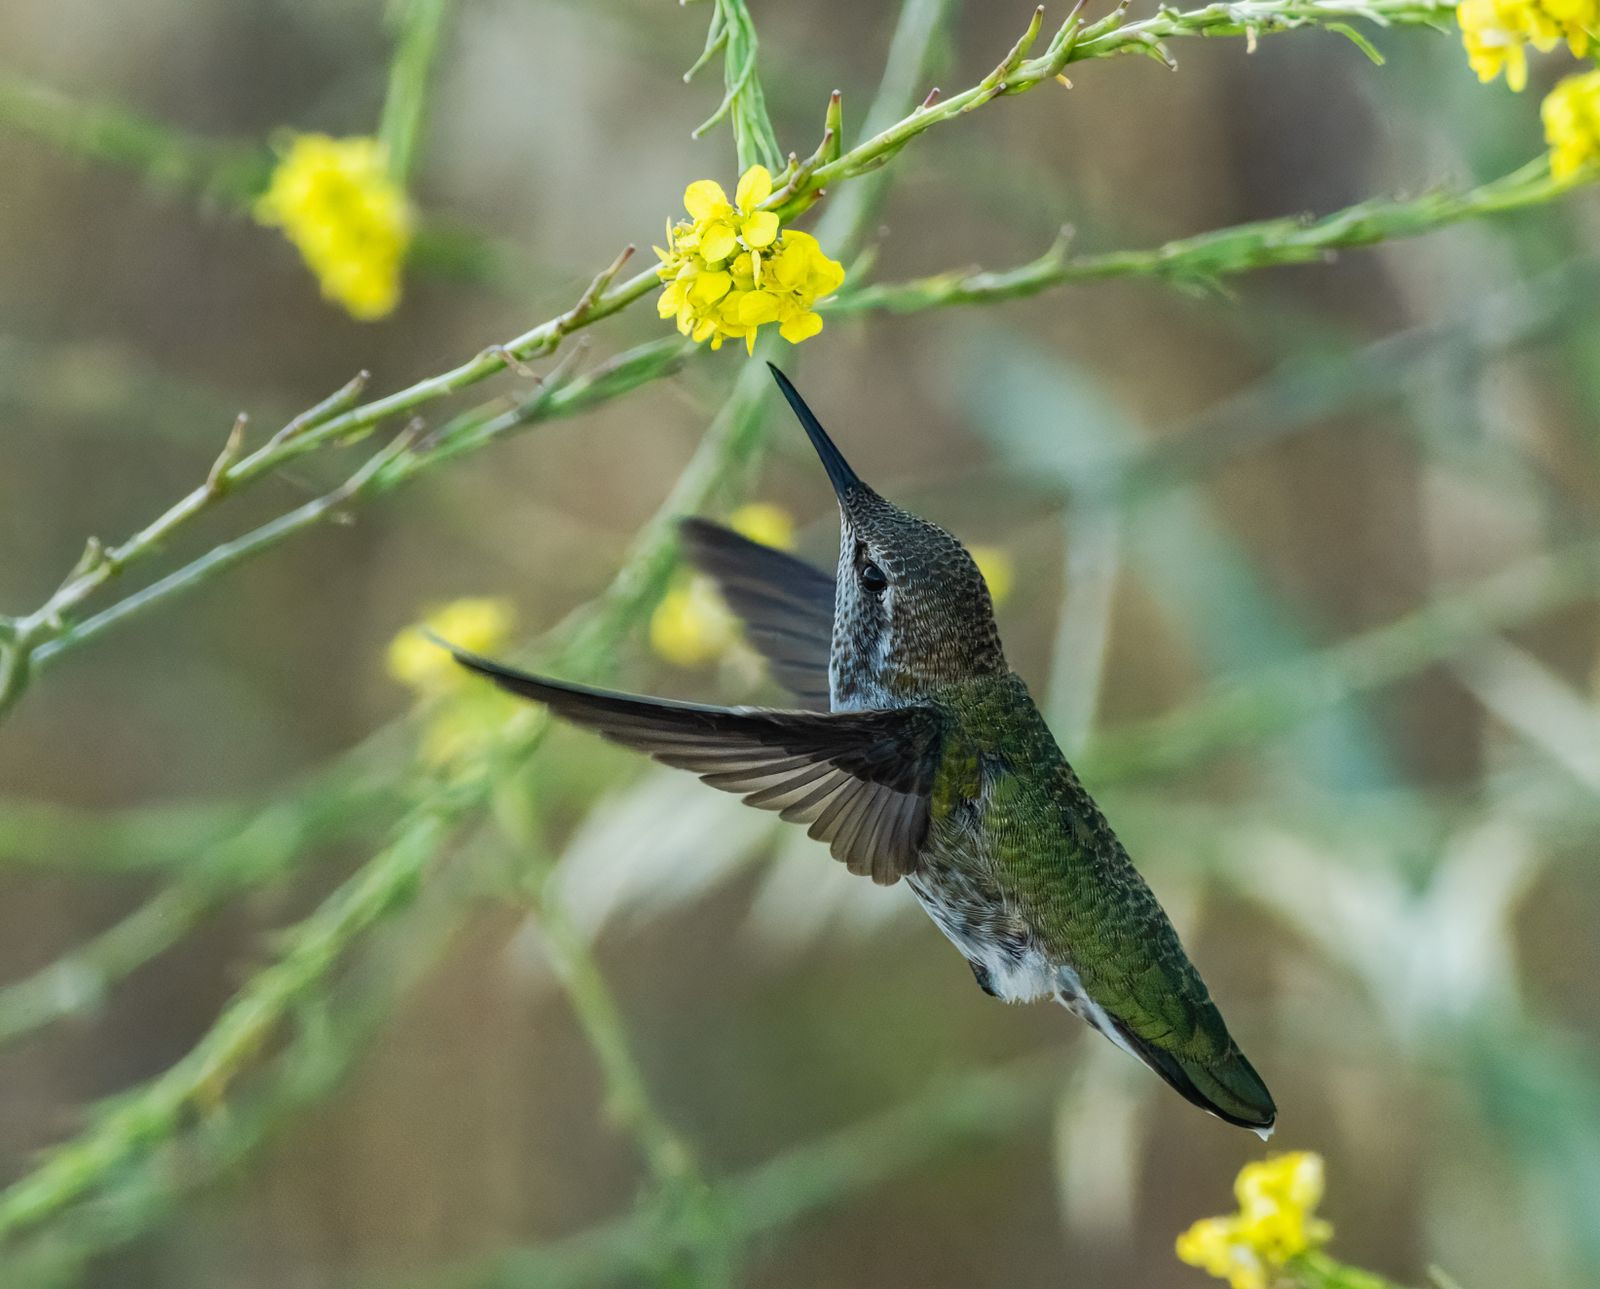
Troubleshooting Your Solar Hummingbird Feeder: Battery, Lighting, and Nectar Care Tips
If your solar hummingbird feeder won't light up, clean the solar panel with a damp microfiber cloth, ensure the power switch is turned 'ON,' and charge the AA 1.2V Ni-MH battery in direct sunlight for 8 hours. If nectar leaks, inspect the base gasket and move the glass reservoir to partial afternoon shade.
Solar Light & Sensor Troubleshooting Flowchart
- Is the RGB light failing to turn on at night? → Yes: Check under the cap: Is the toggle switch switched to ON?. No: Is nectar dripping from the feeding ports or metal base?.
- Is the toggle switch switched to ON? → Yes: Cover the solar panel with your hand. Does the light turn on?. No: Switch toggle to ON, place feeder in direct sunlight for 8 hours, and test again at dusk..
- Does the light turn on when the solar panel is covered? → Yes: Nearby porch lights or streetlights are deactivating the dusk-to-dawn light sensor. Relocate feeder to a darker spot.. No: Inspect solar panel for grime or open battery hatch to test voltage / clean corrosion..
- Is nectar dripping from the base in full sunlight? → Yes: Inspect silicone gasket alignment and relocate feeder to partial afternoon shade to stop thermal air expansion.. No: Perform standard weekly nectar refresh and wash glass reservoir with warm water..
Comprehensive Solar Feeder Symptom Matrix
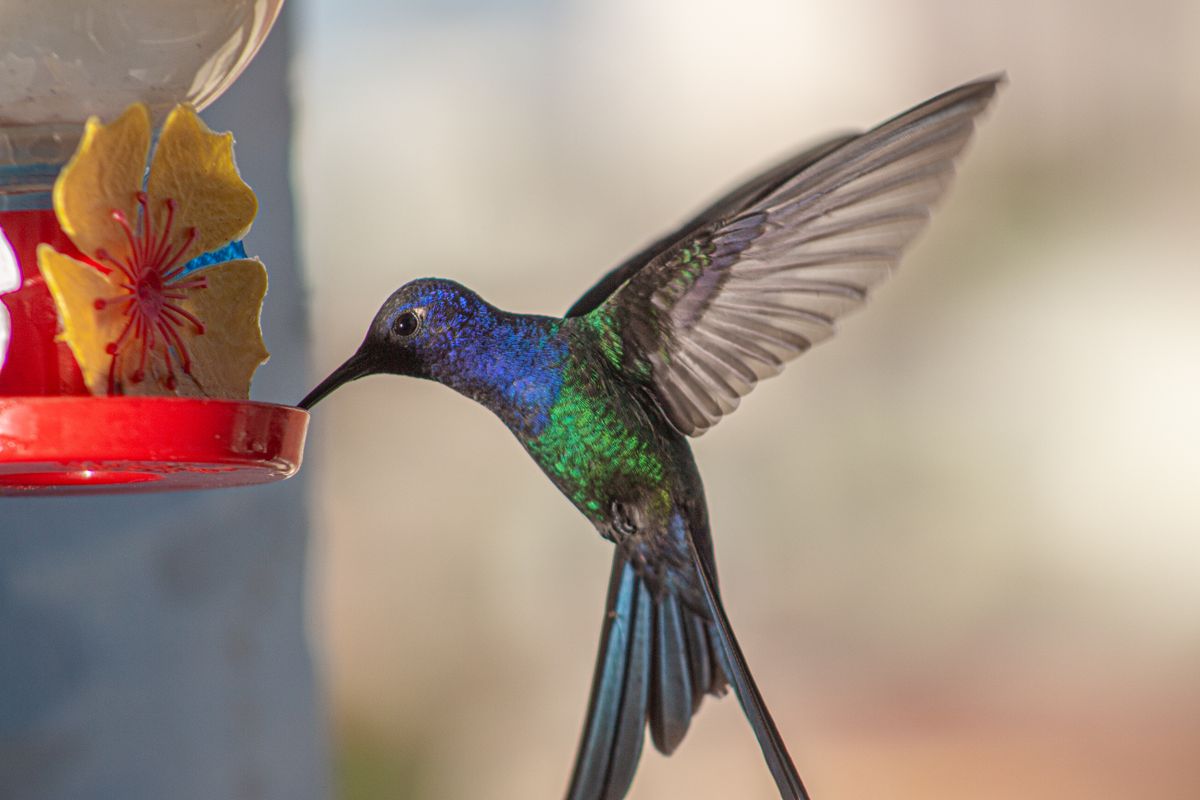
Photo by Lucas Pezeta on Pexels
| Symptom Scenario | Root Cause | Immediate Fix | Prevention Strategy |
| --- | --- | --- | --- |
| RGB Light Stays Off After Sunset | Switch is OFF, dark-sensor is blocked, or solar cell has dirt build-up. | Wipe solar cap with damp microfiber cloth and flip switch under cap to ON. | Clean solar collector panel weekly during regular nectar refills. |
| Light Glows Weakly or Turns Off After 1 Hour | Exhausted or degraded AA Ni-MH battery (aged 12+ months). | Replace internal battery with a fresh AA 1.2V Ni-MH 600-800mAh rechargeable battery. | Avoid full discharge during winter storage by turning switch OFF. |
| Light Flickers Rapidly in Darkness | Corrosion on battery housing contacts or loose battery seating. | Scrub battery contacts using a cotton swab dipped in white vinegar; dry completely. | Ensure top solar cap silicone rubber seal is tightly seated against weather. |
| Nectar Dripping From Metal Base During Hot Afternoons | Thermal expansion of trapped air inside 32 oz glass bottle pushing liquid down. | Fill reservoir 90-95% full and move feeder to direct morning light / afternoon shade. | Never hang glass feeder in unshaded 95°F+ direct sun full-day. |
| Nectar Leaking Out of Base Threads | Silicone sealing washer misaligned, pinched, or missing. | Unscrew metal base, realign silicone seal flat in base channel, and screw glass down firmly. | Inspect rubber gasket during every deep cleaning cycle. |
Match your feeder's exact behavior to identify the root cause and execute an immediate DIY fix.
Pro-Tip: Preserving Waterproof O-Rings & Electronics
When cleaning artisan hand-blown glass solar hummingbird feeders, never submerge the top solar cap in water. The cap houses sensitive optical circuitry and battery housing. Clean the solar cap by wiping the glass panel and plastic shell with a damp cloth. Apply a micro-film of food-grade silicone grease to the base gasket annually to keep rubber flexible and completely water-tight against heavy rainfall.
Repair vs. Component Replacement Path
- Has the feeder been exposed to sunlight for at least 6 full hours today? → Yes: Proceed to test solar sensor.. No: Relocate to an unshaded southern exposure and retest after 8 hours of sun.
- When covering the top glass panel with a dark towel, do the LEDs illuminate? → Yes: Electronics and battery are fully functional. Adjust placement away from ambient night lights.. No: Open battery compartment and inspect contacts.
- Are battery contacts covered in white powder or green rust? → Yes: Clean contacts with white vinegar swab, dry, and re-test with existing battery.. No: Install fresh AA 1.2V Ni-MH rechargeable battery.
- Does light remain off even with a brand new charged Ni-MH battery? → Yes: Solar circuit board or optical sensor is damaged. Replace top solar cap module.. No: Feeder fixed! Enjoy nighttime garden glow.
Immediate Action Protocol
Your decision: Identify if your primary issue is lighting failure or nectar leakage.
Do this next: Execute the 8-hour direct sunlight solar charge test after cleaning the panel and verifying the switch is turned ON.
Related resource: Twilight Nectar Care: Protecting Nectar Freshness Under Ambient RGB Glow
If your existing plastic feeder is cracked or non-functional, upgrade to the handcrafted LUJII 32 fl. oz. Hand-Blown Glass Solar Hummingbird Feeder.
Take these three immediate steps to fix your solar hummingbird feeder today:
Essential Rules for Solar Glass Feeder Health
- Always use AA 1.2V Ni-MH (600-800mAh) rechargeable batteries—never standard 1.5V alkaline batteries.
- Keep the solar panel clear of dust, tree sap, and bird droppings to maintain full charging efficiency.
- Prevent base leaks by filling nectar close to the top, minimizing empty air volume that expands when warmed.
- Position your feeder where it gets direct morning sun for solar charging and afternoon shade to protect nectar.
- Never wash the electrical solar cap in a dishwasher or submerge it in a sink.
Pre-Season & Monthly Solar Inspection Checklist
- [ ] Wipe solar collector panel clear of pollen, bird droppings, and dust using a soft damp cloth.
- [ ] Verify the ON/OFF toggle switch under the cap is fully engaged in the 'ON' position.
- [ ] Inspect battery compartment contacts for white/green powder or rust.
- [ ] Check silicone base ring for cracks or misalignment before filling nectar.
- [ ] Cover the solar sensor during daylight to test LED illumination manually.
Solar Module & Component Technical Specifications
| Component | Specification Standard | Function & Tolerance |
| --- | --- | --- |
| Solar Collector Panel | Polycrystalline Silicon, Waterproof Plastic Shield | Converts sunlight to direct current; shields against rain and snow. |
| Internal Battery | 1x AA 1.2V Ni-MH Rechargeable (600mAh - 800mAh) | Stores solar energy for up to 8 hours of nocturnal RGB lighting. |
| Lighting Array | Low-Voltage RGB Multi-Mode LEDs | Emits micro-watt ambient glow; zero thermal heat output into nectar. |
| Glass Reservoir | Hand-Blown Art Glass (Crafted at 2,300°F) | Translucent 32 fl. oz capacity for easy nectar monitoring. |
| Base Assembly | Coated Anti-Rust Metal Base with Silicone Seal | Provides durable, leak-proof perching platform resistant to weather. |
Reference these electrical and material tolerances when sourcing replacement parts or maintaining your feeder.
Preventative Maintenance Schedule
- Every 3 Days (Hot Weather) — Flush glass bottle with warm water, replace nectar, and wipe solar cap face with wet microfiber cloth.
- Every 7 Days (Moderate Weather) — Full nectar refresh. Inspect metal feeding ports for bee debris and clean lower metal basin.
- Monthly — Open battery cap, check terminals for moisture or scale, and inspect silicone O-ring gasket for cracks.
- End of Season (Winterization) — Remove AA Ni-MH battery, switch solar toggle to OFF, clean glass reservoir, and store indoors.
Replacement Battery Types: Ni-MH vs. Alternatives
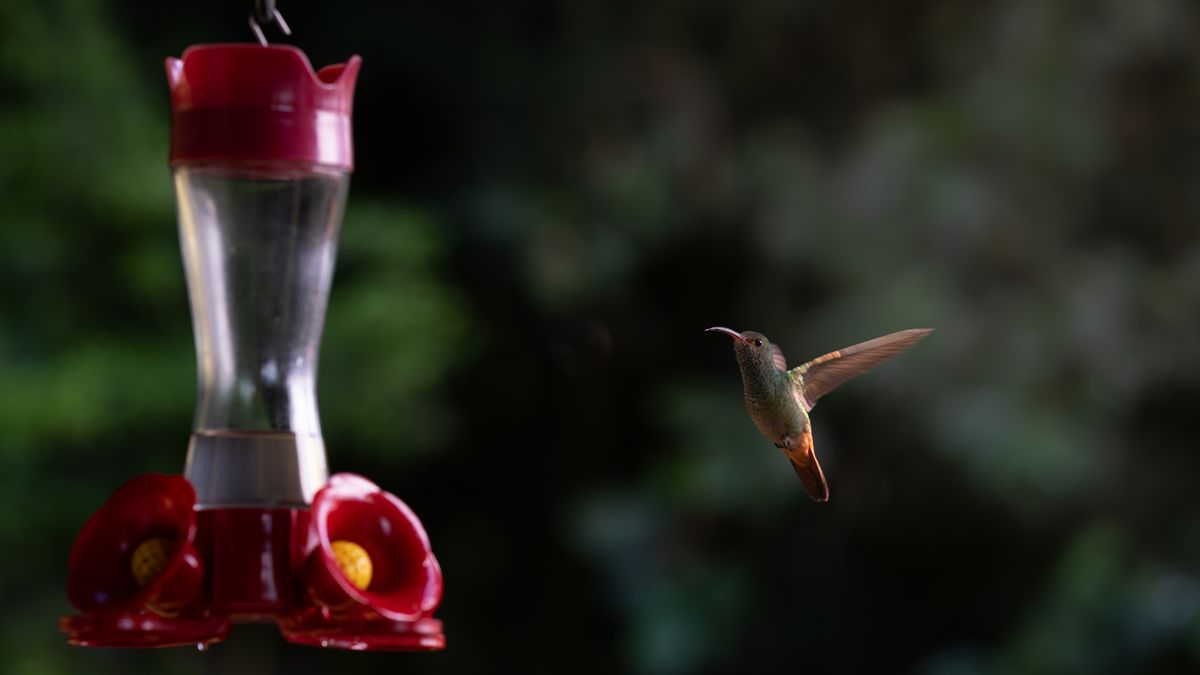
Photo by Mario Spencer on Pexels
| Battery Chemistry | Voltage | Solar Charge Compatibility | Best Use Scenario |
| --- | --- | --- | --- |
| Ni-MH (Nickel-Metal Hydride) | 1.2V | Fully Compatible (Standard) | Recommended for all solar feeder replacements (600-800mAh capacity). |
| Ni-CD (Nickel-Cadmium) | 1.2V | Compatible (Legacy) | Acceptable substitute, but lower capacity and shorter lifespan than Ni-MH. |
| Alkaline (Standard Household) | 1.5V | STRICTLY FORBIDDEN | DO NOT USE. Solar circuit will attempt to charge non-rechargeable cell, causing rupture. |
| Li-Ion (Lithium-Ion 14500) | 3.7V | INCOMPATIBLE | DO NOT USE. Excessive voltage will immediately burn out LED light board and sensor. |
Choosing the wrong replacement battery can permanently damage solar circuits or cause leakage. Use this scenario comparison to select the correct power cell.
Step-by-Step Battery Replacement & Corrosion Removal
If your solar cap shows terminal rust or fails to hold a charge after winter storage, follow these steps to restore electrical contacts safely.
5 Critical Mistakes That Damage Hybrid Solar Glass Feeders
Avoid these frequent errors to protect your artisan glass investment and extend electronic lifespan:
Frequently Asked Questions
Answers to common questions regarding solar feeder lighting, nectar care, and battery maintenance.
Recommended Replacement & Solar Feeder Upgrade
Enhance your garden experience with an handcrafted glass feeder engineered for weather resistance and nocturnal beauty.
Final Troubleshooting Guidance
Your decision: Determine if your feeder requires simple solar panel wiping, contact rust scrubbing, or gasket realigning.
Do this next: Clean solar cap face, check battery contacts, fill nectar to 95%, and mount feeder in morning sun / afternoon shade location.
Related resource: Garden Energy Care: Solar Cell Cleaning Manual for Outdoor Crafts
Explore the official LUJII Solar-Powered Hummingbird Feeder catalog for durable, handcrafted garden decor.
Wrap up your maintenance routine and keep your garden glowing with these final recommended steps:
Deepen Your Backyard Solar Knowledge
Link internally to maintenance and craft pillar content.
Cover photo by Robert So on Pexels.