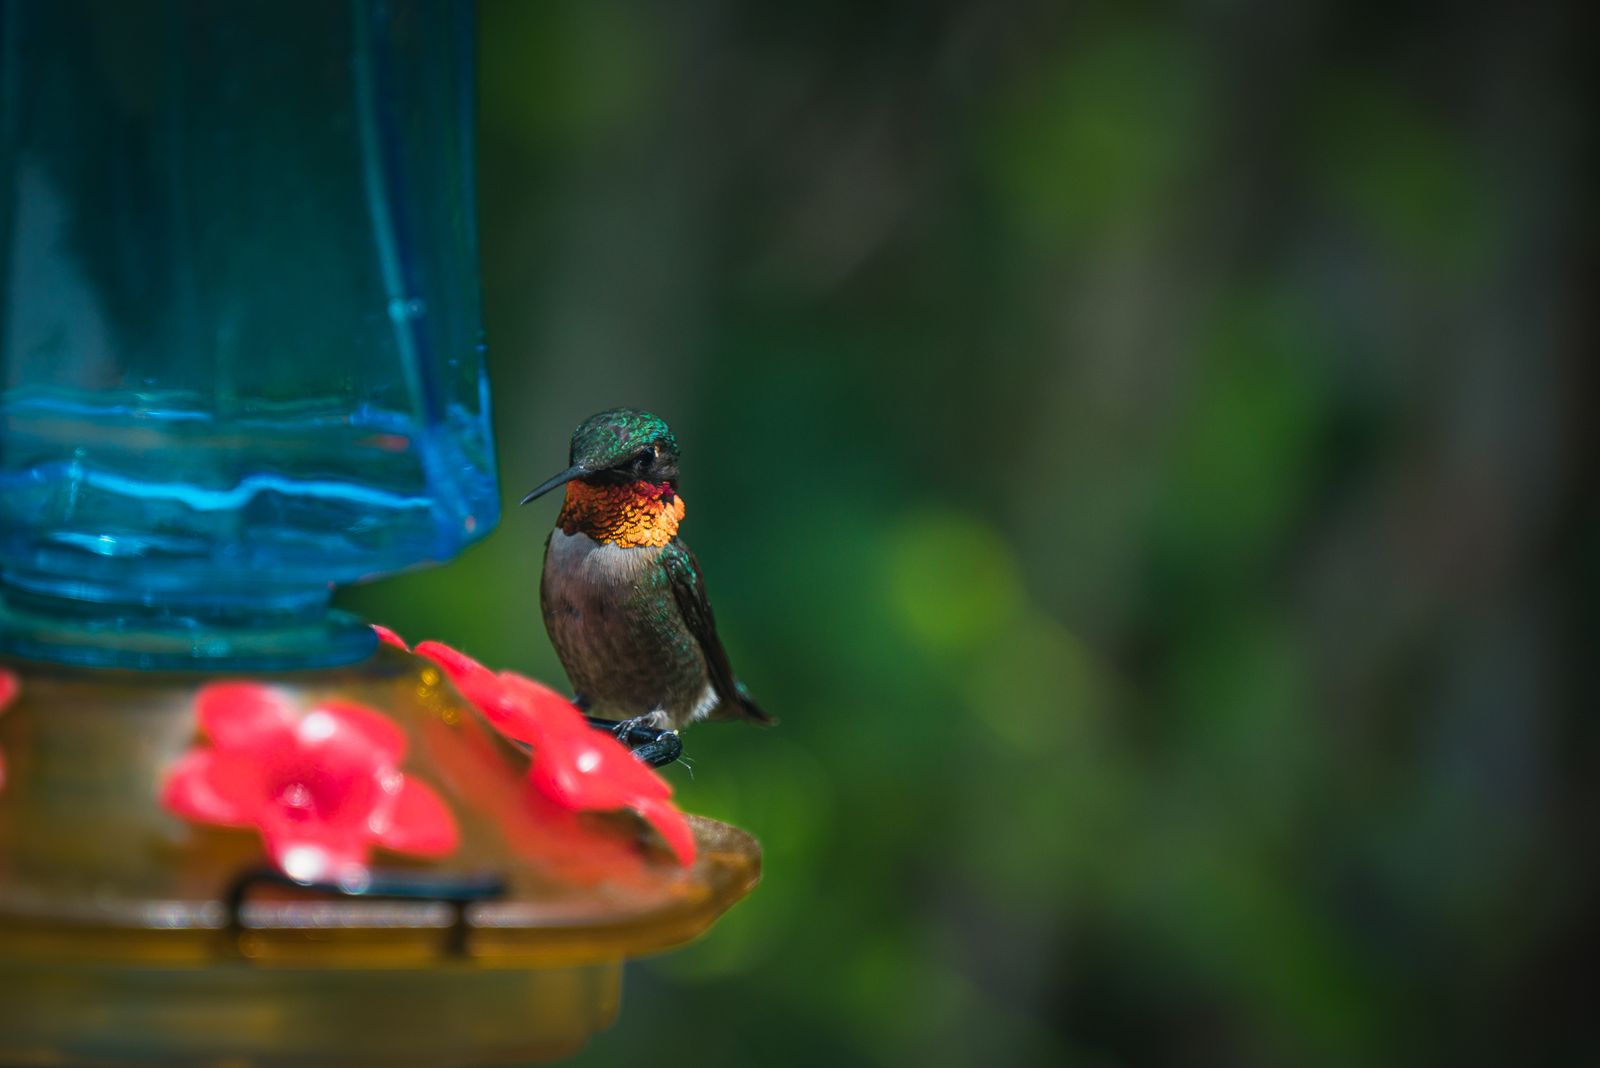
Why Isn't Your Solar Hummingbird Feeder Lighting Up? Easy Troubleshooting & Fixes
A solar hummingbird feeder usually fails to light up due to a switched-off power toggle, a blocked photo sensor, a depleted 1.2V Ni-MH battery, or clear protective shipping film left on the solar panel. Flipping the power switch to ON, cleaning the glass panel, and testing the light sensor in a dark room typically resolves the issue immediately.
Solar Feeder Light Diagnostics Flowchart
- Is the power switch underneath the solar cap flipped to 'ON'? → Yes: Proceed to dark room sensor test.. No: Flip switch to 'ON' and leave in direct sunlight for 8 hours..
- Does the LED illuminate when you cover the solar panel completely with a dark cloth? → Yes: Light sensor is functional. Problem is daytime shading or bright night ambient lights.. No: Proceed to battery compartment check..
- Are the battery contacts clean and free of white/green rust corrosion? → Yes: Replace old rechargeable battery with a fresh 1.2V AAA Ni-MH cell.. No: Scrape rust off contacts using vinegar and cotton swab, then retest..
- Does the feeder light turn on after inserting a new Ni-MH battery? → Yes: Issue resolved! Maintain solar panel cleanliness monthly.. No: Internal solar circuit or LED wire is broken; replace solar cap unit..
Solar Feeder Troubleshooting Matrix
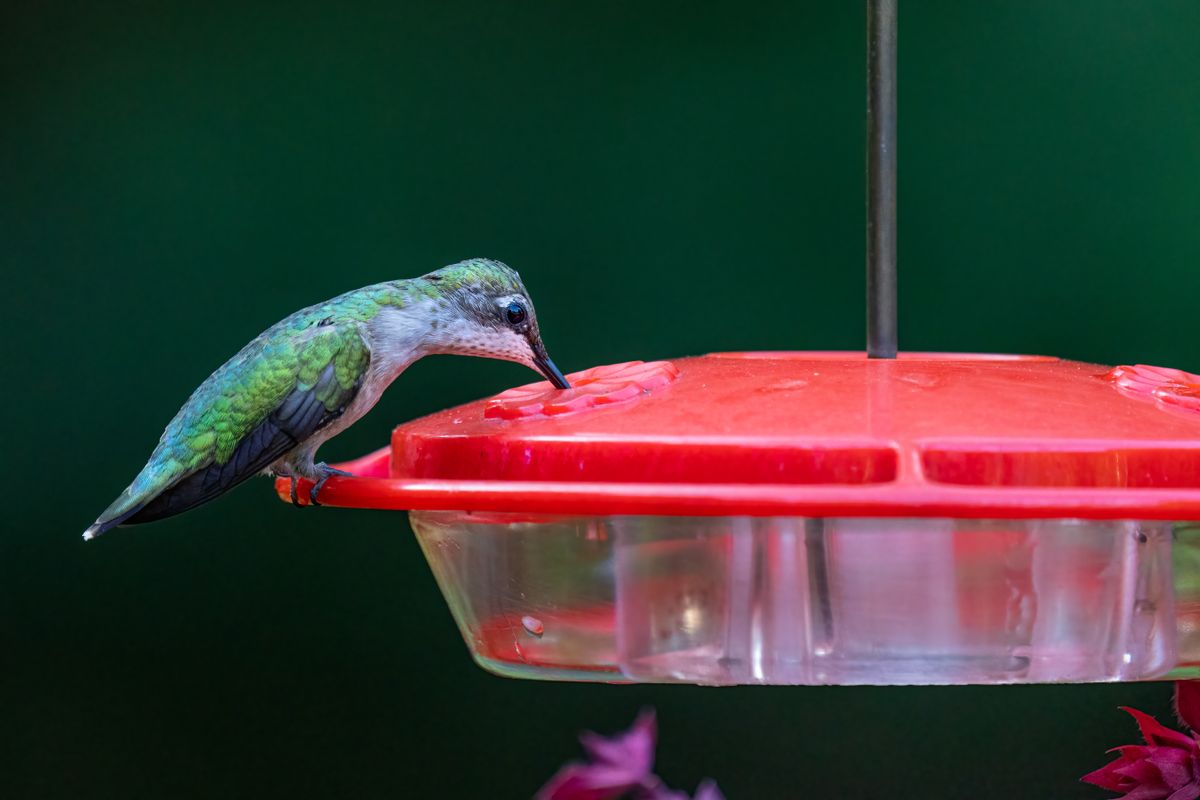
Photo by Skyler Ewing on Pexels
| Visual Symptom | Root Cause | Diagnostic Check | Recommended Solution |
| --- | --- | --- | --- |
| Feeder remains completely dark at night | Switch set to OFF, drained Ni-MH battery, or unpeeled protective panel film | Inspect underneath the cap for switch state; check for clear plastic film over top glass solar panel | Peel off clear film, flip switch to ON, and charge in full sun for 8 unbroken daytime hours. |
| Light flickers rapidly or changes color during daytime | Feeder is hung under dense tree foliage or near flickering shadows | Observe panel during daytime for shadow movement across the photo sensor | Relocate feeder to an open garden hook receiving at least 6 hours of unshaded direct sunlight. |
| LED turns off after only 30-60 minutes of night operation | Degraded 1.2V AAA Ni-MH battery capacity or winter sunlight deficit | Check battery age; standard Ni-MH rechargeable cells degrade after 300-500 charge cycles | Replace the internal battery with a fresh 1.2V AAA Ni-MH 600-800mAh rechargeable cell. |
| Light stays off despite fully charged battery | Ambient artificial light from porch or streetlamp tricking photo sensor | Shield solar cap from nearby porch lights with your hand at night | Move feeder away from artificial night lighting so the sensor detects twilight correctly. |
| White powder or sticky syrup residue around battery bay | Nectar vapor or rainwater ingress causing terminal corrosion | Unscrew battery lid and examine metal springs for crusty buildup | Clean contacts with distilled white vinegar and a cotton swab; dry thoroughly before installing new battery. |
Identify your specific visual symptom below to locate the root cause and execute the recommended fix.
Expert Tip: Shielding Electronics from Nectar Vapor
Hummingbird sugar syrup naturally evaporates in afternoon heat, sending sticky humidity upward into the underside of your feeder cap. When reassembling your solar housing after cleaning, apply a microscopic smear of food-safe silicone grease along the rubber seal gasket. This creates an airtight barrier against syrup vapor and rainwater, extending your electronic circuit board's life by years.
Decision Tree: Repair vs. Replace Evaluation
- Is the hand-blown glass reservoir and metal base physically intact? → Yes: Proceed to solar module check.. No: Replace complete unit with a durable hand-blown glass solar feeder.
- Are internal copper wires disconnected or plastic housing cracked? → Yes: Circuit damaged by moisture; replace solar top cap module.. No: Proceed to battery check.
- Does installing a new $3 AAA Ni-MH battery restore full nighttime brightness? → Yes: Repair successful! Re-seal battery door tightly.. No: Solar photo-diode board has failed; upgrade to a replacement IP65 solar cap assembly.
Quick Immediate Diagnostic Plan
Your decision: Determine if your illumination issue is operational, battery-related, or structural corrosion.
Do this next: Execute the 60-second dark room test, wipe solar panel glass with microfiber, and check switch toggle state.
Related resource: Downloadable Solar Feeder Annual Maintenance Checklist (PDF)
LUJII Solar-Powered Hummingbird Feeder
Take these three immediate steps right now to test your solar top:
Key Takeaways for Solar Feeder Maintenance
- Always Leave Switch ON: Solar panels cannot harvest energy while the toggle switch under the lid is set to OFF.
- Use Ni-MH Only: Never place standard 1.5V Alkaline batteries inside a solar light; use only 1.2V AAA Ni-MH rechargeable cells.
- Sensors Need Darkness: Porch lamps and floodlights trick the photo sensor into assuming it is still daytime.
- Clean Glass Panel Weekly: Pollen, bird droppings, and dried syrup reduce solar charging efficiency by up to 50%.
- Protect from Submersion: Never submerge the top solar cap in dishwater when washing the hand-blown glass nectar reservoir.
Step-by-Step Solar Cap Restoration Guide
Follow these hands-on steps to safely open, clean, diagnose, and restore your solar hummingbird feeder's RGB lighting system.
Step 1: Perform the Dark Room Test
Take the solar cap into a completely dark room or closet. Cover the top glass solar panel with your hand. If the RGB light turns on, your solar module and battery are working correctly; the feeder was simply installed in too much daytime shade or near night porch lights.Step 2: Remove Protective Shipping Film & Clean Solar Panel
Examine the top surface of the solar panel. New feeders ship with an ultra-thin, clear plastic film over the solar cell that dulls sunlight absorption over time. Peel away this film. Wipe the solar panel glass with a warm, damp microfiber cloth to strip away accumulated dust and dried sugar syrup.Step 3: Inspect the Power Toggle Switch
Locate the rubber-covered slide switch on the underside of the solar cap lid. Slide the switch firmly back and forth twice to clear any internal grit, ensuring it clicks solidly into the ON position.Step 4: Access and Clean the Battery Compartment
Using a small Phillips screwdriver, remove the battery bay cover on the underside of the cap. Inspect the metal terminal springs. If you observe crusty white or green oxidation:Step 5: Replace the Rechargeable Battery
Remove the original factory cell and insert a fresh 1.2V AAA Ni-MH rechargeable battery (600mAh to 800mAh capacity). Ensure polarity (+ and - ends) matches the housing diagram. Do not use non-rechargeable alkaline batteries.Step 6: Direct Sun Solar Recharge Cycle
Reattach the battery cover securely. Place the solar cap outdoors in full, unshaded daylight facing south for 8 consecutive hours to prime the new rechargeable battery.Common Solar Hummingbird Feeder Mistakes to Avoid
- Submerging the Solar Cap: Dunking the electronic solar top in soap water during reservoir wash cycles ruins internal RGB circuitry.
- Using Standard 1.5V Alkaline Batteries: Non-rechargeable batteries cannot receive solar charge currents; they leak toxic chemicals inside the cap housing.
- Hanging Under Eaves or Deep Foliage: Solar panels require direct sun photons; indirect outdoor shadow cuts charge efficiency by up to 80%.
- Ignoring Porch Light Interference: Mounting feeders within 15 feet of bright outdoor security lights keeps ambient photo sensors deactivated after dark.
- Leaving Protective Film On Panel: Forgetting to remove factory transit film prevents maximum UV exposure to the solar cells.
Related Garden Ambiance & Hummingbird Guides
- Why Isn't My Solar Hummingbird Feeder Lighting Up? Troubleshooting & Placement Fixes
- Troubleshooting Your Solar Hummingbird Feeder: Battery, Lighting, and Nectar Care Tips
- Solar Hummingbird Feeders as Outdoor Lighting: Runtime, Safety & Placement FAQ
Frequently Asked Questions
Answers to common reader questions about solar feeder care, light sensors, and night operation.
Recommended Replacement & Upgrade Feeders
If your solar cap's internal circuitry is severely rusted or cracked beyond repair, upgrade your garden accent lighting with an artisan hand-blown glass model built for long-term weather durability.
Next Steps & Action Plan
Your decision: Determine whether your feeder issue is caused by simple shading/switch setting, an expired Ni-MH battery, or internal circuit rust.
Do this next: Perform the 60-second dark room test (cover solar cap), clean panel with a damp microfiber cloth, and test a fresh 1.2V AAA Ni-MH battery.
Related resource: Downloadable Solar Feeder Annual Maintenance Checklist (PDF)
If internal wires are corroded beyond repair, explore LUJII Hand-Blown Glass Solar Hummingbird Feeders with IP65-sealed metal bases.
Now that you know how to test and resolve solar feeder lighting faults, follow this simple long-term care plan: