Hummingbird Feeder Vacuum Seals and Temperature: Frequently Asked Questions
Myth: A dripping hummingbird feeder means the glass reservoir is cracked or defective.
Fact: Inverted feeders rely on a delicate atmospheric vacuum lock. As mid-day solar radiation warms the air pocket trapped inside the reservoir, the air expands and forces nectar down through the feeding ports until internal and external atmospheric pressures balance out.
Choosing the Right Feeder Seal Strategy for Your Sun Exposure
To stop heat-induced dripping, match your feeder's glass volume and shade placement to your local ambient heat conditions.
Best choice for
- Thick hand-blown glass feeder placed in morning sun / afternoon shade — Hand-blown glass insulates better than thin plastic, while partial shade prevents extreme air bubble expansion.
- Solar cap integrated feeder with sealed rubber silicone gasket — Protective top housing shields nectar from solar exposure while storing energy for up to 8 hours of RGB night illumination.
- Filling a cold feeder with warm nectar (causes immediate expansion dripping)
- Hanging inverted feeders on swaying thin branches without stable baffles in high wind
- Top-fill basin feeders — Eliminates atmospheric vacuum reliance but requires more frequent cleaning and lacks hand-blown aesthetic charm.
Featured Thermal-Resistant Setup: LUJII Hand-Blown Solar Feeder
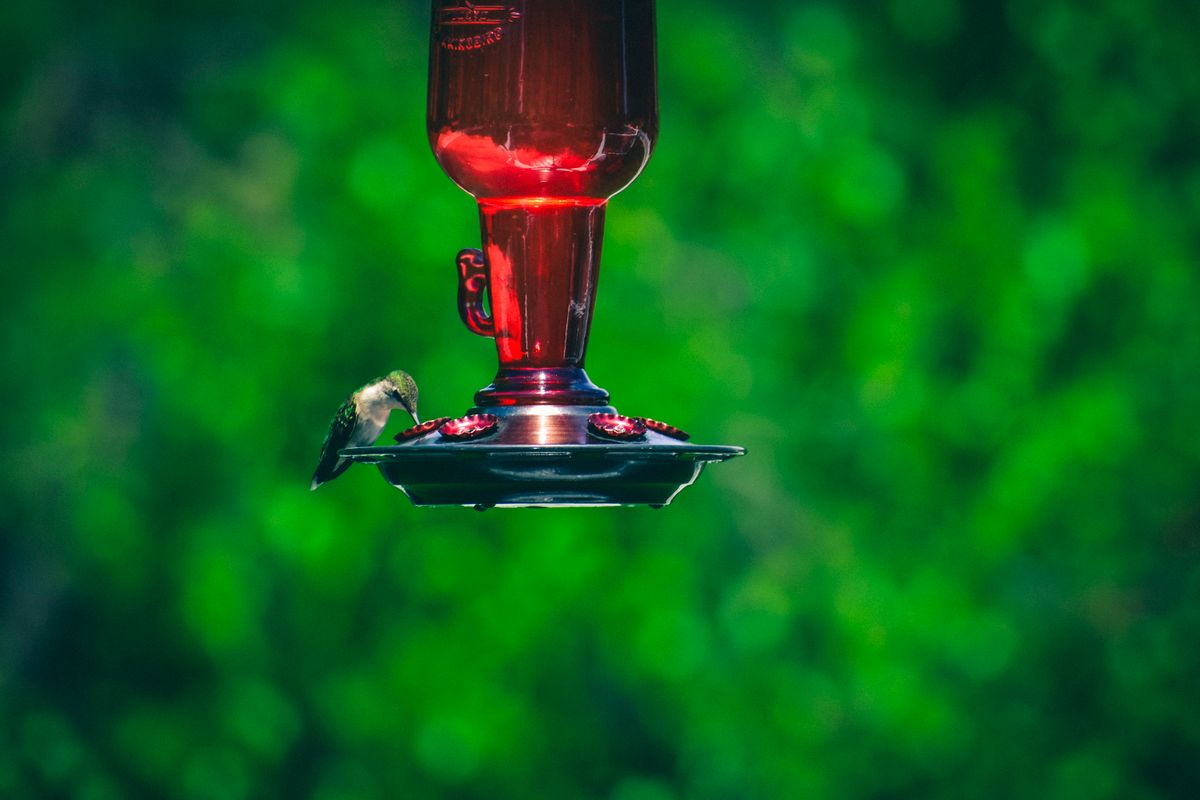
If you want to combine leak-proof vacuum engineering with enchanting garden aesthetics, the LUJII Solar-Powered Hummingbird Feeder stands in a class of its own. Handcrafted by glass artists at 2,300 degrees Fahrenheit, each 32 fl. oz bottle features thick, colorful translucent glass that insulates nectar against rapid thermal spikes while letting you check liquid levels at a glance.
Its slender reservoir is anchored by an anti-rust coated metal base and a precision silicone seal that maintains vacuum pressure. Above the glass, a durable plastic solar cap acts as a weather umbrella shielding nectar from harsh sunlight, rain, and snow. At night, the solar battery automatically lights up your sanctuary with vibrant RGB lighting modes for up to 8 hours after a full charge.
Pro-Tip: The Inverted Fill Technique for Instant Vacuum Lock
Establishing a strong surface-tension vacuum lock right at the sink saves you from immediate dripping. Here is how master birding enthusiasts do it:
Anatomy of an Inverted Feeder Vacuum & Thermal Expansion Cycle
Understanding how air pockets react to ambient thermal spikes helps demystify why inverted bottles weep during sunny afternoons.
Vacuum & Thermal Leak Diagnostic Matrix
| Scenario / Symptom | Root Cause | Diagnostic Test | Recommended Fix |
| --- | --- | --- | --- |
| Continuous dripping immediately after filling | Gasket misalignment or cross-threading | Inspect base connection for visible gaps or improper thread seating over a sink | Unscrew base, reposition silicone gasket flat, and re-thread metal base smoothly. |
| Dripping occurs only between 1:00 PM and 4:00 PM | Thermal expansion of internal air pocket | Check temperature and nectar level; large air bubble expanding in direct sun | Refill reservoir to 90% capacity and relocate feeder to morning sun / afternoon shade. |
| Leaking during windy summer afternoons | Mechanical liquid displacement / tilting | Observe feeder movement on thin branches under gusty conditions | Mount feeder on a heavy garden pole or add a rigid hanging rod to stabilize. |
| Slow seepage from port edges over several days | Nectar residue or mold breaking surface tension lock | Examine feeding ports for sticky sugar build-up or debris | Deep clean ports with small brush and warm water to restore clean surface tension. |
Use this scenario matrix to diagnose whether your feeder's drips stem from natural atmospheric warmth, improper assembly, or mechanical tilting.
Essential Rules of Feeder Vacuum Physics
Keep these core principles in mind to maintain a pristine, leak-free feeding station all season long.
5-Point Feeder Vacuum Lock Checklist
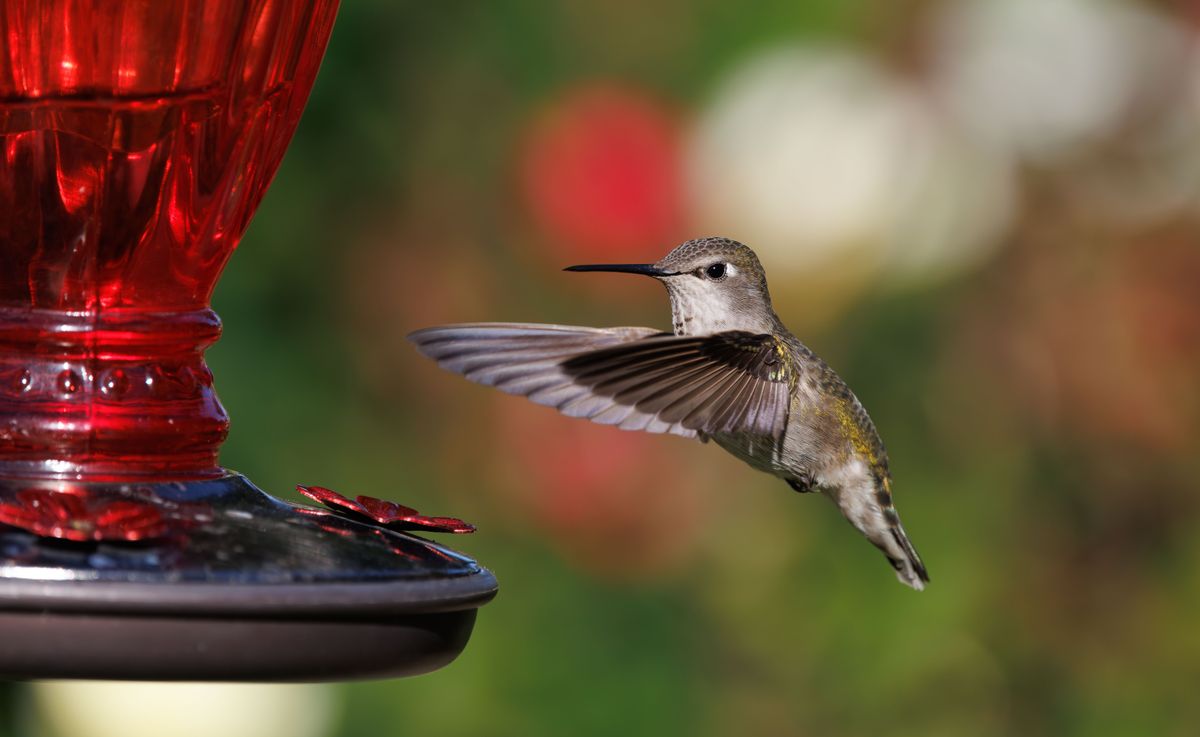
Photo by Veronika Andrews on Pexels
- [ ] Inspect silicone gasket for tears, cracks, or sticky nectar build-up.
- [ ] Ensure the threads on the glass bottle and metal base align smoothly without cross-threading.
- [ ] Fill the reservoir at least 80% full to minimize internal air space.
- [ ] Invert the feeder quickly over a sink to establish immediate surface tension lock.
- [ ] Hang the feeder completely level to prevent gravity-assisted port weeping.
5 Mistakes That Destroy Feeder Vacuum Seals
Avoid these common setup errors that ruin vacuum compression and waste sweet nectar.
Related Guides on Weatherproofing & Pest Control
- Hummingbird Feeder Hanging Hardware & Baffles: Frequently Asked Questions
- Waterproof Solar Hummingbird Feeder Seals: RGB Light Protection Guide
- Hummingbird Feeder Gasket Replacement & Seal Care Guide
Frequently Asked Questions About Feeder Seals & Temperature
Clear answers to top questions about feeder mechanics, thermal shifts, and seal longevity.
Next Steps for Ideal Feeder Maintenance
Your decision: Determine if your feeder leak is temporary thermal expansion or permanent gasket failure.
Do this next: Fill your glass feeder with cool nectar to 90% capacity, tightly seat the silicone gasket on the metal base, and hang in a location with afternoon shade.
- Read next: Hot Weather Nectar Ratios: How to Keep Hummingbird Food Fresh in Summer
- Read next: How to Clean and Maintain Your Hand-Blown Solar Hummingbird Feeder
LUJII Solar-Powered Hand-Blown Glass Hummingbird Feeder with Sealed Anti-Rust Metal Base
Ready to enjoy a clean, leak-free garden oasis? Put your new vacuum physics knowledge into action today.