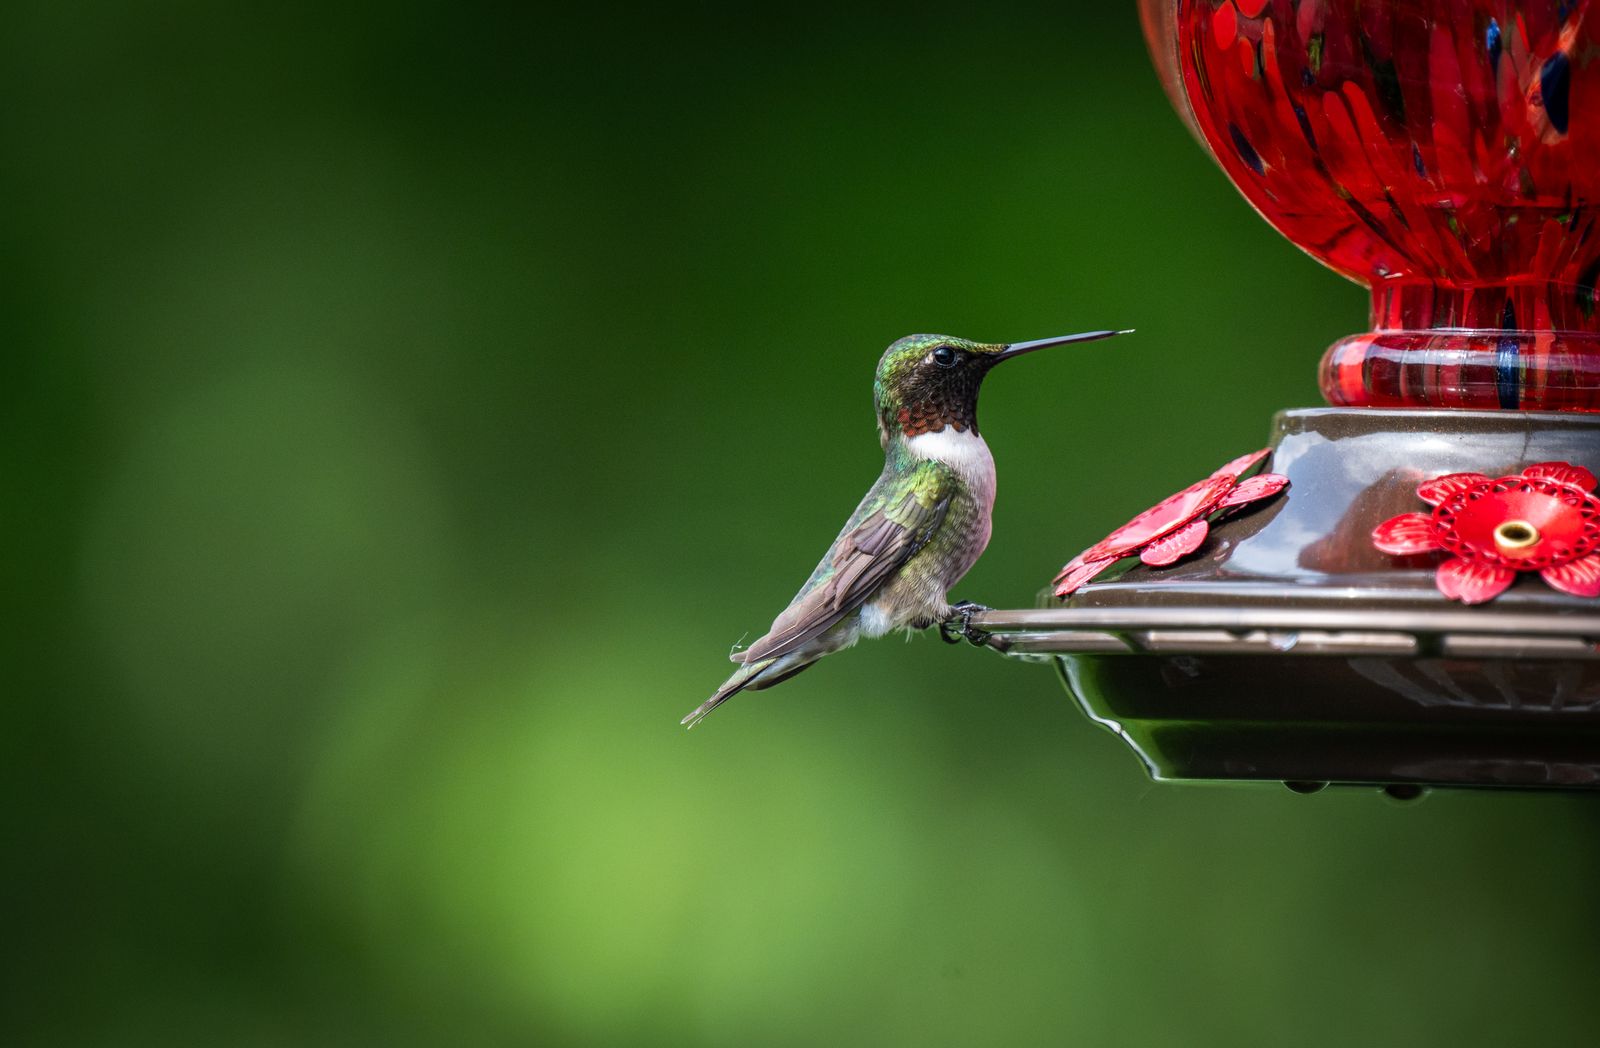
How to Stop Hummingbird Feeders From Leaking: Easy Fixes & Leak-Proof Solutions
To keep a hummingbird feeder from leaking, establish a proper vacuum seal by filling the glass reservoir completely to 90–95% capacity, tightening the base securely, and immediately inverting it in one smooth motion. Hang the feeder in full afternoon shade to prevent thermal expansion of air inside the bottle from forcing nectar through ports.
Visual Leak Diagnostic & Instant Fix Flowchart
- Where is nectar actively dripping from? → Yes: Check Feeding Ports Branch. No: Check Base Threads Branch.
- Is nectar dripping directly out of the feeding ports? → Yes: Check Sunlight & Internal Air Headroom. No: Check Thread Alignment & Rubber Gasket.
- Is the feeder hung in direct afternoon sun or filled under 80%? → Yes: Thermal expansion pushing nectar out -> Relocate to full shade and refill to 95%.. No: Check for unlevel hanging or strong wind rocking -> Straighten hanger & add baffle..
- Is nectar seeping between the glass reservoir and metal base joint? → Yes: Thread / Gasket failure -> Inspect O-ring gasket position & clear cross-threaded debris.. No: Inspect glass body for hair-line cracks or check top hanger seal..
Hummingbird Feeder Leak Diagnostic Matrix
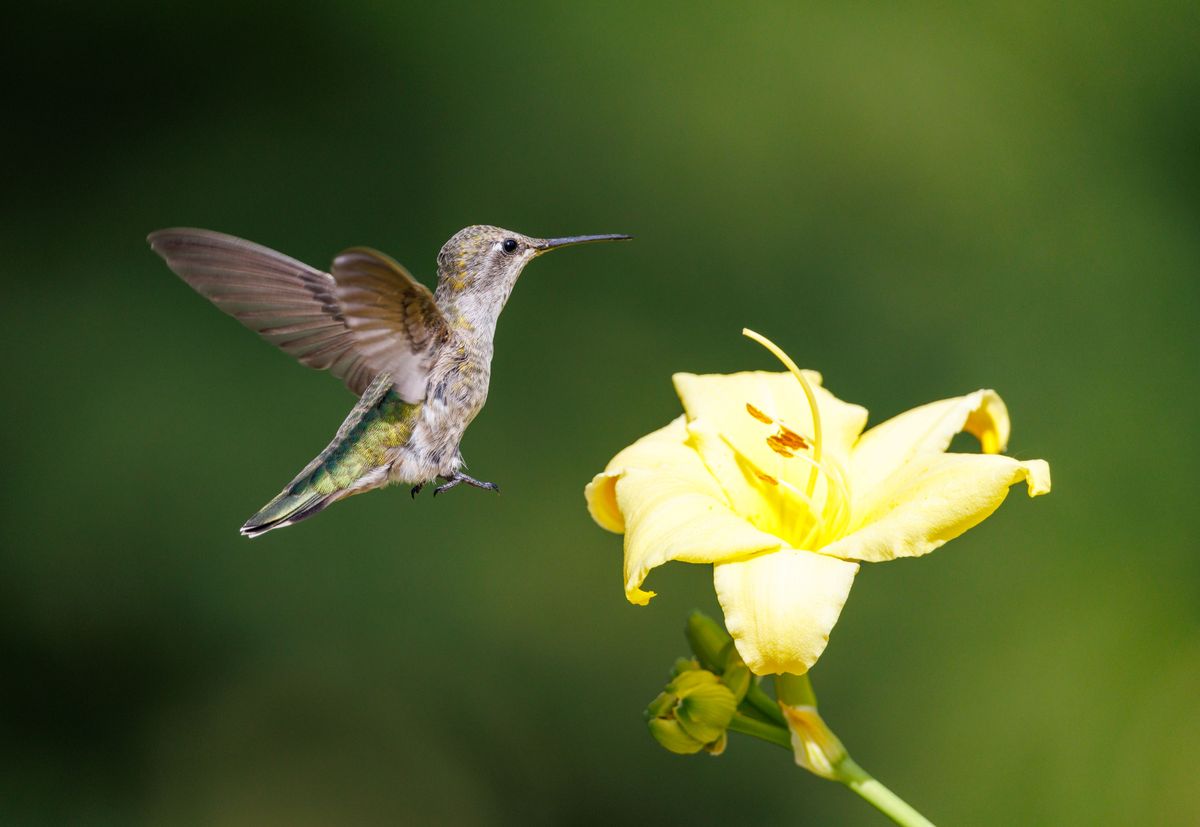
Photo by Veronika Andrews on Pexels
| Scenario / Symptom | Primary Root Cause | Physics Explanation | Immediate Corrective Action |
| --- | --- | --- | --- |
| Continuous dripping from ports during warm afternoons (1 PM–5 PM) | Thermal Expansion of Headroom Air | Solar energy heats air trapped inside the inverted bottle. Expanding air creates downward pressure, forcing nectar out through bottom feeding ports. | Relocate feeder to complete afternoon shade and fill bottle to 95% capacity to minimize initial air volume. |
| Nectar leaking rapidly around the threaded metal base connection | Misaligned or Missing O-Ring Gasket | Without an airtight seal at the base threads, ambient air leaks into the bottle continuously, destroying the internal vacuum pressure. | Unscrew base, clean threads, verify rubber O-ring is seated flat inside base channel, and re-tighten securely without cross-threading. |
| Feeder drips heavily only when strong wind gusts hit the yard | Fluid Displacement from Extreme Swaying | Blowing wind swings the feeder past a 15-degree angle, allowing ambient air to enter lower ports and liquid to spill over port rims. | Install a rigid weather baffle pole, use a shorter hanging s-hook, or relocate the feeder to a sheltered porch beam. |
| Nectar flows out continuously immediately after filling and hanging | Slow Inversion or Underfilled Reservoir | Slowly flipping the feeder lets air bubble into the bottle before liquid covers ports, failing to create an initial atmospheric vacuum seal. | Refill to 95% capacity with room-temperature nectar, tighten base, and invert bottle in one swift 180-degree motion over a sink before hanging. |
Match your specific dripping scenario to its physical root cause, fluid dynamics explanation, and immediate home resolution.
Master Glassmaker Tip: Fluid Physics and Atmospheric Vacuum Seals
Understanding fluid dynamics transforms how you maintain inverted feeders. An inverted hummingbird feeder operates like a barometer: the downward gravitational pull of nectar creates a slight partial vacuum in the sealed air headroom above the liquid. This internal vacuum, combined with ambient atmospheric pressure pushing against the open feeding ports, keeps the liquid suspended balance in mid-air.
When you leave a large air space at the top of the bottle, atmospheric heat causes that trapped air to expand exponentially faster than the liquid nectar itself (governed by Boyle's and Gay-Lussac's gas laws). That expanding air exerts downward force, overpowering the surface tension at the feeding ports and forcing syrup out onto your garden patio. By filling your hand-blown glass feeder to 90–95% capacity with room-temperature nectar (68°F–72°F) and hanging it in shaded microclimates, you maintain stable internal pressure and eliminate heat-induced drips completely.
Feeder Anti-Leak Pre-Flight Checklist
- [ ] Verify rubber O-ring gasket is present, clean, and seated flat inside metal base threads.
- [ ] Cool sugar nectar to room temperature (68°F–72°F) before pouring into glass reservoir.
- [ ] Fill reservoir to at least 90–95% capacity to minimize initial internal air pocket.
- [ ] Screw metal base onto glass threads firmly without cross-threading.
- [ ] Invert feeder in one swift, continuous motion over sink before carrying to garden shade.
Decision Tree: Is Your Feeder Leaking or Just Dripping in the Sun?
- Does the leak happen only during sunny, hot peak afternoon hours? → Yes: Go to Sun Exposure Diagnostic. No: Go to Mechanical Seal Diagnostic
- Sun Exposure Diagnostic: Is the glass bottle warm to the touch? → Yes: Thermal air expansion is pushing nectar out. Move feeder to total afternoon shade immediately.. No: Check for excessive wind swing or heavy perching by larger non-target birds.
- Mechanical Seal Diagnostic: Does liquid pool around the metal base joint while sitting flat? → Yes: Gasket or thread failure. Remove base, inspect O-ring seal, and check glass neck for chips.. No: Clean feeding ports thoroughly; ensure ports are not clogged with insect debris or dried sugar crust.
What to Do Next After Fixing Your Feeder Leak
Your decision: Determine if your leak is caused by thermal expansion, thread misalignment, or structural gasket wear.
Do this next: Clean spilled nectar off patio stones with warm soapy water, re-seat the rubber base gasket, fill the glass reservoir to 95% capacity with cool nectar, and relocate the unit into full afternoon shade.
- Read next: How to Clean and Maintain Hand-Blown Glass Hummingbird Feeders
- Read next: Best Ant Moats for Hummingbird Feeders: Built-In vs. Hanging Hooks
LUJII Solar-Powered Hand-Blown Glass Hummingbird Feeder with Sealed Metal Base
Once your feeder is vacuum-sealed and hung in afternoon shade, take these immediate steps to clean up residual sugar, deter pests, and protect your garden ecosystem.
Summary: Key Takeaways for Drip-Free Hummingbird Feeding
- Thermal expansion of trapped air is the primary cause of afternoon feeder leaks; hanging feeders in afternoon shade resolves over 80% of port drips.
- An airtight seal is mandatory—always inspect the rubber O-ring gasket inside the base threads before filling.
- Fill reservoirs to 90–95% capacity to minimize internal air space that expands when temperatures rise.
- Never pour hot or warm nectar into a glass feeder; always let syrup cool to room temperature (68°F–72°F) first.
- Heavy hand-blown glass offers superior thermal insulation compared to thin plastic, stabilizing internal air temperatures.
Feeder Selection Guide: Finding the Right Leak-Proof Setup
Choose a feeder system engineered with thermal-resistant materials and precision-threaded metal bases to eliminate atmospheric vacuum leaks.
Best choice for
- Hand-blown thick glass feeders with precision metal bases and silicone gaskets — Thick art glass insulates internal air headroom against rapid temperature spikes, preventing thermal pressure buildup.
- Weighted hand-blown glass feeders with sealed metal bases — Added mass prevents severe swaying and keeps nectar levels balanced below port thresholds.
- Thin single-wall plastic feeders hung in direct, unshaded 90°F+ afternoon sun
- Feeders with press-fit plastic stoppers without threaded locking rings
- Dish-style top-fill basin feeders — Dish feeders rely on open gravity without an inverted vacuum, but hold less fluid volume and require more frequent refilling.
Recommended Solution: LUJII Hand-Blown Glass Solar Hummingbird Feeder
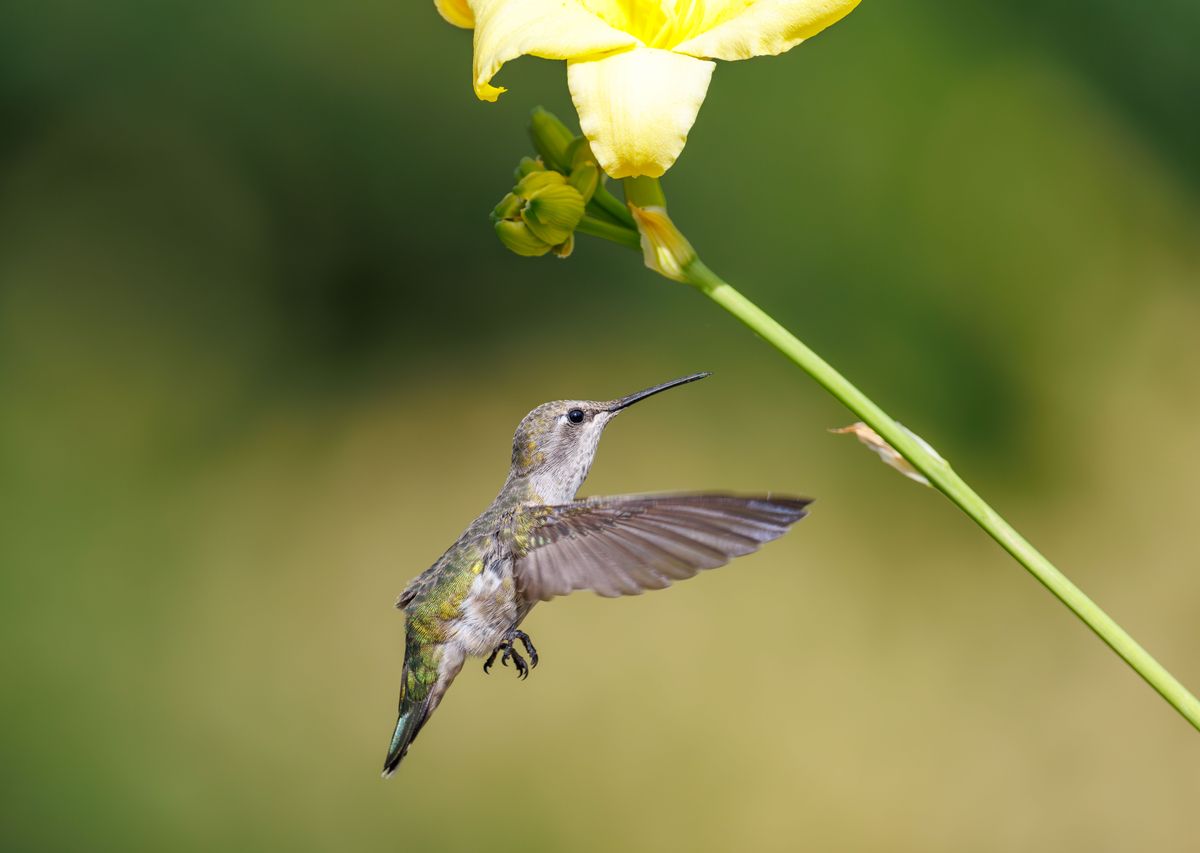
Photo by Veronika Andrews on Pexels
Upgrade your yard with an artisan feeder designed specifically to prevent leaks while illuminating your evening garden space.
Feeder Construction Comparison: Standard Plastic vs. Threaded Glass with Sealed Base
| Feeder Material & Construction | Thermal Insulation Quality | Thread & Gasket Integrity | Vulnerability to Solar Heat Leaks | Durability & Aesthetics |
| --- | --- | --- | --- | --- |
| Standard Thin Plastic Inverted Feeder | Poor — Thin wall heats up rapidly in direct sunlight | Moderate — Plastic threads strip or deform over time | High — Internal air heats fast, forcing nectar out ports | Low — Warps, yellows, and becomes brittle under UV rays |
| LUJII Hand-Blown Glass with Metal Base | Excellent — Thick artisan glass insulates air headroom | High — Precision metal threads with fitted silicone O-ring | Low — Temperature stability prevents thermal pressure drips | High — Hand-blown unique art glass with integrated solar RGB lights |
| Open Dish / Basin Feeder | N/A — Open surface pool without inverted vacuum seal | N/A — Snap-on lid without liquid pressure seal | None — Cannot leak from air pressure, but overflows in rain | Moderate — High evaporation rate and vulnerable to rainwater diluting syrup |
Compare physical attributes, vacuum stability, and performance under summer weather conditions across feeder construction types.
Step-by-Step: Correct Inversion & Filling Technique to Eliminate Air Pockets
Detail step-by-step filling and turning method.
Top 5 Common Mistakes That Destroy Feeder Vacuum Seals
Outline frequent user mistakes that break atmospheric seals.
Related Guides & Nectar Maintenance
- Why Is My Hummingbird Feeder Leaking? How Air Pressure and Base Seals Work
- Why Is My Hummingbird Feeder Leaking? Causes & Fast Fixes
- Why Is My Hummingbird Feeder Leaking? (And How to Fix It Fast)
Frequently Asked Questions About Hummingbird Feeder Leaks
Answer common follow-up queries at end of article.