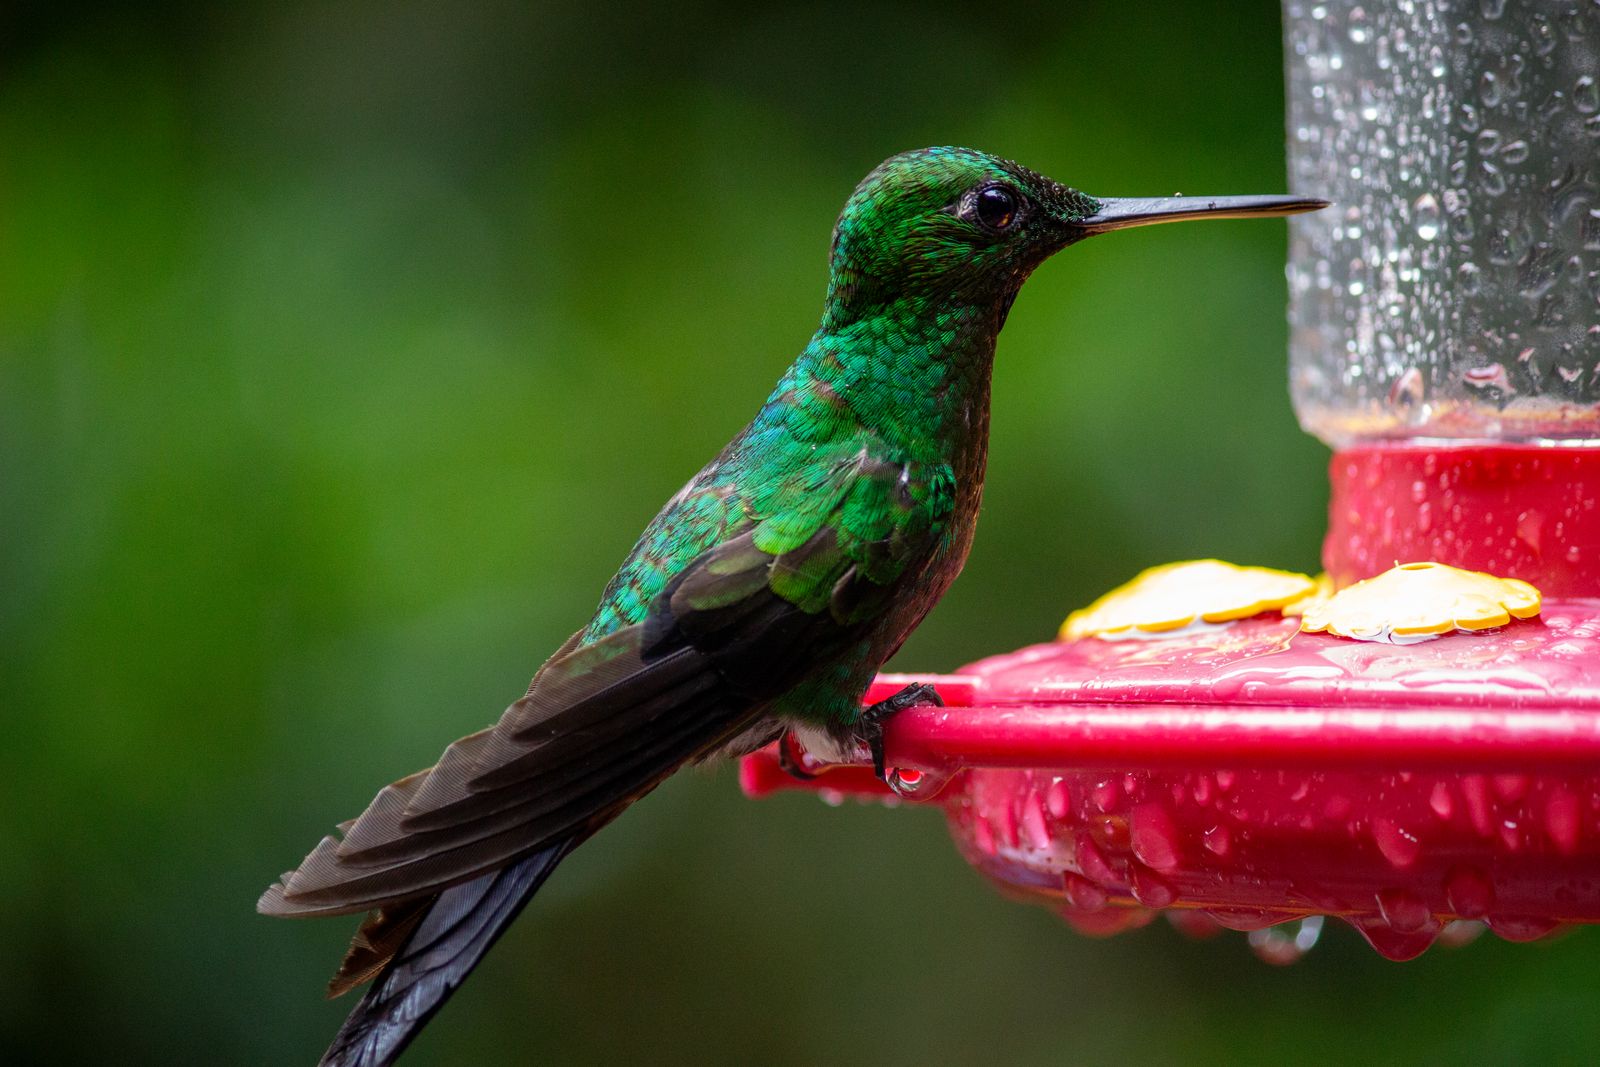
How to Clean a Solar Hummingbird Feeder: Step-by-Step Maintenance Guide
Should you submerge your solar hummingbird feeder in water to clean it? No. To keep your RGB LED lights glowing while safeguarding bird health, use a Dual-Zone protocol: fully submerge the lower hand-blown glass bottle and anti-rust metal base in a 4:1 warm water and white vinegar soak, but clean the top solar cap exclusively with a damp microfiber cloth.
Dual-Zone Cleaning Equipment & Essential Checklist
- [ ] Distilled white vinegar (5% acidity) — safe sanitization without residual odors
- [ ] Warm tap water (never boiling, to protect hand-blown glass from thermal shock)
- [ ] Soft microfiber cloth — dedicated strictly to wiping dust and hard water off the top solar panel
- [ ] Narrow bottle brush & soft micro-port brush — for deep-cleaning 32 fl.oz glass interiors and narrow feeding flower ports
- [ ] Clean lint-free towel — for thorough air-drying of all sealing gaskets and metal threads
- [ ] Optional: 3% Food-grade Hydrogen Peroxide — for stubborn black mold removal during high-heat summer surges
Printable Dual-Zone Maintenance Quick-Reference
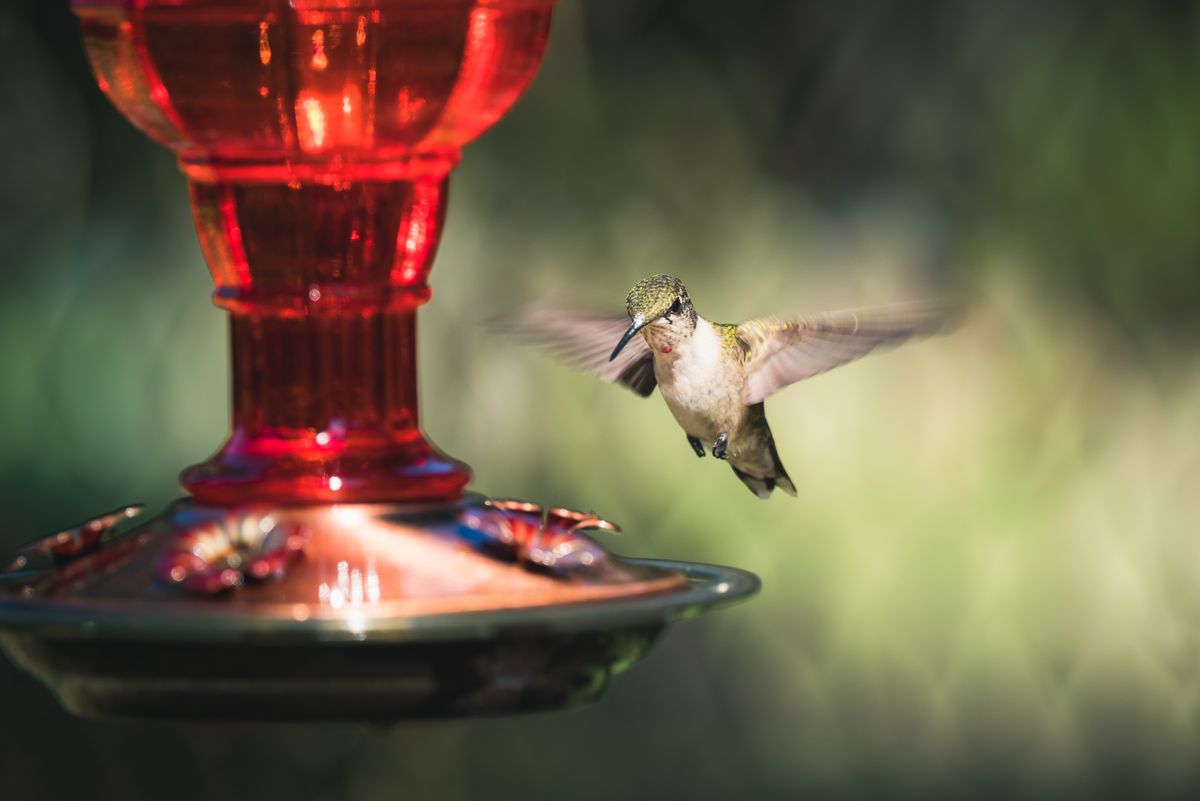
- ZONE A (Submersible): 32 fl.oz Hand-Blown Glass Bottle & Metal Base — Soak 15 minutes in 4:1 warm water/vinegar. Brush ports thoroughly.
- ZONE B (Wipe-Only): Solar LED Cap & Battery Box — Never immerse in water! Wipe top solar cell and underside rim with a damp microfiber cloth.
- DRYING PROTOCOL: Ensure rubber O-rings and thread gaskets are 100% dry before reassembly to prevent moisture trapping in electronics.
- SOLAR RESET: Turn top switch to 'ON' and place in direct, unfiltered sun for 6-8 hours to recharge the RGB lighting module.
Artisan Glass Care: Preserving Hand-Blown Colors at 2,300°F Standards
Each handcrafted glass reservoir undergoes intense 2,300°F heat shaping, permanently fusing rich colors directly into the glass structure. Unlike cheap painted plastic, this high-heat artisan process ensures the translucent hues will never fade or leach toxins when exposed to natural sun or mild acid solutions like white vinegar. However, hand-blown glass is vulnerable to rapid thermal expansion: never expose cold glass to hot or boiling water, as temperature swings greater than 40°F can cause thermal stress fractures.
Solar Light & Hygiene Failure Modes: Diagnosis & Fixes
| Failure Scenario / Symptom | Probable Root Cause | Immediate Corrective Action | Prevention Protocol |
| --- | --- | --- | --- |
| RGB light fails to turn on at night after cleaning | Water ingress into solar cap battery compartment, or power switch toggled 'OFF' during wiping | Remove battery cap, dry housing with microfiber cloth, verify switch is 'ON', and place in direct sun for 8 hours. | Never submerge or hold the top solar lid directly under running sink faucets. |
| Black mold spots inside flower feeding ports | Fermentation residue trapped in narrow port crevices during hot weather (>85°F) | Scrub ports using a micro-port nylon brush dipped in pure 3% hydrogen peroxide or white vinegar. | Increase cleaning frequency to every 48 hours during peak summer heat waves. |
| Nectar leaking from metal base assembly | Misaligned rubber O-ring seal or cross-threaded glass neck during reassembly | Unscrew base, check silicone O-ring for debris or twists, align threads straight, and hand-tighten firmly. | Inspect rubber gaskets for elasticity and micro-cracks before every re-fill. |
| White chalky film on top solar panel glass | Hard water mineral deposits accumulating from garden sprinkler overspray | Wipe top solar lens with a microfiber cloth dampened in 1:1 diluted white vinegar. | Position feeder away from automated lawn sprinkler arcs and direct irrigation mist. |
Address common failure modes immediately to protect your solar feeder's electronics and ensure your backyard visitors remain healthy.
Immediate Post-Cleaning Reassembly Checklist
Your decision: Determine if your feeder components are fully dry and ready for safe reassembly.
Do this next: Verify rubber O-ring position, fill glass body with chilled 4:1 sugar water nectar, screw metal base firmly, snap solar cap into place, and toggle switch to 'ON'.
- Read next: How to Maintain Hand-Blown Glass Feeders Without Fading
- Read next: Twilight Nectar Care & Solar Light Freshness FAQ
🌟 LUJII Solar-Powered Hummingbird Feeder (32 fl.oz Hand-Blown Glass with Anti-Rust Metal Base)
Follow these final reassembly steps to ensure a leak-proof seal and instant solar activation before hanging your feeder back outdoors.
Core Principles of Solar Feeder Maintenance
Mastering solar hummingbird feeder maintenance comes down to balancing strict avian hygiene with delicate component protection.
Component Sanitization & Compatibility Matrix
| Feeder Component | Material Composition | Submersible? | Safe Cleaning Agents | Prohibited Chemicals / Tools |
| --- | --- | --- | --- | --- |
| Glass Reservoir | 2,300°F Hand-Blown Art Glass | YES (Fully Submersible) | Warm water, white vinegar, 3% hydrogen peroxide | Boiling water, dishwashers, abrasive wire sponges |
| Solar Lid & Light Housing | UV-Resistant ABS & Solar Panel | NO (Wipe-Only) | Damp microfiber cloth, diluted vinegar mist | Full submersion, sink running water, bleach sprays |
| Feeding Base & Ports | Anti-Rust Coated Alloy | YES (Fully Submersible) | Warm vinegar solution, soft nylon tube brushes | Steel wool, harsh chemical rust removers, bleach |
| Sealing Gaskets | Food-Grade Silicone O-Rings | YES (Hand Rinse) | Warm soapy water (mild), clear water rinse | Petroleum jelly, acetone, extreme heat exposure |
Refer to this component matrix to understand which cleaning methods are safe for each material in your solar feeder.
Temperature-Triggered Nectar & Cleaning Schedule
- Above 90°F (32°C) — Clean feeder and replace nectar every 24 to 48 hours. Fermentation occurs rapidly under extreme heat.
- 80°F – 89°F (27°C – 31°C) — Clean feeder and replace nectar every 2 to 3 days. Inspect micro-ports daily for cloudy residue.
- 70°F – 79°F (21°C – 26°C) — Clean feeder and replace nectar every 3 to 4 days. Wipe dust off the solar panel cell once per week.
- Below 70°F (21°C) — Clean feeder and replace nectar every 5 to 7 days. Perform a full dual-zone deep soak every fortnight.
Cleaning Solution Scenarios: Vinegar vs. Soap vs. Peroxide
| Scenario / Cleaning Goal | Distilled White Vinegar (4:1) | 3% Hydrogen Peroxide | Commercial Dish Soap | Diluted Clorox Bleach (10:1) |
| --- | --- | --- | --- | --- |
| Routine Sanitation (Weekly) | RECOMMENDED: Safely kills bacteria without leaving scented chemical residue. | EXCELLENT: Highly effective, breaks down cleanly into pure water and oxygen. | AVOID: Leaves artificial perfume films that repel hummingbirds. | UNNECESSARY: Excessive chemical hazard for standard weekly rinses. |
| Severe Mold Outbreak Removal | GOOD: Requires 30+ minutes soak time to fully loosen black mold spores. | BEST: Rapidly oxidizes mold clusters in port crevices within 10 minutes. | POOR: Cannot penetrate tight feeding flower ports effectively. | RISKY: Requires extensive rinsing; can degrade silicone sealing rings. |
| Hard Water Mineral Scale Removal | BEST: Mild acetic acid easily dissolves calcium crust on glass and metal. | POOR: Ineffective against inorganic mineral scale deposits. | INEFFECTIVE: Cannot break down hard water calcium deposits. | POOR: No descaling properties against mineral mineralization. |
Compare popular sanitizing agents to select the safest option for hand-blown art glass and wildlife safety.
7 Fatal Mistakes That Ruin Solar Feeders & Harm Hummingbirds
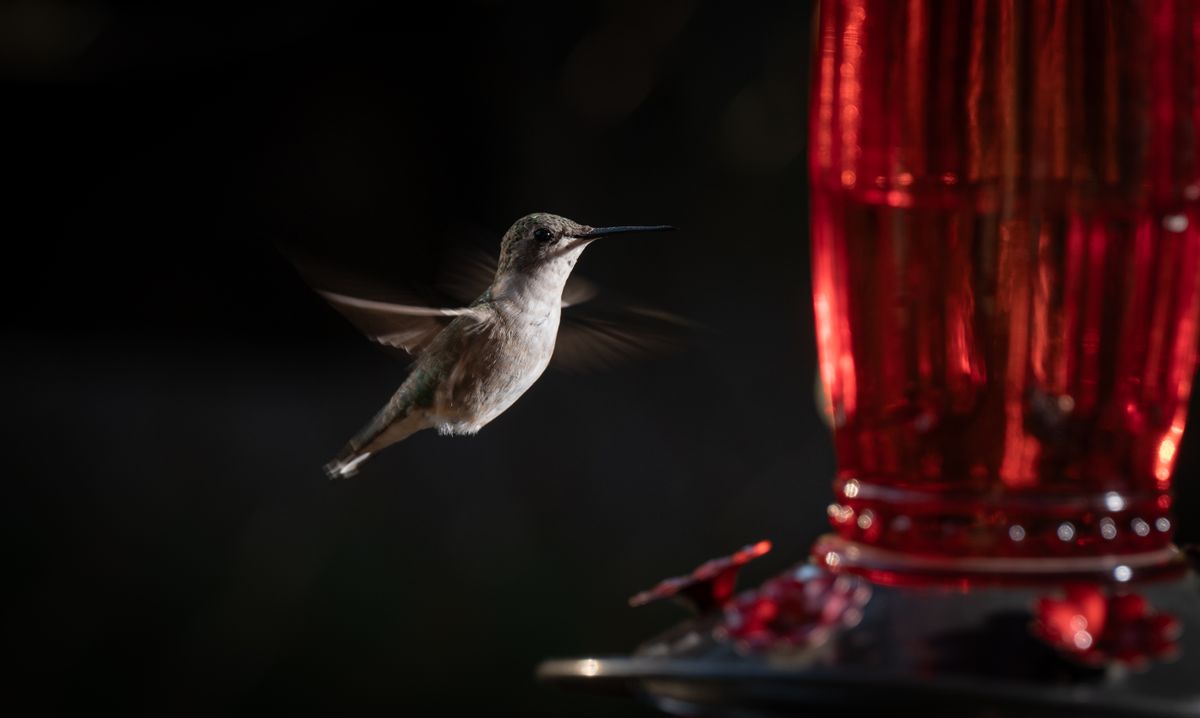
Avoid these common maintenance blunders to preserve your feeder's 8-hour illuminated glow and keep visiting hummingbirds safe from illness.
15-Minute Dual-Zone Deep Cleaning Step-by-Step
- 0:00 - 2:00 — Separate Zone A (Glass & Metal Base) from Zone B (Solar Cap). Discard old nectar safely.
- 2:00 - 5:00 — Submerge glass body and base in warm water and white vinegar (4:1). Wipe top solar cap with a damp microfiber cloth.
- 5:00 - 10:00 — Scrub glass interior with bottle brush; clean small metal flower ports with a soft micro-brush.
- 10:00 - 13:00 — Rinse Zone A components thoroughly under lukewarm tap water. Towel dry or air dry all rubber gaskets completely.
- 13:00 - 15:00 — Refill glass reservoir with fresh chilled nectar, reattach anti-rust base, snap solar cap into place, and hang outdoors.
Essential Backyard Hummingbird Care Guides
Expand your backyard birding knowledge with our detailed guide resources on handcrafted glass maintenance and solar garden decor:
- Hand-Blown Glass Art Care: Discover how artisan 2,300°F glass preserves vibrant garden colors season after season.
- Solar Garden Illumination Guides: Tips for optimizing solar panel placement and maximizing evening RGB light performance.
- Safe Nectar Ratios & Seasonal Care: Learn how outdoor temperature changes impact nectar freshness and feeding schedules.
Frequently Asked Questions About Solar Feeder Care
Find answers to the most common maintenance and solar battery care questions.
Featured Solar Hummingbird Feeder & Care Essentials
Enhance your outdoor sanctuary with artisan craftsmanship and solar-powered garden brilliance.
Next Steps for a Glowing, Hummingbird-Friendly Sanctuary
Your decision: Choose between routine weekly cleaning or high-heat summer maintenance.
Do this next: Disassemble your feeder into Dual Zones: soak the hand-blown glass bottle in warm vinegar solution and wipe the solar cap with a microfiber cloth.
- Read next: How to Clean and Maintain Hand-Blown Glass Feeders
🌟 LUJII Solar-Powered Hummingbird Feeder (32 fl.oz Hand-Blown Glass with Anti-Rust Metal Base)
Ready to revitalize your backyard garden and protect your local hummingbird population?
Cover photo by Gil Vdr on Pexels.