How to Clean a Solar Glass Hummingbird Feeder: Step-by-Step Sterilization Guide
Should you submerge your solar hummingbird feeder in a sink full of water to clean it? No, never submerge the electronic solar cap. To clean your feeder safely, unscrew the solar light module and wipe it down with a damp microfiber cloth. Wash the hand-blown glass reservoir and metal base separately in warm water using a 1:2 white vinegar solution, scrub with a bottle brush, rinse thoroughly, and air dry completely before refilling.
Step-by-Step Sterilization Checklist for Solar Glass Feeders
- [ ] Unscrew the upper solar light module and place it safely in a dry area.
- [ ] Wipe the solar panel cap and LED housing using a soft, damp microfiber cloth.
- [ ] Empty all remaining spoiled nectar from the glass reservoir down the sink.
- [ ] Prepare a cleaning bath of 1 part distilled white vinegar to 2 parts warm (not boiling) water.
- [ ] Submerge the hand-blown glass reservoir and metal base into the vinegar solution.
- [ ] Let components soak for 15 minutes to dissolve sugar crust and kill fungal spores.
- [ ] Scrub internal glass walls and narrow neck using a curved bottle brush.
- [ ] Scrub feeding ports and metal base threads with a small cleaning brush.
- [ ] Rinse all washed parts thoroughly under cool running tap water until vinegar odor is gone.
- [ ] Air dry all components completely on a clean towel before reassembling.
- [ ] Refill with fresh 4:1 cool nectar, reattach the dry solar cap, and hang out of direct scorching sun.
Quick-Reference Maintenance Card
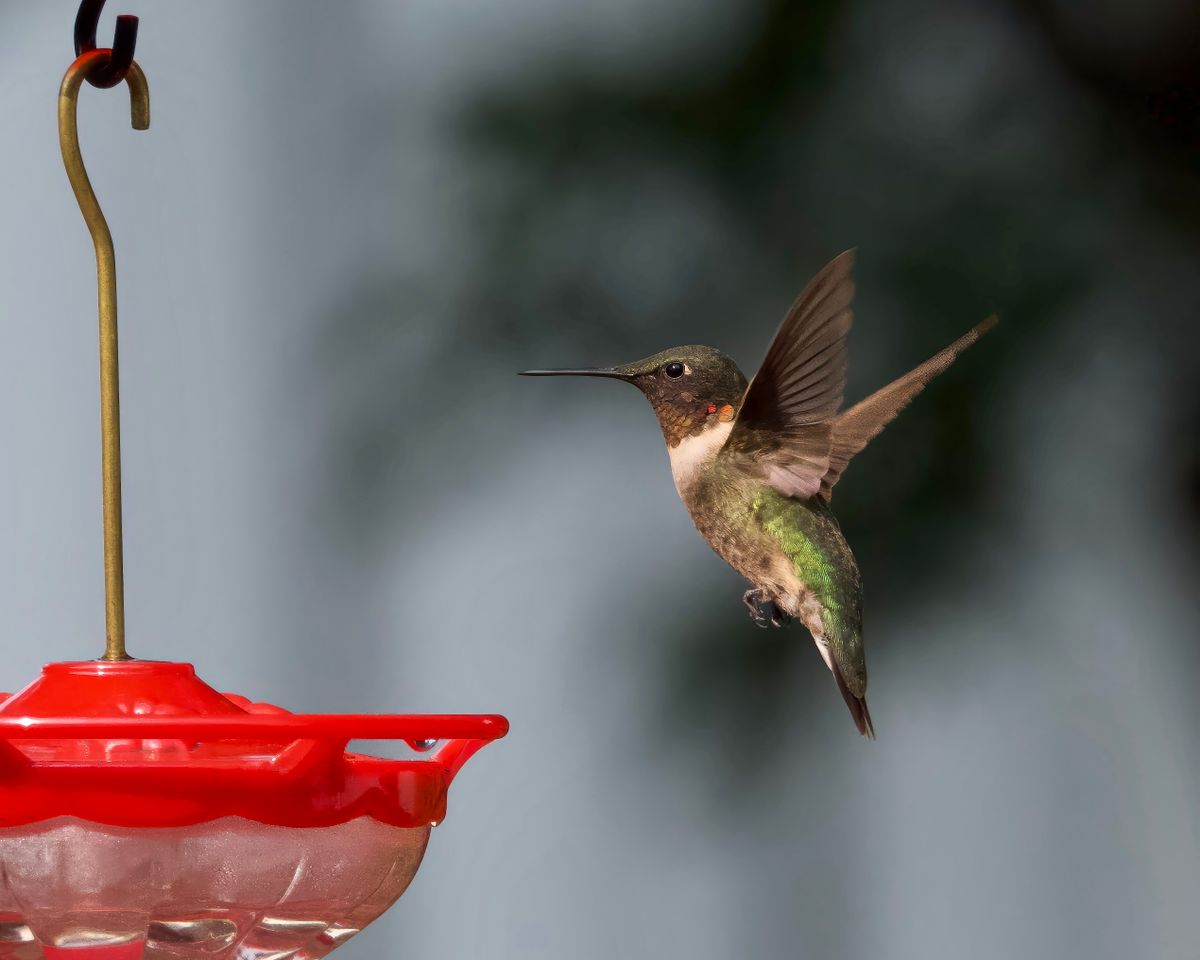
Photo by A. G. Rosales on Pexels
- DRY ZONE: Solar LED Top Cap — Wipe with damp cloth only. Never immerse in water.
- WASH ZONE: Glass Reservoir & Metal Base — Soak 15 mins in 1:2 vinegar-to-warm-water solution.
- SCRUB PROTOCOL: Flexible nylon bottle brush for inner glass curves; soft port brush for flowers.
- SAFETY RULE: No dish soap, bleach, boiling water, or dishwasher heat cycles.
- REFILL RATIO: 4 parts water to 1 part pure cane sugar; cool to room temp before hanging.
Master Glassmaker’s Thermal Shock Warning
Hand-blown art glass reservoirs are shaped by skilled artisans at intense temperatures reaching 2,300°F. While the resulting glass is sturdy and weather-resistant, extreme, rapid temperature shifts can cause micro-fractures or stress cracks inside the handcrafted patterns.
Never pour boiling water directly into a cold glass feeder, and never plunge a sun-warmed reservoir into ice-cold rinse water. Always clean your art-glass feeder using lukewarm or room-temperature water. This gentle thermal balance protects the colorful, translucent art finish and structural integrity for years of backyard joy.
Troubleshooting Common Feeder Hygiene Failures
| Failure Scenario | Root Cause | Immediate Corrective Action | Prevention Protocol |
| --- | --- | --- | --- |
| Black Mold Spots in Narrow Glass Neck | High summer heat accelerating Candida reukaufii fungal spores in sugary nectar. | Soak reservoir for 20 minutes in 1:1 vinegar solution; scrub using a flexible wire bottle brush or swirl uncooked rice in warm vinegar water. | Increase cleaning frequency to every 2 days when ambient outdoor temperatures exceed 85°F. |
| Solar LED Light Fails to Turn On at Night | Water moisture entered the upper solar housing during washing or heavy rainfall. | Remove cap, dry exterior thoroughly, open battery compartment if accessible, and let dry in a warm room for 48 hours before testing. | Always unscrew and isolate the solar cap before washing the glass reservoir; never spray with a hose. |
| Cloudy or Milky Nectar After 24 Hours | Bacterial fermentation caused by direct scorching sunlight and unsterilized feeding ports. | Discard nectar immediately, sanitize glass body and metal base in a 1:2 vinegar bath, and rinse thoroughly. | Relocate feeder to an area with partial afternoon shade and ensure 100% white cane sugar is used. |
| Rust Spots Appearing Around Feeding Ports | Scrubbing metallic parts with abrasive steel wool or harsh chemical cleaners. | Gently wipe rust away with a vinegar-soaked cloth; dry thoroughly and apply a light dab of food-safe mineral oil if needed. | Clean metal bases exclusively with soft nylon brushes and mild vinegar solutions. |
| Sticky Sugar Residue Leaking Around Threads | Misaligned rubber gasket seal or sugar crust buildup on threading. | Disassemble base, soak threads in warm water to clear sugar crust, re-seat rubber seal properly, and hand-tighten firmly. | Wipe threading clean during every nectar refill to maintain a perfect liquid-tight seal. |
When feeder maintenance slips or water intrudes where it shouldn't, specific failure modes occur. Here is how to diagnose and fix these common backyard scenarios immediately.
Core Principles of Solar Feeder Maintenance
Keep these essential rules in mind to protect both your garden wildlife and your illuminated outdoor decor:
- Isolate the Solar Unit: The electronic cap is weather-resistant against ambient rain, but non-submersible. Keep it far away from soaking tubs.
- Vinegar Over Chemicals: Distilled white vinegar (1:2 ratio with water) dissolves sticky sugar and kills fungal spores without leaving toxic odors or soap films that repel hummingbirds.
- Temperature Dictates Schedule: Clean every 5 days in cool spring weather, but shift to every 1 to 2 days during hot summer heatwaves.
- Respect Hand-Crafted Glass: Avoid dishwasher cycles and boiling water to prevent thermal shock and maintain vibrant glass colors.
Temperature-Based Cleaning Schedule
- Over 90°F (Extreme Heat) — Clean and refill every 1 to 2 days. Nectar ferments rapidly and can breed deadly crop mold within 36 hours.
- 80°F to 89°F (Summer Warmth) — Clean and refill every 2 to 3 days. Inspect daily for cloudiness or floating dark specks.
- 70°F to 79°F (Mild Summer / Early Fall) — Clean and refill every 3 to 4 days.
- Below 70°F (Cool Spring / Late Fall) — Clean and refill every 5 to 7 days.
5 Critical Mistakes That Ruin Solar Glass Feeders
Avoid these common blunders that compromise electronic components, damage handcrafted glass, or harm visiting hummingbirds:
The 15-Minute Sterilization Routine
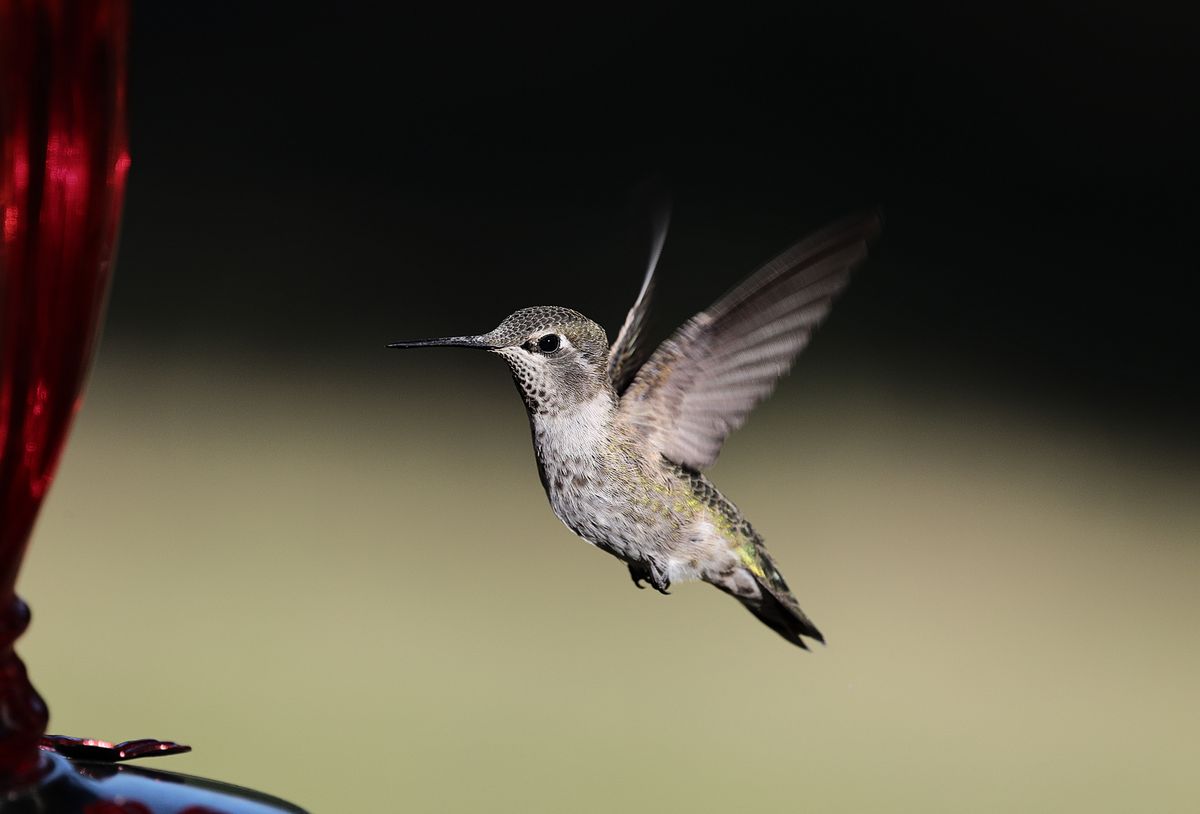
Photo by Veronika Andrews on Pexels
- Minutes 0–2 — Disassemble the feeder. Unscrew the upper solar light module and set it on a dry towel. Unscrew the metal base from the glass reservoir.
- Minutes 2–4 — Inspect and wipe. Wipe the solar cap housing and solar panel using a soft, damp microfiber cloth. Dump remaining spoiled nectar down the drain.
- Minutes 4–10 — Vinegar soak. Submerge the glass reservoir and metal base into a basin filled with 1 part white vinegar and 2 parts warm water. Let soak for 6 minutes.
- Minutes 10–13 — Scrub and rinse. Use a curved bottle brush to clean the glass interior curves. Use a small port brush to scrub flower ports. Rinse all parts under cool tap water.
- Minutes 13–15 — Dry and refill. Air dry components on a clean dish towel. Refill with fresh, cooled 4:1 white cane sugar nectar, reattach the dry solar cap, and hang.
Frequently Asked Questions About Solar Feeder Care
Here are expert answers to the most common questions about caring for solar glass hummingbird feeders.
Hand-Blown Solar Feeders Built for Easy Cleaning
If your current feeder is frustrating to clean due to fixed electronic parts or hard-to-reach narrow crevices, upgrading to a user-friendly art piece makes garden care a joy.
Your Immediate Clean-and-Care Action Plan
Your decision: Determine your current outdoor temperature zone and inspect your solar feeder cap for moisture seals before starting your cleaning routine.
Do this next: Disassemble your feeder today, wipe down the solar housing with a damp microfiber cloth, and soak the glass reservoir in a 1:2 vinegar-water mix for 15 minutes.
- Read next: Hot Weather Nectar Ratios: How to Keep Hummingbird Food Fresh in Summer
- Read next: How to Clean and Maintain Hand-Blown Glass Hummingbird Feeders Without Fading Color
If your current feeder has a narrow neck that makes mold removal difficult, consider upgrading to a LUJII Hand-Blown Glass Solar Hummingbird Feeder featuring a wide-mouth reservoir and removable anti-rust metal base.
Take these quick steps right now to ensure your backyard hummingbirds enjoy safe, crystal-clear nectar tonight under the soft glow of your solar feeder.
Recommended Reading for Hummingbird Care
Contextualize feeder cleaning within the broader cluster of nectar safety and night feeding.
Cover photo by Skyler Ewing on Pexels.