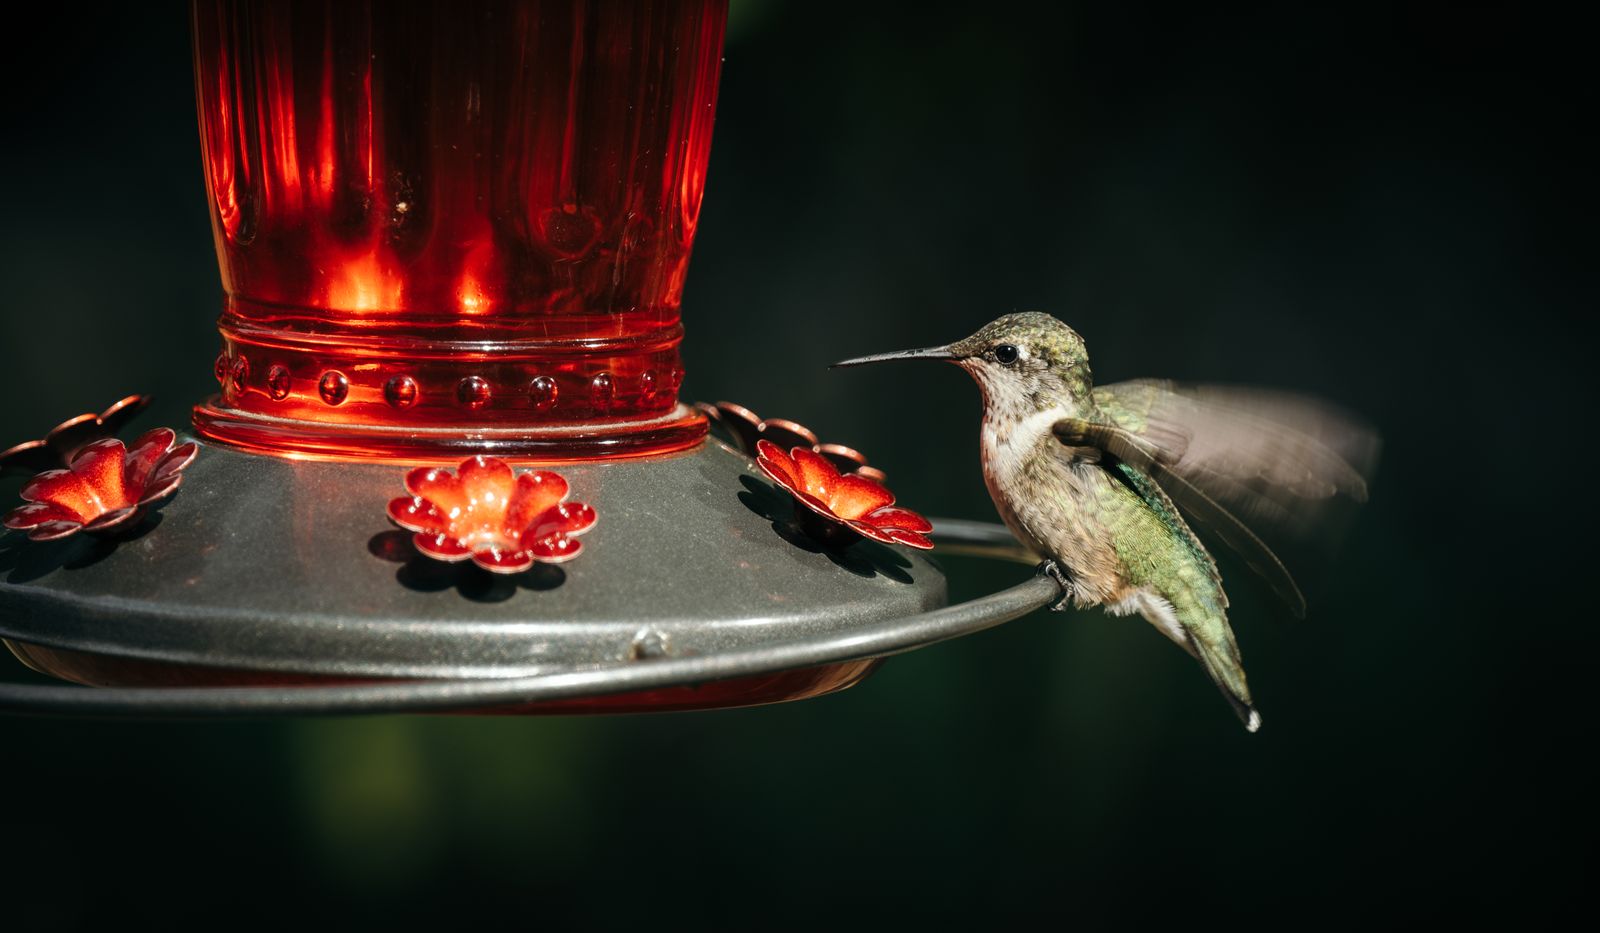
How to Clean a Solar Hummingbird Feeder Cap (Safe Step-by-Step)
Is your solar hummingbird feeder glowing dimly or turning off after just an hour or two at dusk? The culprit is almost certainly a microscopic film of tree sap, dried nectar splatter, pollen, and dust on the clear solar panel cap, blocking sunlight from reaching the photovoltaic cells.
To clean a solar hummingbird feeder cap safely, wipe the panel exterior with a soft microfiber cloth dampened in warm water mixed with one drop of mild liquid dish soap. Never submerge the solar cap in water or run it under a faucet. Gently lift away organic haze and hard water spots, then dry the housing completely before placing the feeder in 6+ hours of direct sunlight.
Step-by-Step Solar Cap Cleaning Checklist
- [ ] Turn off the power switch located on the underside of the solar cap (if applicable) to prevent accidental short-circuiting.
- [ ] Separate the solar cap from the hand-blown glass reservoir and metal base; set the glass vessel aside for separate nectar washing.
- [ ] Inspect the clear acrylic protective dome for tree sap, nectar film, bird droppings, or cloudy water spots.
- [ ] Dampen a clean microfiber cloth in warm water mixed with 1 drop of mild liquid dish soap; squeeze out excess liquid until the cloth is damp, not dripping.
- [ ] Gently wipe the solar panel dome in smooth, circular motions. Do not scrub or apply heavy pressure.
- [ ] For stubborn tree sap or sugar crust: press the warm, damp cloth against the sticky spot for 30 seconds to soften the residue before wiping.
- [ ] Dry the solar cap thoroughly with a clean, lint-free towel, paying extra attention to the underside rim.
- [ ] Inspect the silicone rubber gasket ring on the underside to ensure it remains seated securely in its groove.
- [ ] Reassemble the cap onto the dry feeder body and suspend it in an unshaded area receiving at least 6 continuous hours of direct sunlight.
Printable Quick-Reference Maintenance Guide
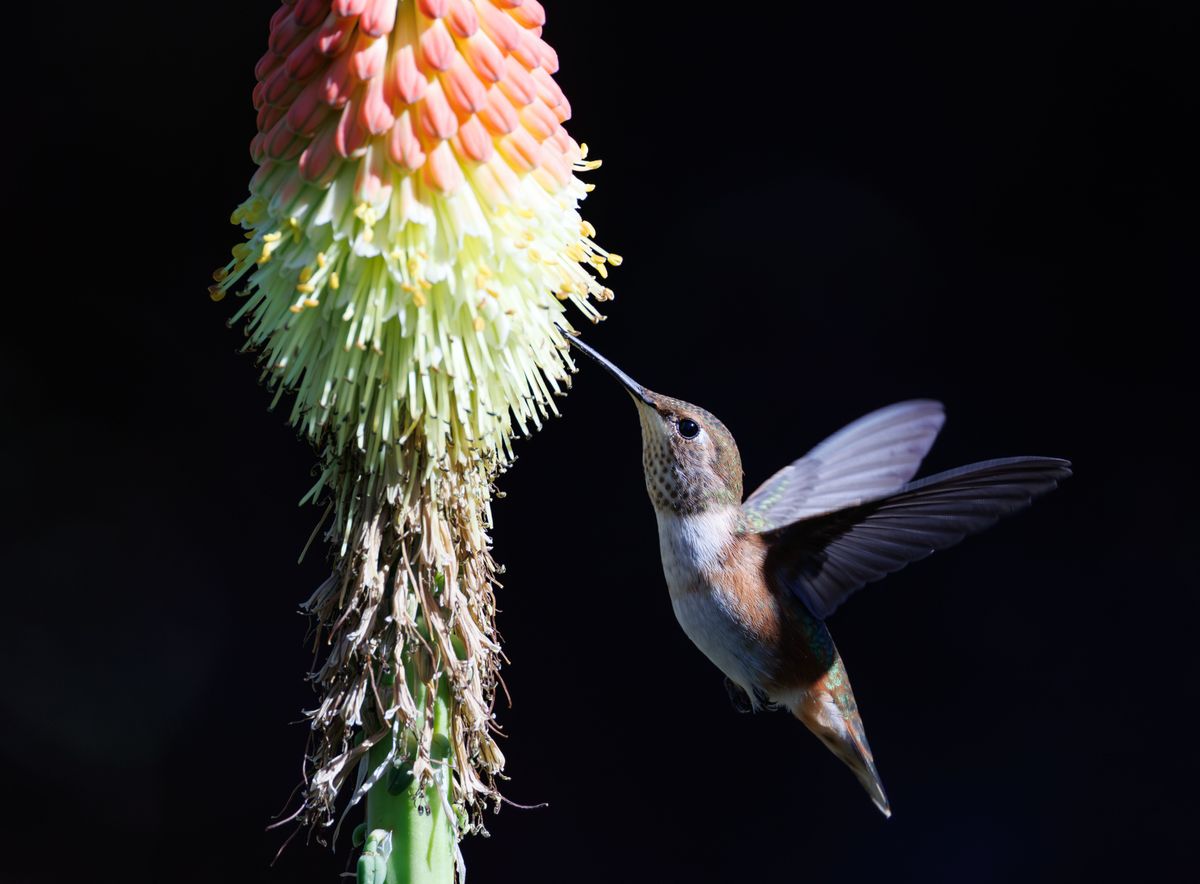
Photo by Veronika Andrews on Pexels
- Safe Cleaning Mixture: Warm water + 1 drop mild dish soap (or 1:4 diluted lemon juice for scale).
- Safe Scrubbing Tools: Soft microfiber cloths only. Never use abrasive green pads or steel wool.
- Golden Submersion Rule: Wipe exterior surfaces only. NEVER soak, submerge, or dishwasher-clean the solar cap.
- Sunlight Requirement: Requires 6 to 8 hours of unobstructed direct sun to achieve a full 8-hour nighttime RGB glow.
- Battery Maintenance: Replace the internal 1.2V AA Ni-MH rechargeable battery every 12 to 24 months.
Expert Seal Preservation Tip
When wiping down the top of your solar cap, never direct water spray or wet cloths along the bottom seam where the clear dome meets the electronic base. Solar caps rely on a delicate silicone O-ring to repel ambient rain and snow, but water can easily be drawn past this seal via capillary action if the cap is rinsed under running water. Always hold the cap right-side up, wipe with a tightly wrung cloth, and dry the lip immediately. Preserving this seal ensures your multi-color RGB light module stays dry and rust-free season after season.
Troubleshooting Dim or Failing RGB Lights
| Scenario / Symptom | Root Cause | Recommended Action |
| --- | --- | --- |
| RGB light flickers or burns out after 1–2 hours of dusk | Invisible pollen/dust film or partial afternoon shade | Wipe top dome with microfiber cloth; relocate feeder to an unshaded spot receiving 6+ hours of direct midday sunlight. |
| Light fails to illuminate at dusk entirely | Power switch toggled OFF or optical light sensor blocked by dark sap | Verify switch is ON, gently clean the light sensor window, and test by covering the entire top solar panel with your palm in a lit room. |
| Solar dome looks hazy with fine white scratches | Previous scrubbing with abrasive pads or household glass cleaners | Stop using scrub pads. Buff gently with a drop of optical plastic polish on a microfiber cloth to restore light transmittance. |
| Internal moisture droplets visible inside clear dome | Dislodged rubber O-ring gasket or high-pressure spray washing | Turn power OFF, remove battery cover, dry internal housing with a warm hairdryer on cool setting from 12 inches away, and re-seat silicone gasket. |
If your feeder isn't illuminating your nighttime garden even after a surface wipe, use this scenario guide to pinpoint the issue.
Immediate Care Actions for Your Solar Feeder
Your decision: Determine whether your solar cap requires a light weekly dust wipe or a deep surface stain removal.
Do this next: Detach the solar cap from your feeder, wipe the panel clean with a warm microfiber cloth, inspect the silicone gasket, and re-charge the unit under 6 hours of full sunlight.
Related resource: https://solarhummingbirdfeeder.com
LUJII Hand-Blown Glass Solar Hummingbird Feeder (32 fl.oz, RGB Illumination)
Take these quick diagnostic steps today to keep your solar feeder performing at its peak.
Key Maintenance Takeaways
- Solar caps are weather-resistant against overhead rain but will be permanently ruined if submerged in standing water.
- A thin layer of dust or sticky nectar can drop solar charging efficiency by over 40%, drastically shortening nighttime glow.
- Use only warm water, mild dish soap, and soft microfiber cloths—harsh chemicals like Windex or acetone degrade clear acrylic plastic.
- Hard water scale can be safely removed with a 1:4 lemon juice and water solution applied strictly to the exterior plastic dome.
- Rechargeable Ni-MH batteries inside the solar cap last approximately 1 to 2 years before requiring a simple swap.
Solar Cap Technical Specifications & Tolerance Matrix
| Component | Material / Spec | Cleaning Tolerance | Destructive Hazards |
| --- | --- | --- | --- |
| Protective Cap Housing | UV-Stabilized Clear Acrylic | Safe for warm soapy water & microfiber | Scouring pads, acetone, ammonia, alcohol |
| Photovoltaic Cell | High-Efficiency Monocrystalline | Safe for gentle damp surface wiping | Sharp objects, heavy pressure, thick sap buildup |
| Weatherproofing Seal | Silicone Rubber O-Ring Gasket | Safe for light wiping along seam | Submersion, dishwasher hot cycles, pressure washers |
| Internal Battery Cell | 1.2V AA Ni-MH Rechargeable | Dry compartment access only | Liquid ingress, unrated lithium replacements |
Understanding the limits of your solar cap's materials helps prevent accidental damage during garden cleanup.
Seasonal Solar Cap Maintenance Schedule
- Weekly (During Nectar Refills) — Wipe top acrylic panel with a damp microfiber cloth to clear airborne dust, pollen, and fresh sugar splatter.
- Bi-Weekly — Inspect the underside silicone gasket, clean switch assembly of ant residue, and ensure no nectar film has coated the base junction.
- Monthly — Perform a dusk illumination check. If light burns under 5 hours, inspect panel for stubborn tree sap or adjust garden hanging angle.
- Every 12–24 Months — Unscrew the battery hatch on the cap's underside and replace the AA Ni-MH rechargeable battery to restore full 8-hour capacity.
Safe vs. Harmful Solar Cap Cleaning Solutions
| Cleaning Solution / Tool | Safety Rating | Effect on Clear Acrylic Cap | Impact on Rubber Seals & Electronics |
| --- | --- | --- | --- |
| Warm Water + Mild Dish Soap | Safe (Recommended) | Preserves crystal clarity without scratching | Zero chemical degradation of silicone seals |
| Diluted Lemon Juice (1:4 ratio) | Safe (For Mineral Scale) | Dissolves stubborn hard water spots smoothly | Safe if wiped off immediately with fresh water |
| Windex / Glass Cleaners (Ammonia) | Harmful (Avoid) | Causes plastic yellowing and micro-cracking over time | Dries out and shrinks rubber waterproofing seals |
| Isopropyl Alcohol or Acetone | Destructive (Never Use) | Melts acrylic surface into an opaque, milky haze | Permanently dissolves waterproof glue and seals |
| Green Abrasive Scrub Sponges | Destructive (Never Use) | Leaves dense scratches that permanently scatter sunlight | Punctures thin protective edge coatings |
Before grabbing household cleaners from under your sink, review which agents protect solar electronics and which destroy them.
5 Critical Mistakes That Destroy Solar Feeder Caps
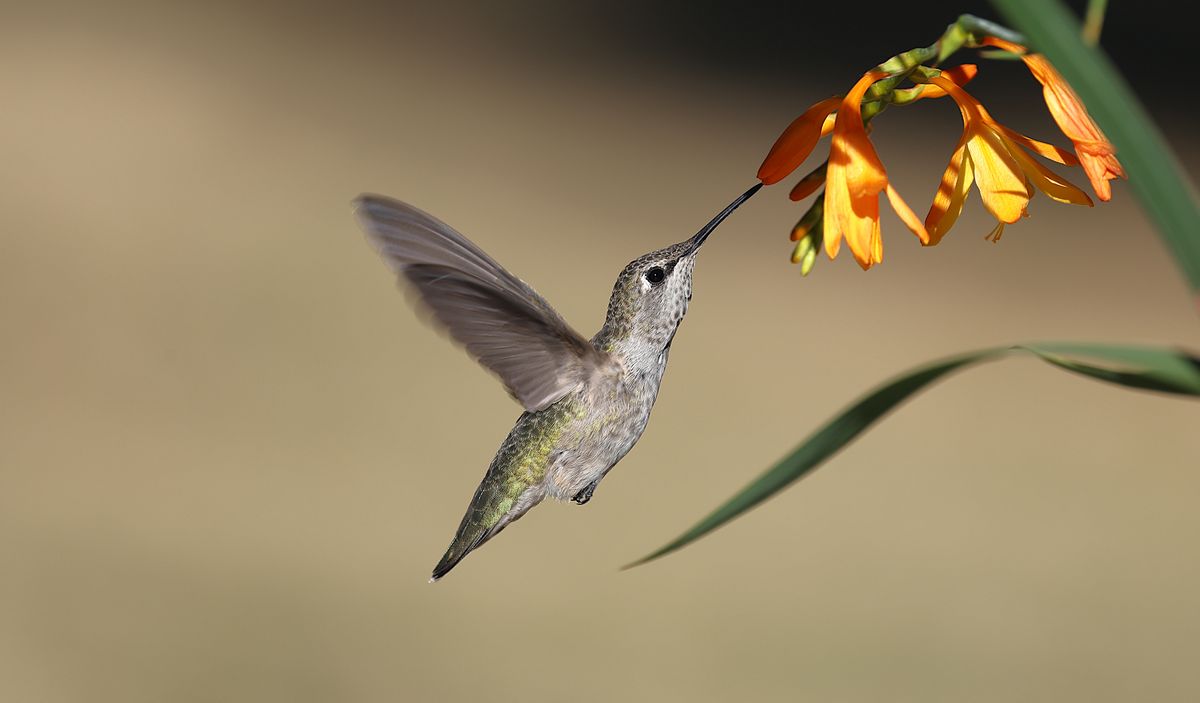
Photo by Veronika Andrews on Pexels
Most solar feeder failures are completely preventable. Avoid these five common maintenance errors:
Solar Recharge Recovery Timeline
- Minute 0 (Immediately After Cleaning) — Surface sap and dust haze removed; light absorption efficiency on monocrystalline cells jumps back to 100%.
- 2 Hours in Direct Sunlight — Battery absorbs sufficient solar energy to power approximately 2.5 to 3 hours of evening RGB LED glow.
- 6 to 8 Hours in Direct Sunlight — Rechargeable Ni-MH battery reaches full capacity, delivering up to 8 full hours of magical nighttime color-changing light.
Frequently Asked Questions About Solar Cap Care
Featured Solar Hummingbird Feeder
Looking for an artisan feeder that combines gorgeous garden styling with durable, easy-to-clean solar power?
Next Steps for Ideal Feeder Care
Your decision: Determine if your solar cap needs a light daily dust wipe or a full deep surface cleaning for sticky nectar residue.
Do this next: Unscrew or lift the solar cap from your LUJII feeder, wipe the panel clean with a warm microfiber cloth, inspect the rubber gasket seal, and place the cap in direct, unobstructed sunlight for 6 continuous hours.
Related resource: https://solarhummingbirdfeeder.com
LUJII Hand-Blown Glass Solar Hummingbird Feeder (32 fl.oz, RGB Illumination)
Keep your garden glowing and your hummers healthy with these simple next steps.