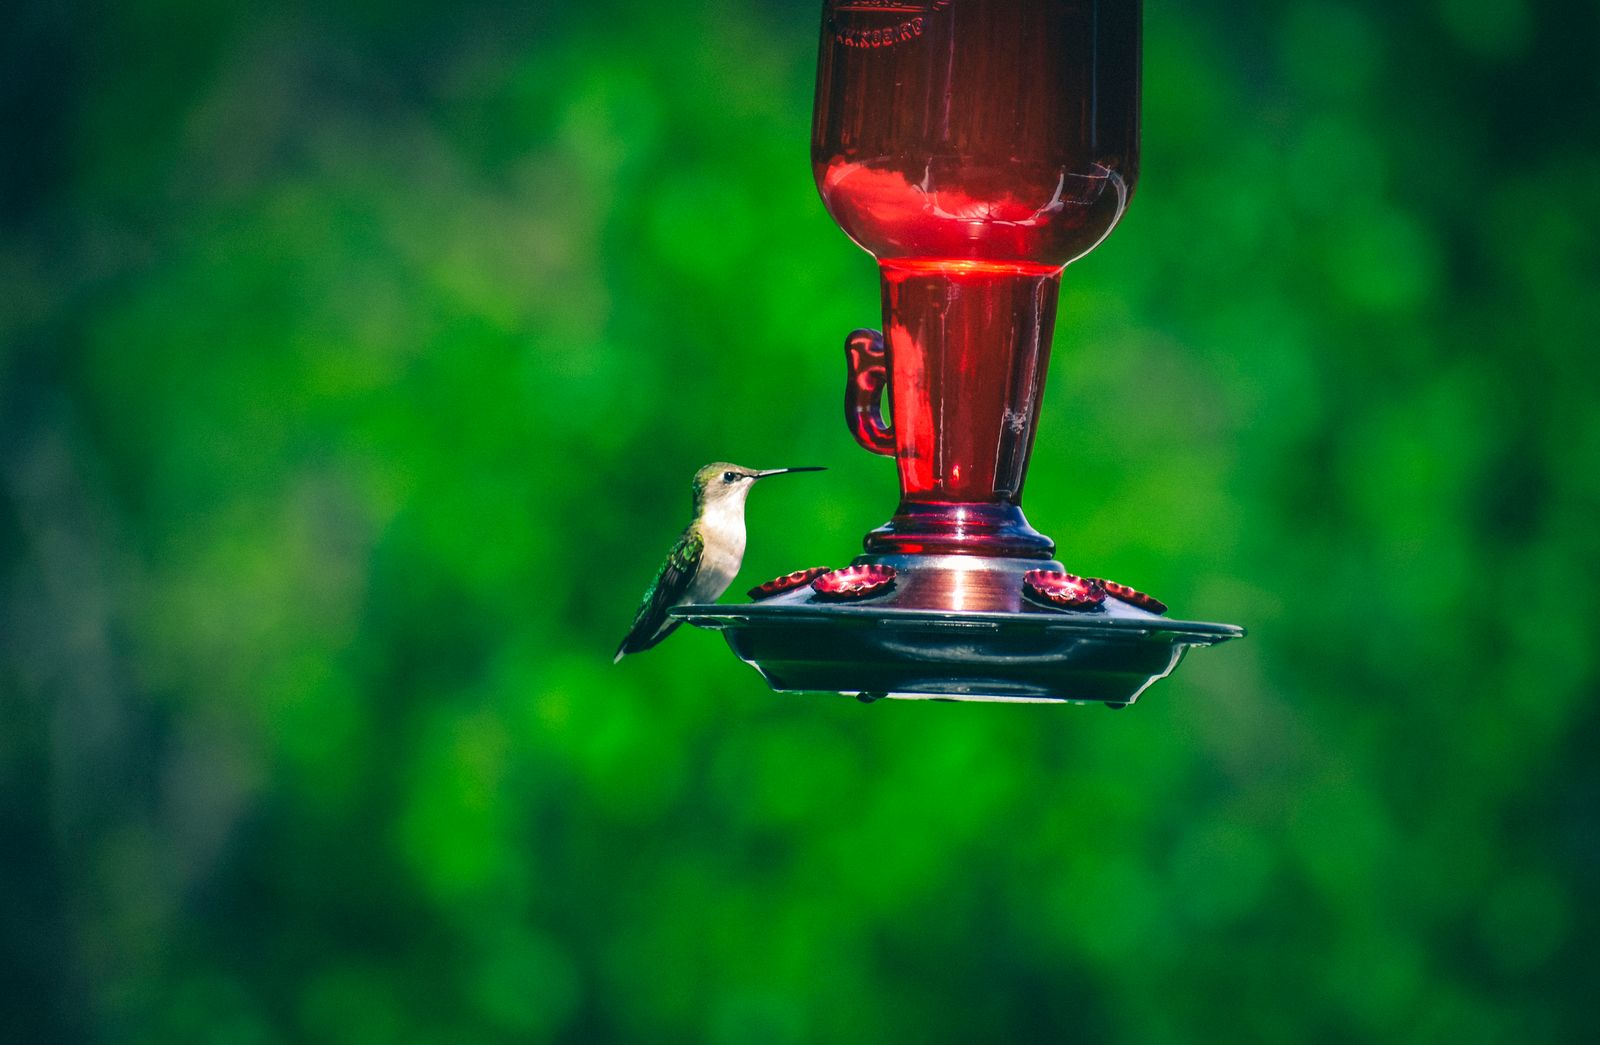
How to Clean a Glass Hummingbird Feeder with Solar Lights
Should you submerge your entire solar glass hummingbird feeder in hot soapy water? Absolutely not—doing so risks shorting the integrated RGB solar light cap, stripping the base anti-rust coating, and cracking hand-blown glass through thermal shock. Instead, separate the plastic solar cap to wipe it down with a dry microfiber cloth, while soaking only the handcrafted glass reservoir and metal base in a 1:4 distilled white vinegar and lukewarm water solution.
The Master Safe-Cleaning Checklist for Solar Glass Feeders
- [ ] Unplug/unscrew the top plastic solar cap and place it far away from water basins.
- [ ] Inspect the silicone rubber seal around the solar battery housing for cracks, dust, or misalignment.
- [ ] Discard all unused, cloudy, or fermented nectar immediately down the drain.
- [ ] Prepare a sink or washbasin filled with lukewarm water (70°F to 85°F)—never boiling.
- [ ] Mix 1 part distilled white vinegar with 4 parts lukewarm water (avoid dish soaps and bleach).
- [ ] Gather soft bottle brushes, pipe cleaners, a soft sponge, and a dry microfiber cloth.
- [ ] Verify that no wire-bristle brushes or abrasive scouring pads are used near artisan glass curves or metal base ports.
Printable Quick-Reference Maintenance Card
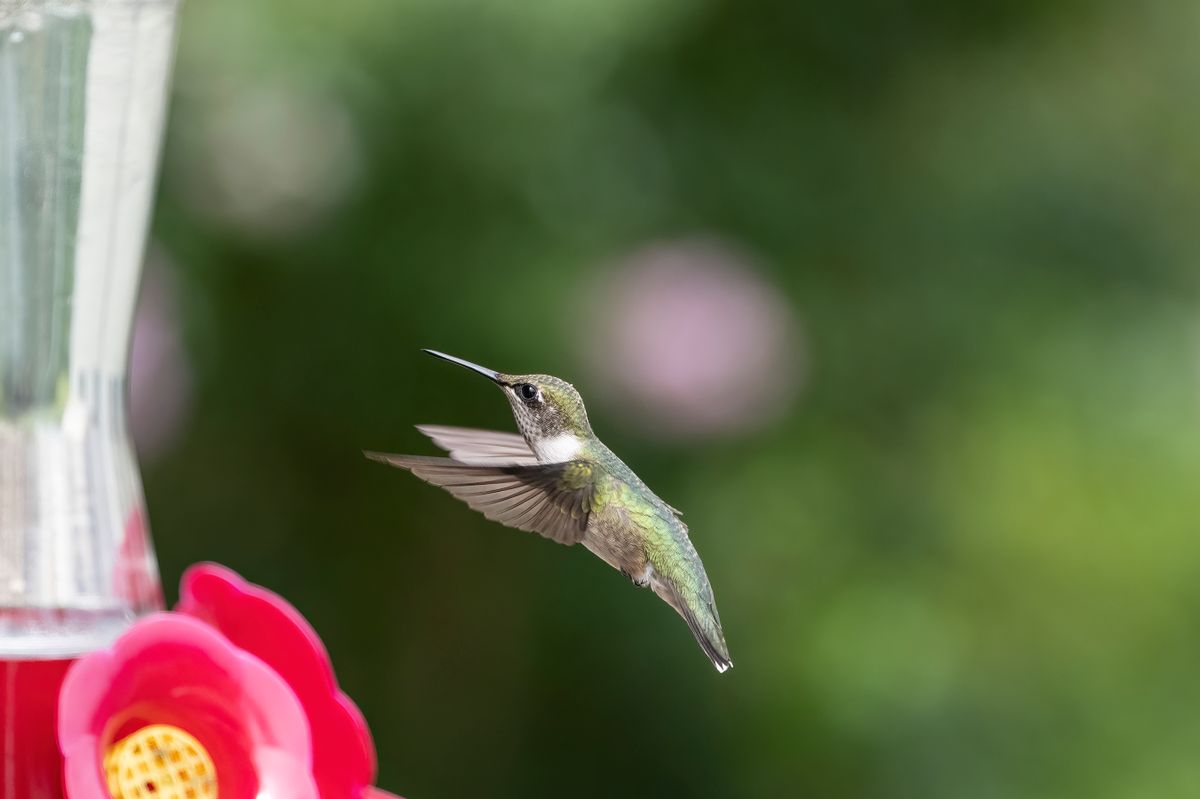
Photo by David Dibert on Pexels
- Rule 1: ZERO SUBMERSION for the solar cap. Wipe top and LED underside with a barely damp or dry cloth.
- Rule 2: NO DISHWASHERS OR BOILING WATER. Hand-blown glass formed at 2,300°F will shatter from thermal shock.
- Rule 3: NO DISH SOAP. Soap films harm hummingbird digestive tracts; use a 1:4 white vinegar-to-water soak.
- Rule 4: MOLD REMOVAL IN CURVES. Swirl 2 tbsp dry uncooked rice + 1/4 cup vinegar to scrub tight internal glass curves.
- Rule 5: SUMMER HEAT SCHEDULE. Clean every 2 days if temps exceed 80°F; clean daily above 90°F in direct sun.
Artisan Glass Care: Preventing Thermal Shock & Mold in Curves
> Expert Glassmaker & Avian Hygiene Advice: > Hand-blown glass feeders—like those crafted at 2,300°F with intricate color swirls—expand and contract rapidly when exposed to temperature spikes. Running hot tap water into a cooler glass bottle induces intense thermal stress, resulting in micro-fractures or immediate shattering. > > Furthermore, hummingbirds possess extremely sensitive brush-tipped tongues. Synthetic detergents leave behind invisible chemical films and fragrances that cause feeding deterrence or mouth lesions. Stick strictly to lukewarm water (under 85°F) and natural white vinegar.
Solar Cap Moisture & Glass Emergency Troubleshooting
| Scenario / Observed Failure | Probable Cause | Immediate Corrective Action |
| --- | --- | --- |
| Water accidentally splashes into the solar battery compartment | Cap was submerged or rinsed directly under high-pressure faucet tap water | Immediately remove the battery cap, open the compartment if accessible, pat dry with microfiber, and submerge the cap in a container of dry silica gel or dry uncooked rice for 24 hours. |
| RGB LED lights fail to turn on automatically at night | Drain plug dampness, depleted AAA rechargeable battery, or dirty solar panel glass | Wipe top solar panel face clean with micro-fiber cloth. Ensure the switch is set to 'ON'. Expose panel to direct sunlight for 8 full hours. Replace internal solar battery if aged over 12 months. |
| Black spot mold persists in deep hand-blown glass swirled crevices | Nectar fermented in tight interior contours; standard bottle brush cannot reach curves | Pour 2 tbsp dry uncooked rice and 1/4 cup white vinegar inside. Cover bottle opening with hand, shake vigorously for 45 seconds. The rice acts as a soft abrasive, lifting mold without scratching glass. |
| Nectar drips rapidly from feeding ports after cleaning | Vacuum seal failure, unseated metal base gasket, or liquid filled higher than thread neck | Ensure metal base is screwed on straight and firmly. Refill nectar only when feeder base and bottle are cool. Never fill with warm nectar, as expanding air pushes nectar out of port holes. |
| Rust spots appear around metal feeding port flowers | Protective anti-rust coating scraped by metal bristles or harsh bleach soaking | Clean with soft nylon brush only. Gently coat dry metal port exterior with food-grade mineral oil or beeswax to inhibit further oxidation. |
When unexpected failure modes occur, quick diagnostic action prevents permanent electronic shorting or avian sickness. Use these scenario-based solutions:
Anatomical Care Zones: Submerge vs. Wipe Safe Components
To maintain both electrical functionality and sanitary feeding conditions, treat your feeder as two distinct zones during cleaning.
Essential Rules of Solar Glass Feeder Maintenance
Keep these primary maintenance rules in mind to extend the life of your artisan feeder:
- Isolate Electronics: The top plastic solar cap housing RGB LEDs must never be submerged or washed under running faucets.
- Avoid Detergents: Never use dish soap, antibacterial soaps, or chlorine bleach. A 1:4 white vinegar solution effectively sanitizes while preserving bird health.
- Protect Artisan Glass: Hand-blown glass created at 2,300°F requires lukewarm water to prevent thermal shock fractures.
- Clean by Temperature: High summer heat accelerates bacterial fermentation; increase cleaning frequency as temperatures rise.
- Protect Anti-Rust Coatings: Use soft nylon brushes or pipe cleaners on the metal base to preserve protective metallic coatings.
Interactive Maintenance Calculator
Use this tool concept to calculate your exact cleaning frequency based on local weather conditions.
Temperature-Based Nectar Freshness & Cleaning Schedule
- Below 70°F (Cool Spring / Autumn) — Deep clean glass bottle and metal base every 5 to 7 days. Wipe solar panel cap with dry cloth once per week.
- 70°F to 79°F (Moderate Summer Weather) — Deep clean and replace nectar every 3 to 4 days. Inspect silicone solar ring seal for condensation.
- 80°F to 89°F (Warm Summer Days) — Deep clean glass reservoir every 2 days. Inspect metal feeding ports for ant residue or sugar buildup.
- 90°F+ or Direct Sun Exposure (Peak Summer Heat) — Clean and refill daily or every 24-36 hours. Move feeder to afternoon shade to prevent nectar boiling and rapid mold spores.
Top 5 High-Risk Failures That Destroy Solar Glass Feeders
Avoid these critical mistakes that damage glass, destroy light modules, or harm birds:
5-Step Safe Cleaning Flowchart
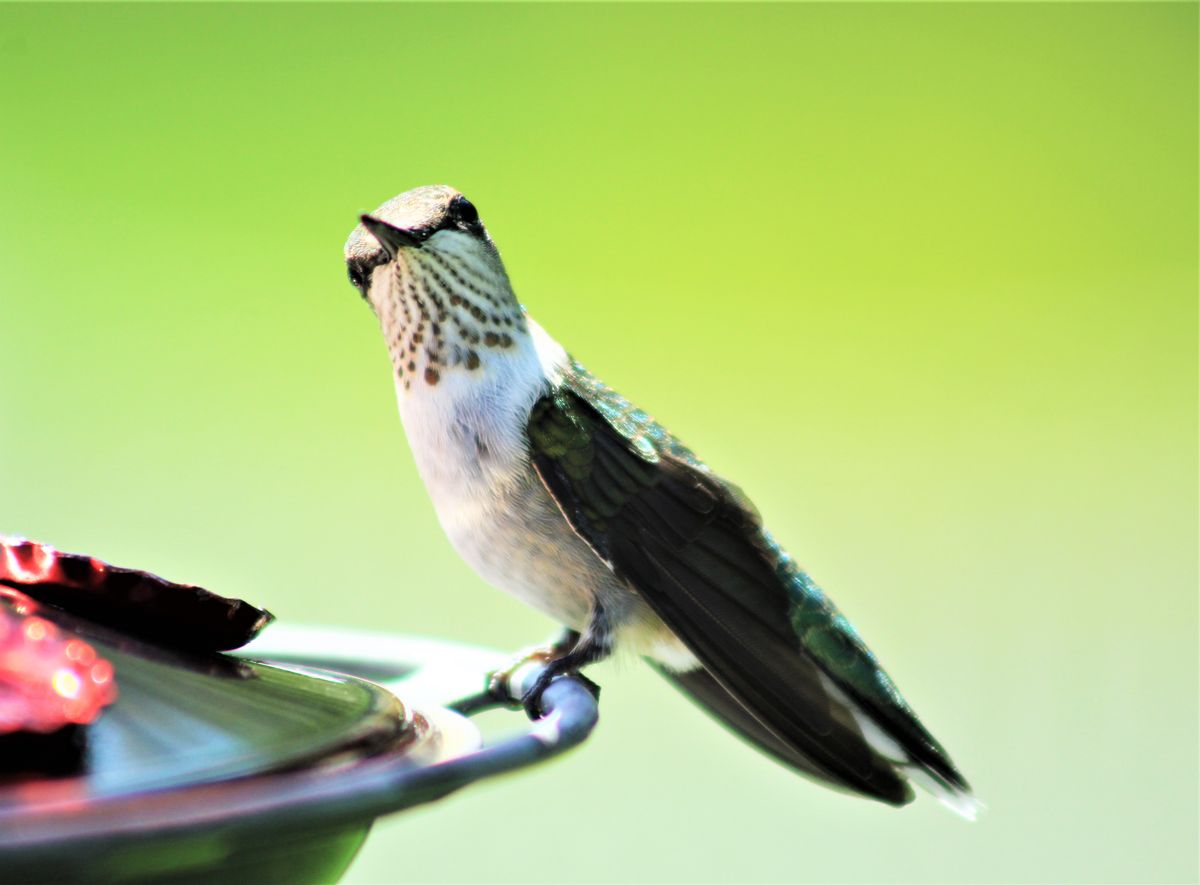
Follow this visual step-by-step sequence during your routine maintenance session.
Step-by-Step Cleaning Timeline (Total Time: 15 Minutes)
- Minute 0:00 - 0:02 — Unscrew metal base and unsnap top solar cap. Place solar cap on a clean dry towel away from the sink.
- Minute 0:02 - 0:04 — Dump old nectar into drain. Wipe top solar panel face and LED silicone seal with a dry microfiber cloth.
- Minute 0:04 - 0:10 — Submerge glass bottle and disassembled metal base in 1:4 white vinegar/lukewarm water solution. Let soak for 6 minutes.
- Minute 0:10 - 0:13 — Scrub interior glass with soft curved bottle brush (or rice-shake method for stubborn mold). Clean metal flower ports with soft pipe cleaner.
- Minute 0:13 - 0:15 — Rinse glass and metal base thoroughly with fresh lukewarm water. Air-dry completely on dry rack before filling with fresh 1:4 cool sugar nectar.
Frequently Asked Questions About Cleaning Solar Glass Feeders
Here are expert answers to the most common questions regarding solar glass feeder care:
Recommended Artisan Solar Feeders & Care Accessories
Keep your yard glowing and your local hummingbirds happy with these handcrafted feeders and maintenance accessories.
Post-Cleaning Reassembly & Placement Protocol
Your decision: Once your feeder is completely clean and dry, confirm the solar seal is intact before refilling with fresh 1:4 sugar water.
Do this next: Inspect the rubber gasket around the solar housing, re-tighten the metal anti-rust base, and re-hang in a morning-sun, afternoon-shade location.
- Read next: How to Hang Your Solar Hummingbird Feeder to Block Ants and Crawling Insects
- Read next: Troubleshooting Nectar Leaks and Solar Lights on Handcrafted Feeders
Need a backup feeder while cleaning? Check out the handcrafted LUJII Solar-Powered Hummingbird Feeder with RGB LED lights at https://solarhummingbirdfeeder.com.
Once your glass feeder is clean and completely dry, follow these final steps to set up your feeder for success.
Helpful Guides for Solar Garden & Avian Care
Provide curated internal links to complementary guides in the content cluster.
Cover photo by Chris F on Pexels.