How to Clean Glass Hummingbird Feeder Base (Stop Sticky Drips)
Is your solar hummingbird feeder leaving sticky sugar puddles on your patio? To stop base drips and sanitize safely, unscrew and isolate the top solar light assembly to keep electronics completely dry. Submerge only the hand-blown glass reservoir and disassembled metal base in warm water with mild dish soap or diluted white vinegar. Scrub flower ports with a soft micro-brush, inspect the silicone gasket seal, and air-dry thoroughly before refilling with cool nectar.
5-Step Base Cleaning & Leak Prevention Checklist
- [ ] Unscrew solar electronic housing cap and place it in a safe, completely dry area.
- [ ] Dismantle metal base tray, silicone/rubber gasket, and feeding flower ports.
- [ ] Soak metal base and glass bottle in warm water with mild dish soap for 10-15 minutes.
- [ ] Scrub flower feeding ports and threaded grooves using a micro-bottle brush to eliminate sugar crust.
- [ ] Inspect rubber gasket for cracking or improper seating before reassembling fully dry.
Quick-Reference Base Wash & Leak Audit Sheet
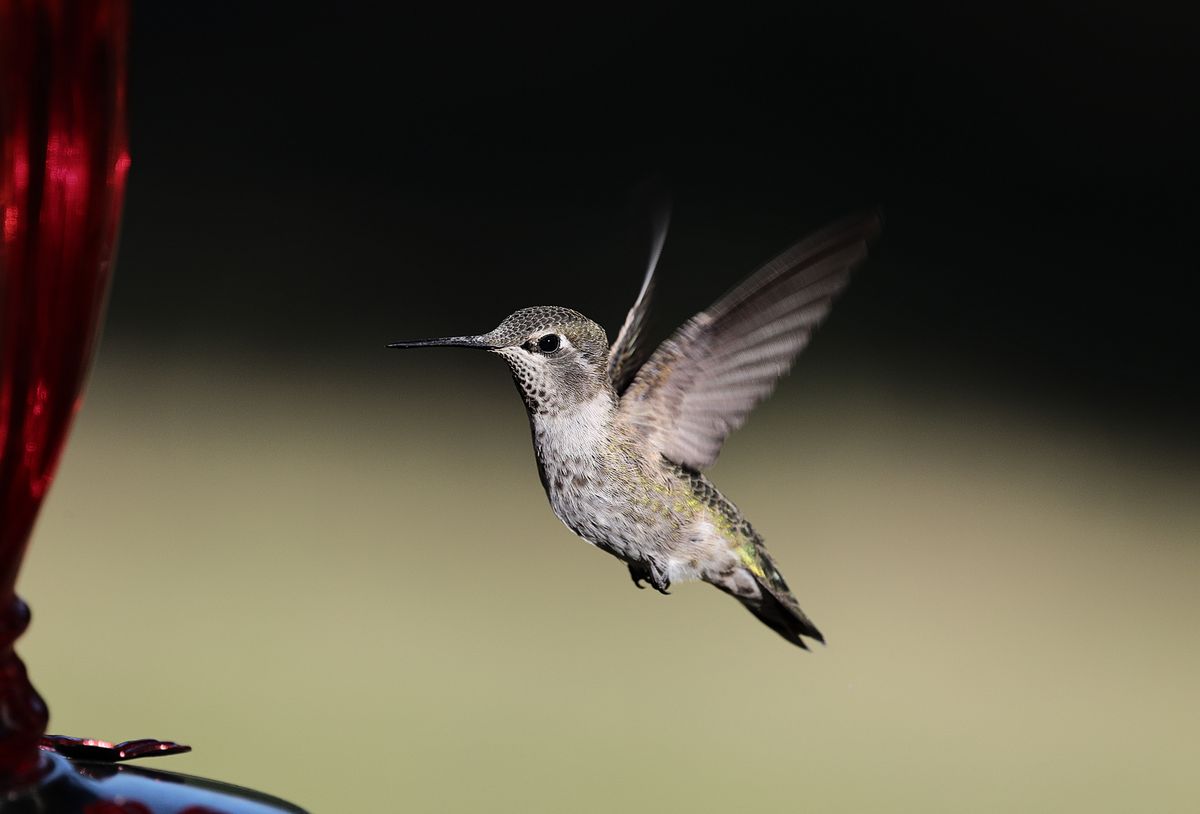
Photo by Veronika Andrews on Pexels
- Solar Cap Protection: Unscrew top LED module first. Never dip, rinse, or submerge solar electronics.
- Safe Soak Ratio: Use warm water with 1 part white vinegar to 4 parts water for heavy sugar buildup.
- Soak Duration: Cap metal base soak time at 30 minutes max to protect anti-rust protective coatings.
- Gasket Audit: Verify the flexible silicone O-ring sits perfectly flat inside the metal base collar before threading.
- Vacuum Reset: Allow washed components to cool to room temperature; never fill glass with hot nectar.
Pro Tip: Preserving Solar Cap Seals and Anti-Rust Coatings
When servicing hybrid art-glass feeders with integrated solar lighting, treat the electronic solar cap and metal base as two completely separate functional units. The top solar cap contains delicate LED wiring and a rechargeable solar battery; wipe its exterior with a damp microfiber cloth only.
For the bottom metal tray, avoid harsh chemical bleach or abrasive steel wool. The hand-blown glass and powder-coated anti-rust metal rely on smooth, unmarred surfaces to create a vacuum seal against the rubber O-ring. Scratches on the thread grooves create micro-channels that allow air to enter, breaking the internal vacuum and causing continuous gravity drips.
Base Failure Modes & Leak Troubleshooting Matrix
| Failure Mode (Symptom) | Root Cause Analysis | Corrective Action Plan | Prevention Habit |
| --- | --- | --- | --- |
| Continuous dripping from feeding flower ports | Thermal air expansion in full sun or hot nectar poured directly into glass reservoir, destroying internal vacuum. | Empty feeder, let glass cool fully, refill with room-temperature nectar (1:4 ratio), and re-hang in partial shade. | Never pour warm or hot syrup into feeder; cool liquid completely in refrigerator first. |
| Syrup oozing around base thread junction | Silicone gasket is pinched, twisted, covered in crystallized sugar grit, or missing entirely. | Dismantle base, soak O-ring in warm water, wipe threads clean of sugar crystals, seat gasket flat, and hand-tighten. | Inspect rubber O-ring position during every refill cycle. |
| Cloudy white residue inside glass bottom | Mineral deposits or early fungal mold film clinging to hand-blown glass curves. | Soak reservoir in 1:4 diluted white vinegar solution for 20 minutes; scrub with flexible nylon bottle brush. | Clean feeder every 2-3 days when outdoor temperatures exceed 80°F. |
| Solar LED light flickers or fails at night | Water ingress into solar cap during washing or solar panel covered in grime/dust. | Remove solar cap, inspect battery compartment for moisture, dry with soft towel, and clean top solar lens with alcohol swab. | Always detach solar cap before bringing glass base to the washing sink. |
Diagnose persistent feeder drips, seal failures, and solar lighting issues before they attract ants or yellowjackets.
Key Takeaways for Drip-Free Solar Feeding
Keep these essential rules in mind to maintain a pristine garden display and protect hummingbirds.
Temperature-Based Base Maintenance Schedule
- Under 70°F (21°C) — Wash base and refill nectar every 5 to 7 days. Inspect solar cap lens for dirt.
- 70°F to 80°F (21°C–27°C) — Wash base every 3 to 4 days. Flush feeding flower ports with warm water.
- 81°F to 90°F (27°C–32°C) — Deep clean base every 2 to 3 days. Use diluted vinegar soak to eliminate mold spores.
- Above 90°F (32°C+) — Clean base and replace nectar every 1 to 2 days. Hang feeder in afternoon shade to prevent thermal syrup expansion.
Critical Mistakes That Ruin Solar Bases and Cause Leaks
Avoid these common errors to protect your feeder's structural integrity and avoid attracting unwanted garden pests.
Quick Refresh vs. Deep Sanitization Cleaning Timeline
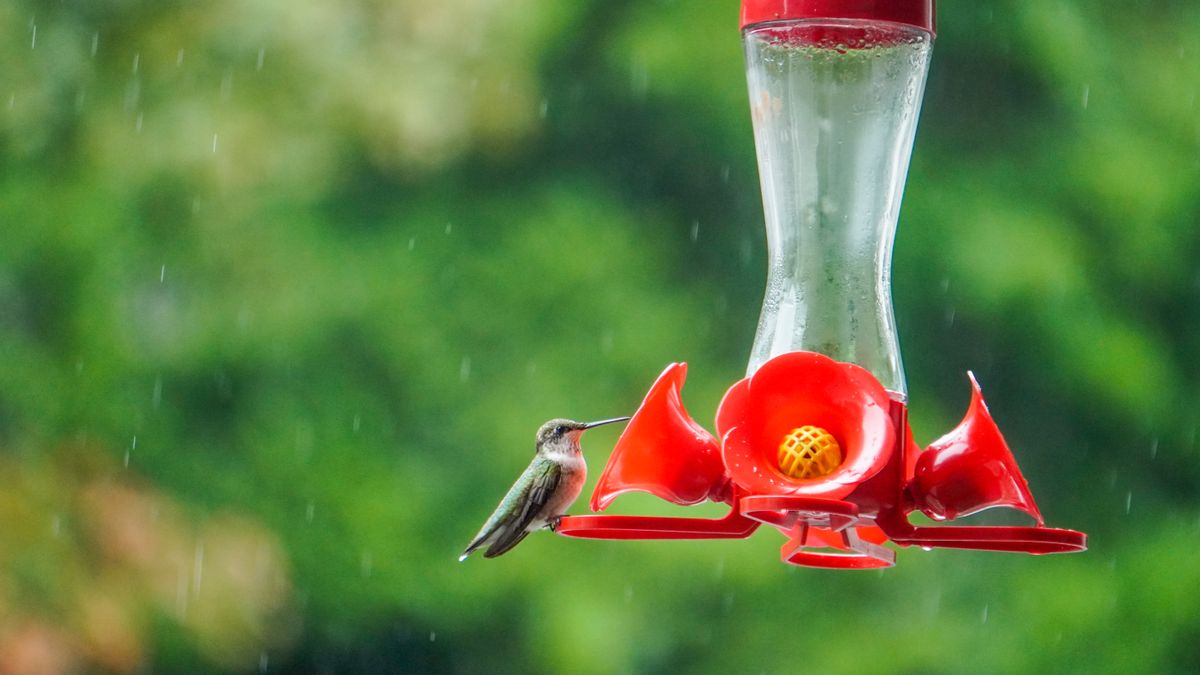
Photo by Koushalya Karthikeyan on Pexels
- Routine 5-Minute Refill Wash — Detach solar cap → Rinse glass bottle and base with warm tap water → Brush flower ports → Dry threads → Refill cool nectar → Hang.
- Monthly 20-Minute Deep Sanitization — Isolate solar cap → Soak glass and dismantled metal base in 1:4 vinegar bath for 15 mins → Micro-brush all inner channels → Audit silicone gasket elasticity → Rinse thoroughly → Air dry completely → Reassemble.
Frequently Asked Questions
Answers to common reader questions about solar feeder care, vinegar cleaning, and leak fixes.
Recommended Leak-Free Maintenance Tools & Feeder Upgrades
Pair your garden care routine with high-quality, handcrafted feeders built for easy cleaning and long-lasting elegance.
Immediate Next Steps After Cleaning
Your decision: Determine whether your current base leak is caused by sticky sugar buildup in threads or a misaligned/damaged gasket seal.
Do this next: Disassemble the base immediately, keep the solar cap dry, soak the metal base in warm water, inspect the internal O-ring seal, and thoroughly dry before filling.
Related resource: How to Hang Your Solar Hummingbird Feeder to Block Ants and Crawling Insects
LUJII Solar-Powered Hummingbird Feeder
Put your freshly cleaned feeder back into action safely and effectively.
Recommended Reading
Links to gasket maintenance and insect blocking guides.
Cover photo by Mario Spencer on Pexels.