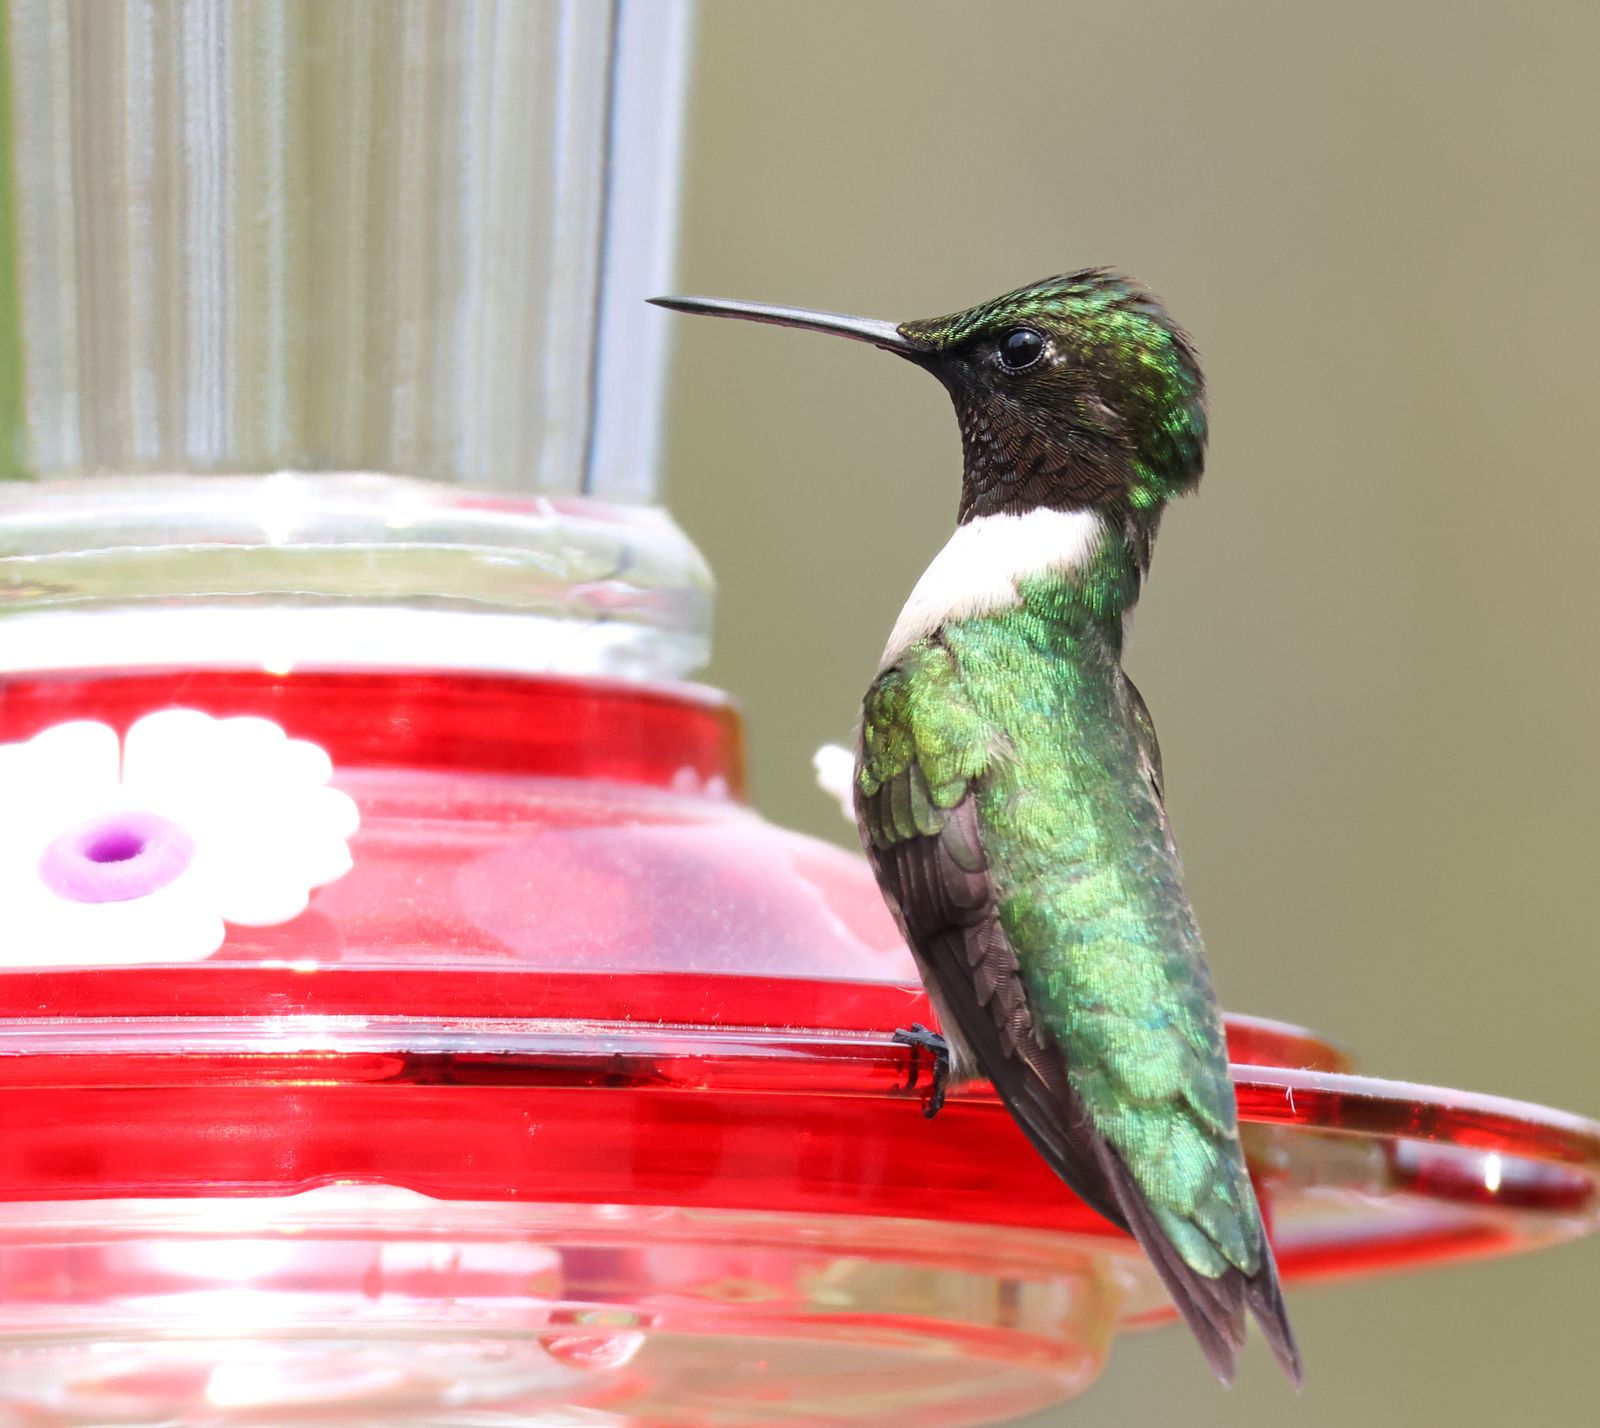
Troubleshooting Your Solar Glass Hummingbird Feeder: Fixing Leaks and Illumination Issues
To stop nectar leaks, ensure the rubber O-ring is aligned, fill the reservoir 80–90% full, and tighten the base inverted to create an airtight vacuum. To restore solar illumination, wipe the photocell clean, verify the power switch is 'ON', and replace the internal 1.2V Ni-MH rechargeable battery.
Visual Diagnostic Flowchart: Is It Physics or Electronics?
- What primary symptom is your solar glass feeder exhibiting? → Yes: Nectar is dripping or pooling beneath feeding ports -> Proceed to Leak Diagnostic Path.. No: Solar light remains dark or dim at dusk -> Proceed to Lighting Diagnostic Path..
- Leak Path: Does dripping occur continuously, or only during hot, sunny afternoons? → Yes: Hot sunny afternoons only -> Thermal Air Expansion. Move feeder to partial shade and leave 10-20% air headroom when filling.. No: Continuous dripping -> Gasket Vacuum Breach. Re-align silicone O-ring, dry threads, and re-tighten base inverted..
- Lighting Path: Is the top solar collector photocell clean and unshaded? → Yes: Photocell is clean -> Check power switch position and battery voltage.. No: Photocell is dirty or shaded -> Wipe top solar glass with a damp microfiber cloth and move out of tree shadows..
- Lighting Path: Does the light turn on when you cover the solar top completely with your hand while switch is ON? → Yes: Electronics are functioning! The panel simply needs 6+ hours of unshaded direct daily sunlight.. No: Battery or circuit fault. Replace internal 1.2V AAA Ni-MH 600mAh battery and inspect contacts for corrosion..
Master Troubleshooting Matrix: Symptoms, Root Causes, and Repairs
| Symptom & Scenario | Probable Root Cause | Physics / Hardware Explanation | Recommended Action Plan |
| --- | --- | --- | --- |
| Nectar drips rapidly right after hanging inverted | Loss of airtight vacuum seal | Air entering through a pinched or misaligned silicone O-ring gasket prevents negative pressure from supporting liquid. | Unscrew metal base, clean sticky nectar from threads, realign silicone O-ring flat in its groove, and tighten base securely while keeping reservoir upside down. |
| Dripping occurs only between 12 PM and 4 PM on sunny days | Solar thermal air expansion | Direct heat expands the air pocket inside the glass, increasing internal atmospheric pressure and pushing nectar out ports. | Relocate feeder to a spot with morning sun and afternoon shade. Fill bottle 80–90% full with cold nectar to reduce initial air pocket volume. |
| Feeder swings in breeze, causing steady drip drops | Kinetic momentum / Surface tension break | Wind destabilizes the liquid meniscus balance at feeding ports, spilling nectar over port rims. | Hang feeder from a sturdy, rigid shepherd hook or install an anti-sway stabilizer spring to dampen movement. |
| RGB LEDs fail to turn on after sunset | Dirty solar photocell or switch OFF | A film of dust or dried nectar on the solar glass tricks the sensor, or the waterproof switch boot remains in 'OFF' mode. | Wipe top solar panel with a wrung-out damp microfiber cloth. Press switch under rubber boot firmly to 'ON' and test in dark room. |
| Lights turn on for only 15–30 minutes before fading | Degraded Ni-MH rechargeable battery | Rechargeable battery has completed its life cycle (300-500 charges) or failed to store charge due to partial shading. | Unscrew battery compartment on solar cap cap, remove old battery, clean contacts with alcohol, and insert fresh 1.2V AAA Ni-MH 600–800mAh battery. |
| White crusty buildup inside battery chamber | Water ingress or severe condensation | Rain or nectar water entered during high-pressure washing or extreme downpours, oxidizing spring contacts. | Scrape white oxidation off contacts with a cotton swab dipped in vinegar, wipe dry, install new Ni-MH battery, and ensure silicone cap lip is fully seated. |
Match your feeder's exact behavior against this scenario matrix to identify the underlying fluid or electronic root cause and execute the fix.
Expert Insight: Thermal Expansion and Vacuum Pressure in Glass Reservoirs
Hand-blown glass hummingbird feeders rely on basic fluid mechanics—specifically, negative atmosphere vacuum pressure—to keep sweet nectar suspended inside an inverted glass container. When you fill the glass reservoir and turn it right-side up, a tiny air pocket rises to the high point, creating a negative vacuum equilibrium that holds liquid suspended above the feeding ports.
However, trapped air expands roughly 10 times faster than liquid water when heated by afternoon solar radiation! In direct 90°F+ sunlight, an internal air pocket swells rapidly, building internal pressure that overpowers the liquid surface tension at the feeding flowers. By positioning your feeder where it receives bright morning sunlight for solar cap charging, followed by gentle afternoon shade, you keep internal nectar cool, preserve natural atmospheric vacuum, and eliminate sticky wasted food permanently.
Pre-Assembly Airtight & Waterproof Seal Checklist
- [ ] Inspect silicone O-ring gasket for cracks, debris, or pinching before threading.
- [ ] Ensure glass threads and metal base threads are free of sticky nectar residue.
- [ ] Fill bottle 80-90% full with chilled/room-temp nectar to limit initial air pocket size.
- [ ] Screw base firmly onto glass bottle while inverted—do not over-torque.
- [ ] Clean top solar photocell panel with damp micro-fiber cloth.
- [ ] Verify internal toggle switch is set to 'ON' position before charging.
- [ ] Hang feeder where solar panel receives at least 6 hours of direct, unshaded sunlight.
Diagnostic Decision Tree: Solar LED Failure Isolation
- Is the push-button power switch under the clear waterproof silicone boot set to 'ON'? → Yes: Switch is ON -> Proceed to Photocell Sensor Check.. No: Press switch firmly to 'ON' mode. Leave in direct sunshine for full 8-hour charge.
- Does the LED light up when you cover the top solar glass panel completely with your hand or an opaque cloth? → Yes: Solar electronics and photocell sensor are working perfectly! The feeder placement simply lacks sufficient sunlight.. No: Photocell or battery circuit path failure -> Proceed to Battery & Terminal Check.
- Are the battery terminal springs inside the cap free from corrosion and white scale? → Yes: Replace internal cell with fresh pre-charged 1.2V AAA Ni-MH battery.. No: Clean terminal springs using cotton swab with 90% isopropyl alcohol, dry completely, and install new Ni-MH battery.
Immediate Diagnostic Steps for Feeder Restoration
Your decision: Determine if your feeder needs a simple gasket realign/battery replacement or a full placement adjustment.
Do this next: Inspect the rubber gasket for misalignment, charge the solar cap in direct sunlight for 8 hours with switch ON, and re-hang in partial shade.
Related resource: Downloadable Solar Glass Feeder Seasonal Maintenance Checklist (PDF)
🌟 LUJII Solar-Powered Hand-Blown Glass Hummingbird Feeder (32 fl.oz, Leak-Proof & Waterproof Base)
Execute these quick diagnostic actions now to stabilize nectar levels and restore solar cap performance.
Essential Rules for Solar Glass Feeder Maintenance
Keep these five golden rules in mind whenever cleaning, filling, or positioning your solar hand-blown glass hummingbird feeder:
Step-by-Step Instructions: Deep Diagnostics and Repair Execution
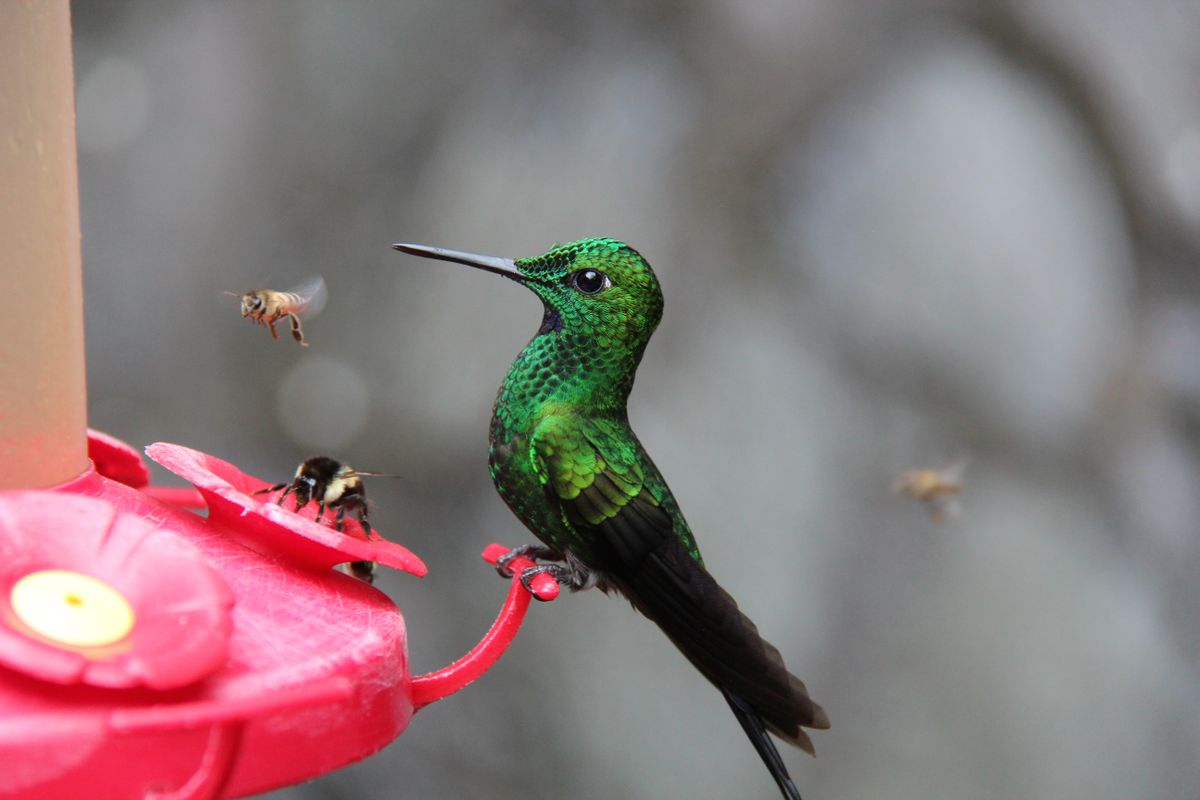
Photo by Dick Scholten on Pexels
Follow these comprehensive repair instructions to restore perfect seal pressure and bright solar lighting to your feeder.
Procedure 1: Fixing Base Leaks & Re-establishing Vacuum Seal
Procedure 2: Solar Cap Cleaning & Battery Replacement
5 Common Errors That Worsen Leaks and Damage Solar Caps
Avoid these five frequent mistakes that compromise feeder performance and reduce solar electronics lifespan:
- Over-tightening Base Threads: Cranking metal bases down too tightly onto artisan glass threads warps the silicone O-ring gasket, creating micro-gaps that leak air and ruin vacuum pressure.
- Submerging Solar Caps in Water: Soaking solar light caps in sink water destroys internal micro-circuitry and corrodes battery terminal contacts.
- Using Alkaline Batteries: Installing standard 1.5V non-rechargeable alkaline batteries into solar caps causes cell rupture, acid leakage, and permanent circuit damage.
- Filling to 100% Capacity or 20% Capacity: Overfilling leaves zero expansion headroom, while leaving 50%+ empty space creates massive air pockets that expand rapidly in heat.
- Applying Petroleum Jelly or Grease: Using vaseline to grease threads degrades silicone gaskets over time, causing synthetic rubber materials to swell and fail.
Continue Caring for Your Artisanal Glass Garden Decor
Explore these essential care guides to keep your outdoor artisan glass fixtures vibrant, pest-free, and long-lasting throughout every season:
- How to Clean and Maintain Hand-Blown Glass Hummingbird Feeders Without Fading Color
- Summer Storm Protection: Weatherproofing Your Glass Solar Feeder Setup
- Hand-Blown Glass vs. Molded Plastic Hummingbird Feeders: Performance Comparison
- Hot Weather Nectar Ratios: Keeping Hummingbird Food Fresh in Summer Heat
Frequently Asked Questions About Solar Glass Hummingbird Feeders
Read quick, expert answers to common questions about keeping your glass feeder leak-free and illuminated.
Recommended Replacement Parts and Feeder Upgrades
If your glass reservoir or solar cap is aged beyond repair, upgrade to LUJII's engineered hand-blown glass feeders designed for leak-proof performance and brilliant night illumination.
Next Steps: Bring Life and Light Back to Your Garden
Your decision: Determine whether your glass feeder issue is physical (improper vacuum/damaged gasket) or electronic (photocell/Ni-MH battery).
Do this next: Inspect the rubber gasket for misalignment, charge the solar cap in direct sunlight for 8 hours with switch ON, and re-hang in partial shade.
Related resource: Downloadable Solar Glass Feeder Seasonal Maintenance Checklist (PDF)
🌟 LUJII Solar-Powered Hand-Blown Glass Hummingbird Feeder (32 fl.oz, Leak-Proof & Waterproof Base)
Ready to enjoy drip-free nectar feeding and magical nocturnal garden illumination? Put these simple fixes into action today.
Troubleshooting complete? Ensure your backyard birds enjoy fresh nectar and evening light—explore LUJII's artisanal collection of leak-proof solar hummingbird feeders today!
Cover photo by Catherine Dempsey on Pexels.