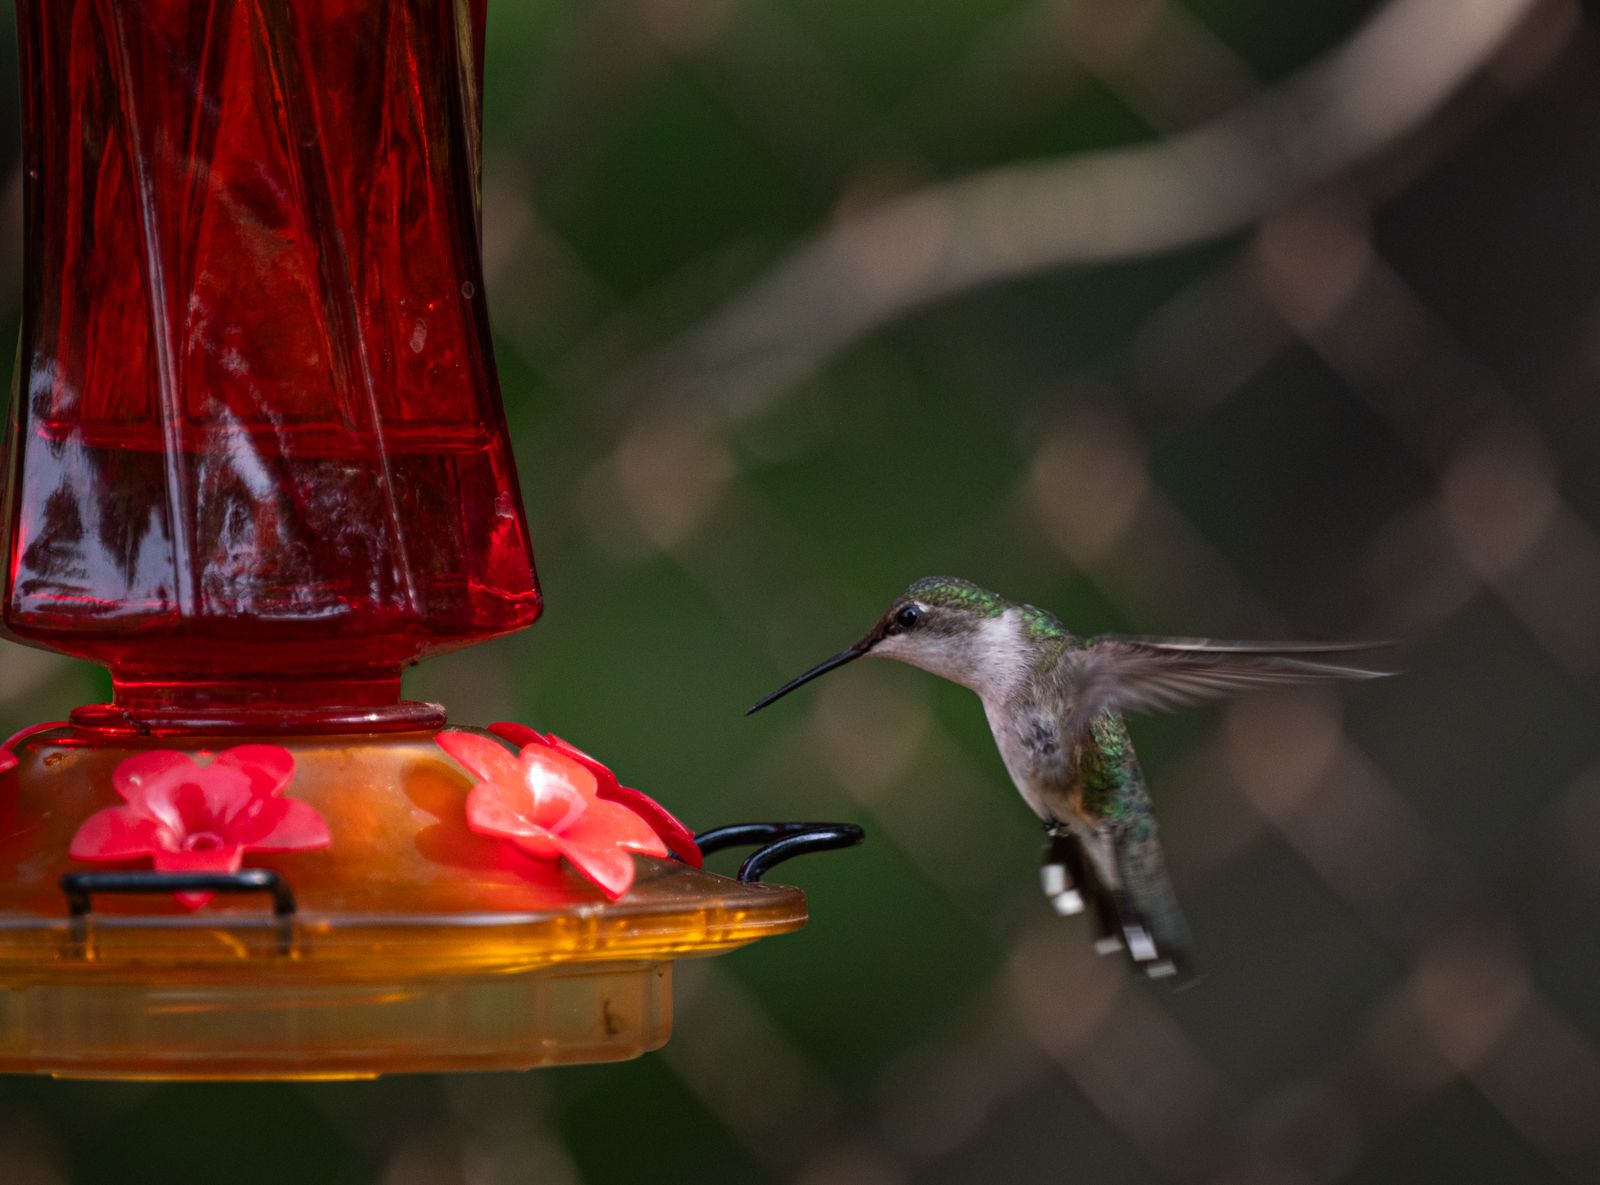
Troubleshooting Your Solar Hummingbird Feeder: Solar Battery, Leaks, and Nectar Care
To fix a solar hummingbird feeder that will not light or leaks nectar, wipe the solar panel clean, cycle the underside power switch in a completely dark room, verify the internal 1.2V Ni-MH rechargeable battery contacts, and tighten the base gasket while maintaining an inverted vacuum to counteract liquid expansion caused by daytime heat.
Solar Feeder Diagnostic Flowchart
- What primary issue are you experiencing with your feeder? → Yes: Go to Light Issues. No: Go to Leakage / Nectar Issues.
- [Light Issues] Cover the solar panel with a dark cloth. Do the RGB lights turn on? → Yes: Sensor is functional. Feeder receives insufficient direct sunlight or daytime ambient light is triggering dusk sensor prematurely.. No: Check power switch under rubber cap. Cycle to ON and replace the 1.2V Ni-MH rechargeable battery..
- [Leakage Issues] Does nectar drip continuously during hot afternoon hours? → Yes: Thermal air expansion inside the glass reservoir is breaking the vacuum seal. Relocate feeder to morning sun / afternoon shade.. No: Inspect silicone base gasket for cracks, sugar buildup on metal threads, or cross-threading..
Master Troubleshooting Matrix by Scenario
Photo by Veronika Andrews on Pexels
| Scenario / Observed Symptom | Likely Root Cause | Immediate DIY Fix | Prevention Strategy |
| --- | --- | --- | --- |
| Scenario 1: RGB lights fail to illuminate at dusk despite a bright, sunny day. | Power switch is toggled OFF, photocell light sensor is obstructed by dirt, or nearby porch lights are tricking the twilight sensor. | Wipe solar cap with a microfiber cloth, toggle switch to ON under rubber boot, and test in a pitch-black room. | Hang feeder at least 15 feet away from artificial night lighting. |
| Scenario 2: Feeder lights up at dark, but turns off after 30 to 60 minutes. | Internal 1.2V Ni-MH rechargeable battery has reached the end of its lifespan or solar panel is shaded during peak UV hours. | Prune overhanging foliage or replace the battery with a fresh 1.2V Ni-MH solar rechargeable cell. | Ensure solar top receives 6 to 8 hours of unshaded, direct solar exposure daily. |
| Scenario 3: Nectar continuously drips from feeding ports on warm afternoons. | Trapped air inside the glass reservoir expands when heated by direct sunlight, forcing liquid downward out of the ports. | Chill fresh nectar before filling, invert reservoir rapidly over a sink to lock top vacuum, and move to afternoon shade. | Keep nectar levels filled above 50% capacity to minimize air pocket volume. |
| Scenario 4: Nectar seeps out around the metal base threads. | Silicone sealing gasket is misaligned, cracked, or coated in sticky, dried sugar crust. | Unscrew metal base, submerge gasket and threads in warm water, wipe clean, and reseat gasket flush before rethreading. | Apply food-safe vegetable oil lightly to threads during monthly deep cleanings. |
| Scenario 5: Nectar turns cloudy, white, or stringy within 48 hours. | Solar top heat or direct ambient warmth is accelerating wild yeast fermentation in the sugar water. | Discard nectar immediately, flush reservoir with 1:10 white vinegar solution, rinse thoroughly, and refill with cold 1:4 sugar-water. | Clean and replace nectar every 48 hours when ambient outdoor temperatures exceed 85°F. |
Locate your exact observation below to identify the root cause and apply the immediate DIY fix without damaging your hand-blown glass or solar components.
Pro Tip: Restoring Glass Vacuum and Avoiding Thermal Spills
Hand-blown art glass reservoirs are crafted at over 2,300°F, creating a beautifully dense, non-porous bottle with unique organic curves. Because glass is a rigid insulator, the air pocket trapped above the nectar expands dramatically when exposed to hot midday sun.
To prevent thermal expansion leaks, never fill your feeder with warm or room-temperature nectar during summer. Pour chilled nectar into the bottle, screw the anti-rust metal base on snugly, and quickly flip the assembly upside down over your sink. You will see a few initial bubbles rise into the reservoir—this indicates that liquid has entered the tray and the critical atmospheric vacuum seal is locked. Hanging your feeder where the solar cap catches morning light but the glass reservoir rests in afternoon shade preserves this vacuum all day long.
Decision Tree: Is It Time to Clean, Repair, or Replace Battery Components?
- Is the solar light completely inactive at night? → Yes: Perform Dark Sensor Test (cover panel entirely). Does light illuminate?. No: Focus on liquid seal and nectar placement troubleshooting.
- [Dark Sensor Test Passed] Does light illuminate when covered, but stay dark outdoors at night? → Yes: Relocate feeder away from streetlights, porch fixtures, or bright interior window reflections.. No: Open battery compartment under solar cap. Inspect metal contacts for rust or corrosion.
- [Corrosion Check] Are battery contacts clean and bright metal? → Yes: Battery cell is exhausted. Replace with a standard 1.2V Ni-MH AAA/AA solar battery.. No: Scrape contacts clean with a pencil eraser or fine emery cloth, reinsert battery, and charge in sun for 8 hours.
Immediate Troubleshooting Actions for Today
Your decision: Determine whether your primary issue stems from solar battery degradation or base vacuum loss.
Do this next: Perform the dark box test on your solar cap tonight, wipe metal threads with warm water, and fill the glass reservoir with chilled nectar.
- Read next: When to Put Out Hummingbird Feeders in Spring: A Regional Arrival Guide
If your existing glass reservoir is chipped or your solar electronics are corroded beyond repair, upgrade to a new hand-blown glass feeder with a rust-coated metal base.
Take these quick diagnostic actions right now to restore your feeder's solar illumination and eliminate messy base drips before evening.
Essential Maintenance Summary
Keep these golden rules in mind to maintain vibrant RGB twilight illumination and fresh, leak-free nectar throughout the spring and summer feeding seasons.
10-Point Solar & Seal Inspection Checklist
- [ ] Solar Cell Cleanliness: Wipe panel clear of pollen, dust, and bird droppings with a soft damp cloth.
- [ ] Switch State: Verify power switch is set to ON underneath the protective rubber boot.
- [ ] Sunlight Exposure: Ensure solar cell receives at least 6 hours of unshaded direct sunlight daily.
- [ ] Dark Sensor Test: Cover panel completely with a dark hand or cloth to verify light sensor trigger.
- [ ] Battery Contacts: Inspect internal battery bay for white oxidation, rust, or loose tension springs.
- [ ] Battery Spec: Verify replacement battery is a 1.2V Ni-MH rechargeable cell (never use 1.5V alkaline).
- [ ] Base Gasket Fit: Check silicone sealing ring for cracks, tears, or sugar crust misalignment.
- [ ] Reservoir Inversion: Invert filled glass rapidly over a sink to engage liquid vacuum seal before hanging.
- [ ] Nectar Temperature: Chill fresh 1:4 sugar water in the refrigerator prior to filling in hot weather.
- [ ] Hanging Shade: Position feeder where solar top gets morning sun but glass base is shaded during afternoon heat.
Solar Cap Technical & Hardware Specifications
| Component | Hardware Specification | Optimal Operating Range | Failure Indicator / Warning |
| --- | --- | --- | --- |
| Solar Panel | Polycrystalline Silicon Photovoltaic Cell | 6-8 hours direct sunlight (25,000+ Lux) | Scratched or hazy film, dim LED output |
| Rechargeable Battery | 1.2V Ni-MH (Nickel-Metal Hydride) AAA/AA 600mAh | Operating temp 32°F to 110°F; 500 charge cycles | Night runtime drops below 2 hours after full sun |
| Light Sensor | Integrated Dusk-to-Dawn Photocell Sensor | Ambient darkness below 10 Lux | Lights flicker or fail to ignite near porch lamps |
| Glass Reservoir | 32 fl.oz Hand-Blown Art Glass (2,300°F Shaped) | Chilled or room-temp nectar (40°F - 75°F) | Continuous port dripping in afternoon heat |
| Base Assembly | Coated Anti-Rust Metal with Silicone Gasket Seal | Tightened finger-tight (do not over-torque) | Seepage around lower screw threads |
Understanding the electrical and structural limits of your feeder ensures safe, long-lasting performance in all outdoor weather conditions.
Seasonal Feeder Maintenance Schedule
- Every 2 Days (Hot Weather > 85°F) — Empty remaining nectar, rinse reservoir with warm water, inspect base gasket, and refill with chilled 1:4 sugar water.
- Weekly — Wipe solar top panel with a damp microfiber cloth to remove dust, pollen, and hard water spots.
- Monthly — Soak metal base and glass bottle in a 1:10 white vinegar solution. Brush ports clean and check battery bay for moisture.
- End of Season (Autumn) — Remove battery cell, clean all sugar residue, dry thoroughly, and store indoors away from freezing temperatures.
Diagnostic Comparison: Solar Panel Failure vs. Battery Exhaustion
Photo by Veronika Andrews on Pexels
| Diagnostic Metric | Defective Solar Panel | Exhausted Ni-MH Battery | Obstructed Photocell Sensor |
| --- | --- | --- | --- |
| Behavior Under Dark Cover Test | LEDs ignite briefly or stay dark even if battery has residual charge | LEDs do not illuminate or flash faintly for a few seconds | LEDs turn ON immediately when panel is completely covered |
| Behavior After 8 Hours Direct Sun | Zero night illumination | Illuminates for 15 to 45 minutes then fades rapidly | Remains OFF if artificial lights (porch/street lamps) strike panel |
| Battery Bay Voltage Output | Panel reads < 1.0V under direct sunlight when disconnected | Battery cell holds < 1.1V after full day of direct sun exposure | Panel voltage reads 1.3V - 1.4V in active sunlight |
| Primary Solution | Replace solar top cap housing | Replace internal 1.2V Ni-MH battery cell | Clean solar glass or move feeder to darker nighttime yard location |
Differentiate between a failing photovoltaic solar panel, a worn-out rechargeable battery, and a miscalibrated ambient light sensor.
Step-by-Step Fix: Servicing Solar Electronics & Base Gaskets
Follow these clear steps to clean, service, and reassemble your feeder for optimal night lighting and a leak-proof seal.
7 Mistakes That Ruin Solar Feeders & Nectar Quality
Avoid these frequent missteps to protect your feeder's electronic components and keep your backyard hummingbirds healthy.
Related Guides for Seasonal Care
- Troubleshooting Your Solar Hummingbird Feeder: Battery, Lighting, and Nectar Care Tips
- Why Is My Solar Hummingbird Feeder Light Dim? Solar Charging & Battery Troubleshooting Guide
- Troubleshooting Solar Glass Hummingbird Feeders: How to Fix Leaks and Light Failures
Frequently Asked Questions
Here are expert answers to the most common post-purchase questions regarding solar glass feeder lighting, battery specs, and seal mechanics.
Recommended Replacement Solar Feeder
If your current feeder is damaged beyond repair, upgrade your garden with our flagship handcrafted solar art glass feeder.
Final Guidance & Recommended Next Steps
Your decision: Identify whether your feeder requires a battery swap, gasket re-alignment, or placement relocation.
Do this next: Perform the dark box test on your solar cap tonight, wipe down metal threads with warm water, and refill with chilled nectar before hanging in morning sunlight.
- Read next: When to Put Out Hummingbird Feeders in Spring: A Regional Arrival Guide
Upgrade to the LUJII Solar-Powered Hummingbird Feeder for a premium, leak-proof hand-blown glass art piece that lights up your evenings.
Ready to bring magical colors and lively hummingbirds back to your garden tonight? Follow these final steps to complete your setup.