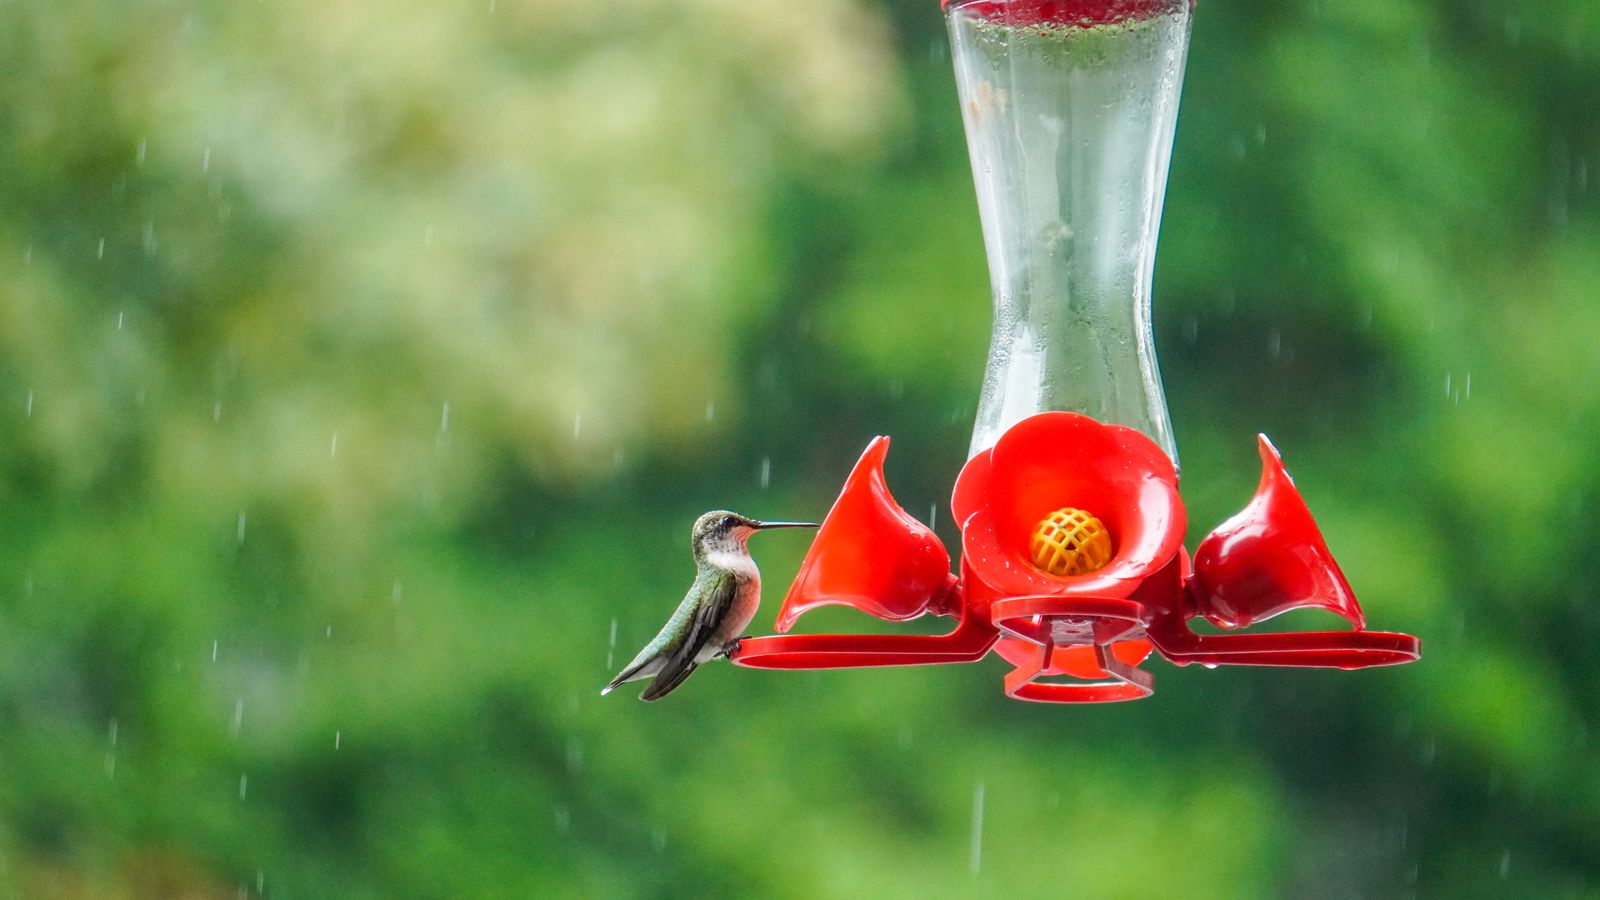
Rainy Season Care: Protecting Your Solar Feeder Cap from Rain, Snow, and Moisture
Should you cover your solar hummingbird feeder when rain threatens? Yes, but use a clear weather baffle. Unprotected solar caps risk water entering battery chambers, rusting internal contacts, and causing RGB LED failure, while rain dilutes sweet nectar into mold-breeding water. Installing a clear acrylic shield diverts torrential downpours while letting 95%+ of sunlight charge the solar panel.
Pre-Storm Weatherproofing Checklist
- [ ] Check rubber gasket around solar housing cap for cracks or misalignment.
- [ ] Ensure plastic solar cap is firmly snapped/twisted onto the hand-blown glass reservoir.
- [ ] Inspect clear weather baffle for cracks and wipe surface clean of dirt.
- [ ] Verify feeding port flowers are seated tightly to prevent rain runoff from entering nectar.
- [ ] Check anti-rust coating on metal base and tighten hanging hook.
Quick Rainy Season Field Guide
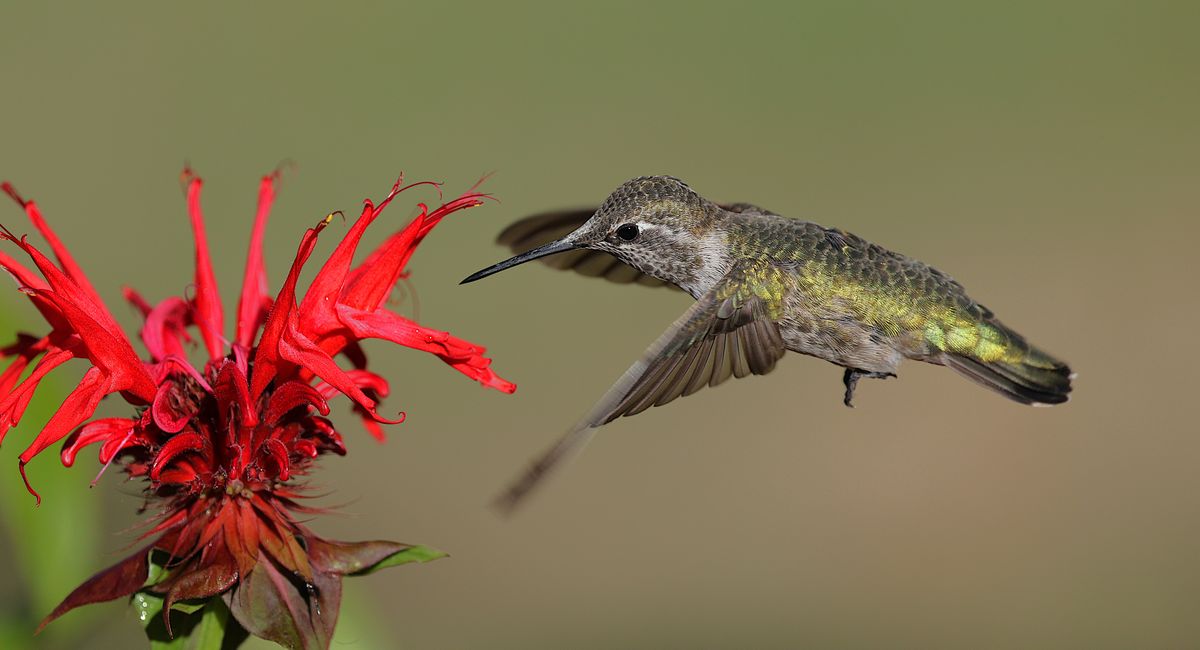
Photo by Veronika Andrews on Pexels
- Shield the solar cap with a 12-inch clear acrylic weather dome.
- Inspect silicone O-ring seals weekly during storm seasons.
- Empty and refresh nectar immediately after heavy rainstorms.
- Bring hand-blown glass reservoirs inside when temperatures drop below 32°F.
- Dry out fogged solar caps overnight with a silica gel pack.
Pro Tip: Preventing Internal Condensation Under the Solar Lens
If you spot micro-droplets of fog forming inside the transparent solar cap lens after a warm summer rain, don't panic! This happens when humid air gets sealed inside during warm afternoon sunlight and condenses as evening temperatures drop.
The Secret Fix: Open the battery hatch in a climate-controlled room, remove the rechargeable battery, and drop a miniature food-safe silica gel packet inside the housing for 12 hours. Additionally, apply a microscopic dab of food-grade silicone grease to the perimeter rubber O-ring before closing. This creates a flexible, airtight barrier that keeps humid vapor from creeping in during storm swings.
Moisture Damage & Water Ingress Rescue Matrix
| Failure Scenario | Root Cause | Immediate Fix | Prevention Strategy |
| --- | --- | --- | --- |
| Rainwater in Battery Housing | Misaligned rubber gasket or unsealed cap seam | Remove battery, wipe contacts dry with microfiber, dry overnight with silica gel pack | Ensure cap is twisted firmly and silicone gasket sits flush in the groove |
| Clouded Solar Lens / Internal Fog | High ambient humidity trapped inside during hot-to-cold temperature swings | Open cap indoors, wipe lens interior, leave open in a dry room overnight | Avoid opening solar cap outdoors on humid or overcast rainy days |
| Diluted Nectar / Overflowing Ports | Rainwater running off cap directly into feeding port flower openings | Discard diluted nectar, wash reservoir, re-fill with fresh 1:4 sugar water | Hang a 12-inch clear UV-resistant dome baffle 2 inches above the solar cap |
| Rusted Base Screws or Metal Hooks | Scratched protective coating exposed to prolonged rainwater contact | Gently sand light surface rust, wipe dry, apply clear rust-inhibiting seal coat | Select feeders equipped with factory anti-rust coated metal bases |
Identify water-related failure modes early to rescue solar components and maintain safe nectar conditions.
Anatomy of Weather Protection: Solar Cap vs. Water Ingress
Understanding where moisture attempts to enter your feeder helps you position shields and seals for maximum longevity.
Core Rules for Rainy Weather Feeder Care
- Water ingress causes immediate LED flickering and battery terminal corrosion—seal caps before rainy weather hits.
- Clear weather shields protect electronics and nectar without reducing solar charge efficiency or night light duration.
- Rain-diluted nectar spoils rapidly and can sicken hummingbirds; monitor sugar concentration after severe downpours.
- Freezing winter moisture expands and can shatter delicate hand-blown glass reservoirs if left outdoors in ice.
Seasonal Moisture Maintenance Timeline
- Daily (Rainy Season) — Inspect nectar clarity for rainwater cloudiness or dilution; wipe solar panel lens clean of debris.
- Weekly — Check silicone rubber cap gasket for snug alignment and wipe down the clear weather baffle.
- Post-Storm — Inspect battery compartment for condensation; dry thoroughly if fogging or moisture appears.
- First Freeze (<32°F) — Bring hand-blown glass reservoir and solar cap indoors to prevent freeze-cracking and battery damage.
Rain Protection Methods: Clear Baffles vs. Seals vs. Indoor Sheltering
| Protection Scenario | Method | Solar Charging Impact | Nectar Protection | Best Use Case |
| --- | --- | --- | --- | --- |
| Torrential Rain & High Winds | 12-Inch Clear Acrylic Dome Baffle | 0-5% Reduction (Full Night Light) | Complete Overhead Shielding | Open garden poles & shepherd hooks exposed to open sky |
| High Humidity & Drizzle | Tight Silicone Cap Gasket + Silica Pack | 0% Reduction | Internal Sealing Only | Humid summer climates with light afternoon passing showers |
| Freezing Rain & Snowstorms | Indoor Storage / Sheltered Porch | 100% Reduction (Paused) | Complete Protection | Sub-freezing winter weather extremes below 32°F |
Compare weatherproofing strategies to match your yard's specific climate and storm exposure.
Choosing the Right Rain Shielding Strategy for Your Yard
Selecting rain protection depends on local storm intensity, wind exposure, and ambient sunlight.
Best choice for
- UV-resistant clear dome baffle — Diverts torrential downpours away from feeding ports while allowing over 95% of sunlight to reach solar cells.
- Silicone O-ring seal inspection & silica gel drying — Prevents micro-moisture seepage into battery compartments without adding extra hanging hardware.
- Avoid opaque plastic umbrellas, wooden roofs, or dark covers that block solar charging panels entirely.
- Temporary Porch Sheltering — Ideal during severe gale-force rainstorms to prevent glass breakage, though solar charging will be paused.
Weather-Ready Solar Hummingbird Feeder Recommendation
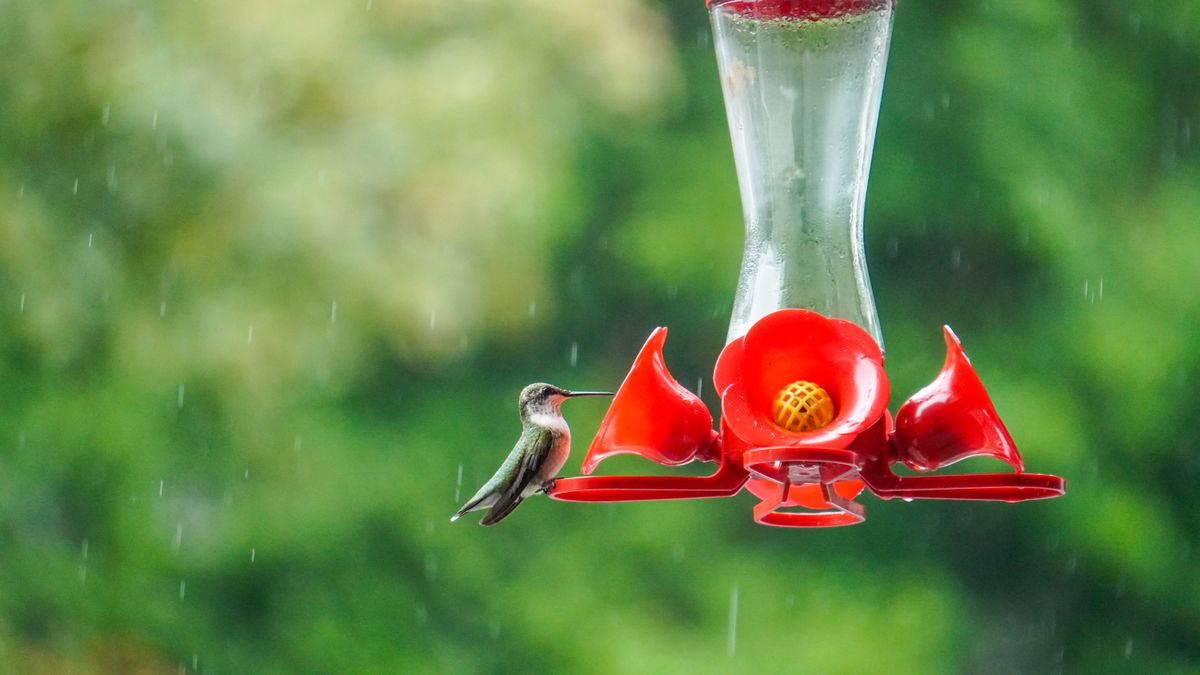
Photo by Koushalya Karthikeyan on Pexels
If you want a feeder designed from the ground up to endure outdoor elements while dazzling your garden, the LUJII Solar-Powered Hummingbird Feeder is built to impress.
Crafted with hand-blown art glass at 2,300°F, it features a protective plastic solar cap that shields internal RGB lighting against rain, sun, and snow. Its coated metal base resists rust and corrosion, while the 32 fl.oz see-through reservoir minimizes spills and drips. At night, it automatically illuminates your yard with magical RGB lighting modes for up to 8 hours after a full recharge.
Weatherproofing Specification Standards for Outdoor Solar Decor
| Feeder Component | Target Specification | Weatherproofing Material | Protection Function |
| --- | --- | --- | --- |
| Solar Housing Cap | IP65 Weatherproof | Durable UV-Shielded Polymer | Shields LED circuit board and rechargeable battery from rain, snow, and solar degradation |
| Cap Sealing Ring | Watertight O-Ring | Food-Grade Silicone Gasket | Prevents rain seepage into battery chamber and glass reservoir threading |
| Nectar Reservoir | 2,300°F Hand-Blown Glass | Translucent Heavy-Duty Glass | Withstands summer heat and humidity without warping or leaching harmful chemicals |
| Base & Hanger Assembly | Anti-Rust Coated Metal | Powder-Coated Weathered Metal | Resists rust, oxidation, and storm wind stress on heavy-duty shepherd hooks |
Review these component standards to ensure your feeder setup meets severe weather demands.
Top Rain Protection Mistakes That Ruin Solar Feeders
Avoid these common failure modes that can destroy delicate electronics or sicken visiting birds during storm season:
- Failure Mode #1: Sealing base drainage holes with tape or glue. Traps rainwater inside the metal base, causing internal screws to rust and contaminating fresh nectar with stagnant runoff.
- Failure Mode #2: Leaving water-damaged rechargeable batteries inside the cap. Trapped moisture causes battery terminals to corrode and leak acid, permanently destroying the RGB LED circuit board.
- Failure Mode #3: Using dark or opaque rain covers. Blocking UV rays prevents the solar panel from charging, leaving your feeder dark when night falls.
- Failure Mode #4: Ignoring rain-diluted nectar. Rainwater overflowing into feeding ports dilutes the 1:4 sugar ratio, leading to rapid bacterial growth and hummingbird rejection.
Solar Cap Recovery Timeline After Flooding
- Hour 0 (Post-Storm) — Remove solar cap from glass reservoir; turn power switch OFF immediately to prevent short circuits.
- Hour 1 — Pop open battery hatch, remove AA rechargeable battery, and gently dab battery contacts with a dry microfiber cloth.
- Hours 2-12 — Place solar cap upside down in a warm, dry room with a silica gel pack inside the battery chamber overnight.
- Hour 24 — Reinsert dry rechargeable battery, re-seal rubber gasket, and test solar activation under direct sunlight.
To expand your garden knowledge, explore our comprehensive guides on cleaning hand-blown glass reservoirs, choosing weather baffles, and winterizing outdoor garden decor.
Frequently Asked Questions About Rain & Snow Feeder Protection
Get answers to common questions about keeping your solar feeder dry and functioning beautifully year-round.
Immediate Action Plan for Storm Preparation
Your decision: Determine if your feeder needs an external clear weather baffle based on local storm intensity.
Do this next: Inspect your solar cap's rubber seal and tighten the metal base connection before the next rain event.
Related resource: Downloadable Pre-Storm Maintenance Checklist (PDF)LUJII Solar-Powered Hummingbird Feeder with Waterproof Cap & Rust-Coated Metal Base
Take these quick steps today to safeguard your solar hummingbird feeder before the next rain or snow event.
Explore Related Feeder Maintenance Guides
Links to complementary cluster and pillar content.
Cover photo by Koushalya Karthikeyan on Pexels.