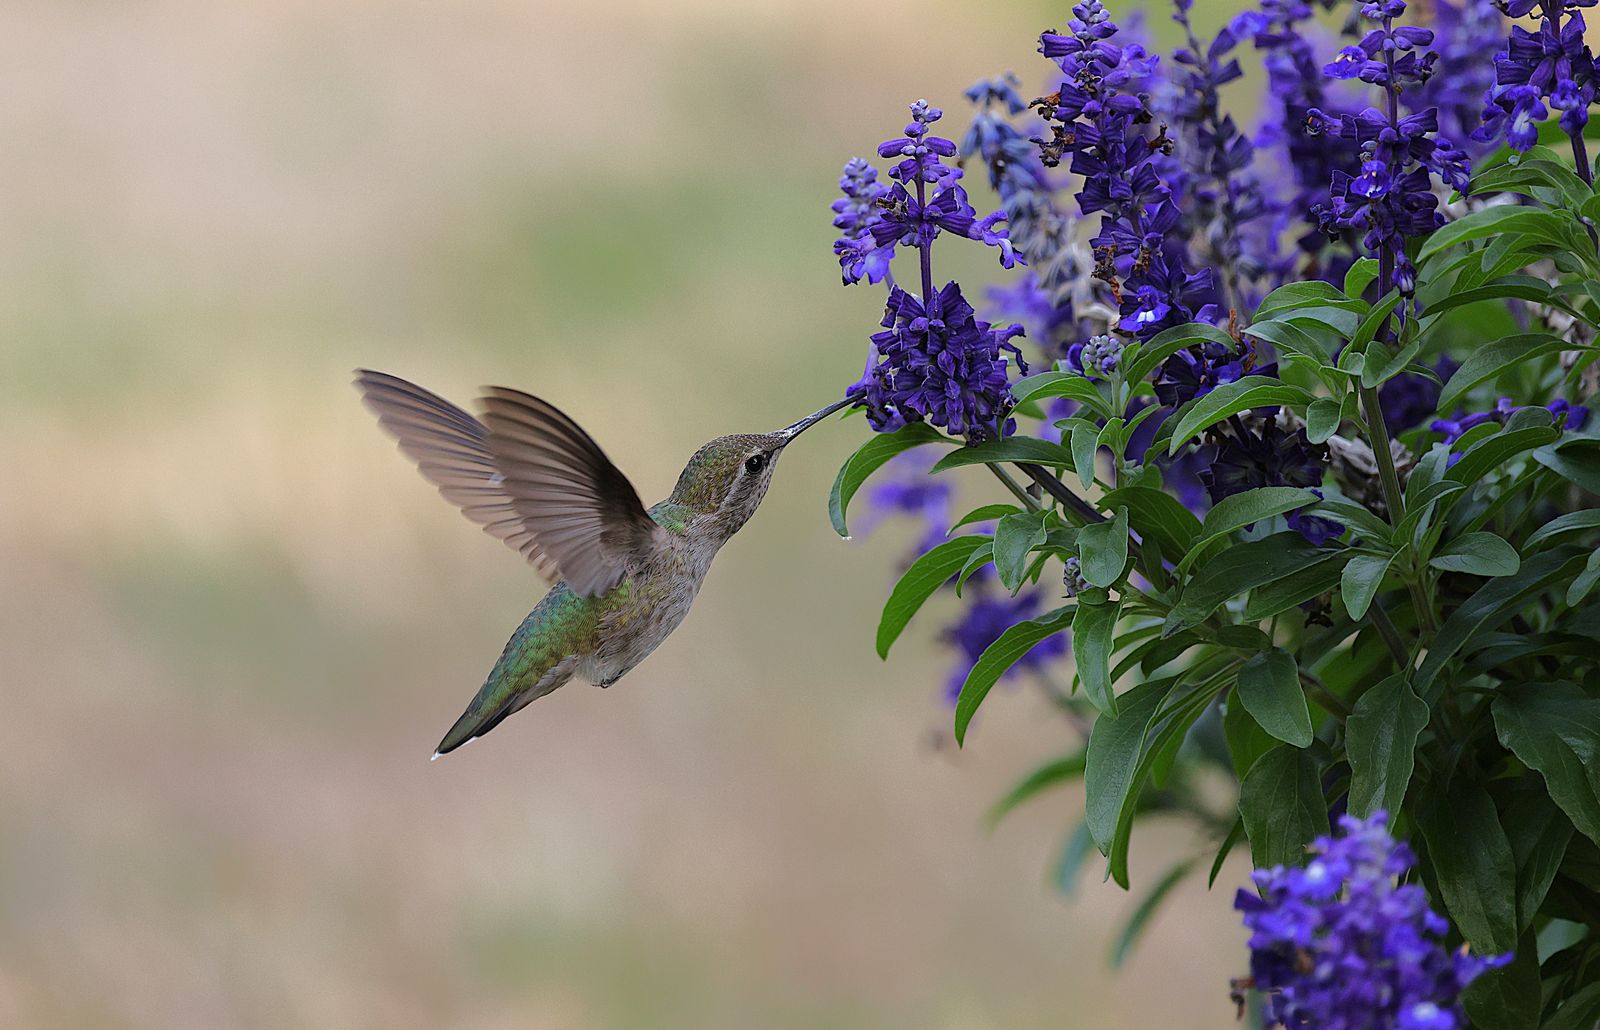
Hummingbird Feeder Gasket and O-Ring Maintenance: FAQs for a Drip-Free Garden
The rubber or silicone ring where a feeder's base meets the reservoir is the part that keeps nectar in, and it needs three things: rinse it at every nectar change, dry it before reassembly, and replace it when it stops springing back. It does not need grease, oil, or extra tightening — both of those cause the leaks people are trying to prevent. A gasket that is clean, supple, and seated square will hold a sealed base drip-free for seasons.
What the gasket actually does
The sealing ring fills the microscopic gap between two hard surfaces — the glass rim and the coated metal base — and turns them into one airtight unit. That airtight fit is what lets an inverted reservoir hold nectar at all: the pressure balance inside only works if no air can sneak in around the joint.
This matters for maintenance because a gasket is a wear part in a way glass and metal are not. Glass either survives or breaks; a ring degrades gradually. It compresses, hardens, picks up sugar crust in its groove, and slowly loses the springiness that lets it conform. Most "my feeder started leaking for no reason" stories are a ring at the end of that curve.
How often should the ring be inspected?

Photo by Veronika Andrews on Pexels
Look at it every time the feeder is apart for a nectar change, which in hot weather may be daily. A five-second glance catches nearly everything: is it seated evenly in its groove, is there crust or grit on it, does it look glossy and hard rather than matte and flexible.
Do one deliberate inspection per season as well. Remove the ring, hold it up to the light, and stretch it gently. A healthy ring returns to shape immediately. One that stays stretched, feels stiff, or shows a flat squared-off face where it used to be round is finished, regardless of how it looks in place.
How do you clean a gasket without ruining it?
The mistakes are all chemical or thermal, not mechanical. Follow this sequence.
Skip dish detergent on the ring if you can, and avoid bleach, vinegar soaks, solvents, and the dishwasher entirely for both the gasket and the plastic solar cap. Heat and harsh chemistry are what turn a supple ring hard, and a hazed cap loses light transmission permanently, which shortens the evening run of the RGB lights.
Signs a gasket needs replacing
| Sign | What it means | Action | |---|---|---| | Stays stretched after a gentle pull | Elasticity gone | Replace | | Glossy, stiff, or squeaky when rubbed | Hardened with age and UV | Replace | | Flat or squared profile where it was round | Compression set from over-tightening | Replace and snug more gently | | A visible nick, split, or missing chunk | Direct leak path | Replace | | Leaks in shade after a careful reseat | Not a thermal issue — it is the seal | Replace | | Chalky white residue that will not rinse off | Mineral scale | Rinse in warm water and rub; replace if it persists |
Note the difference between a seal fault and physics. A feeder that only drips on hot afternoons is dealing with air expanding inside the reservoir, and the fix is filling to about 80 percent and moving out of harsh sun — not a new gasket.
Should the ring come out every single cleaning?
No, and constant removal is its own kind of wear. Take it out for the seasonal inspection, any time the feeder leaked, and any time you see crust in the groove. For routine nectar changes, rinsing it in place while you scrub the reservoir is enough.
The reservoir itself gets the real attention at each change: hot water and a bottle brush, with a narrow brush for the ports, then a full rinse. Because the glass is see-through, you can verify it is genuinely clean rather than hoping. Fresh nectar goes in at one part plain white sugar to four parts water — no red dye, no honey, no brown sugar — and in hot weather it gets changed every day or two.
What about the metal base itself?
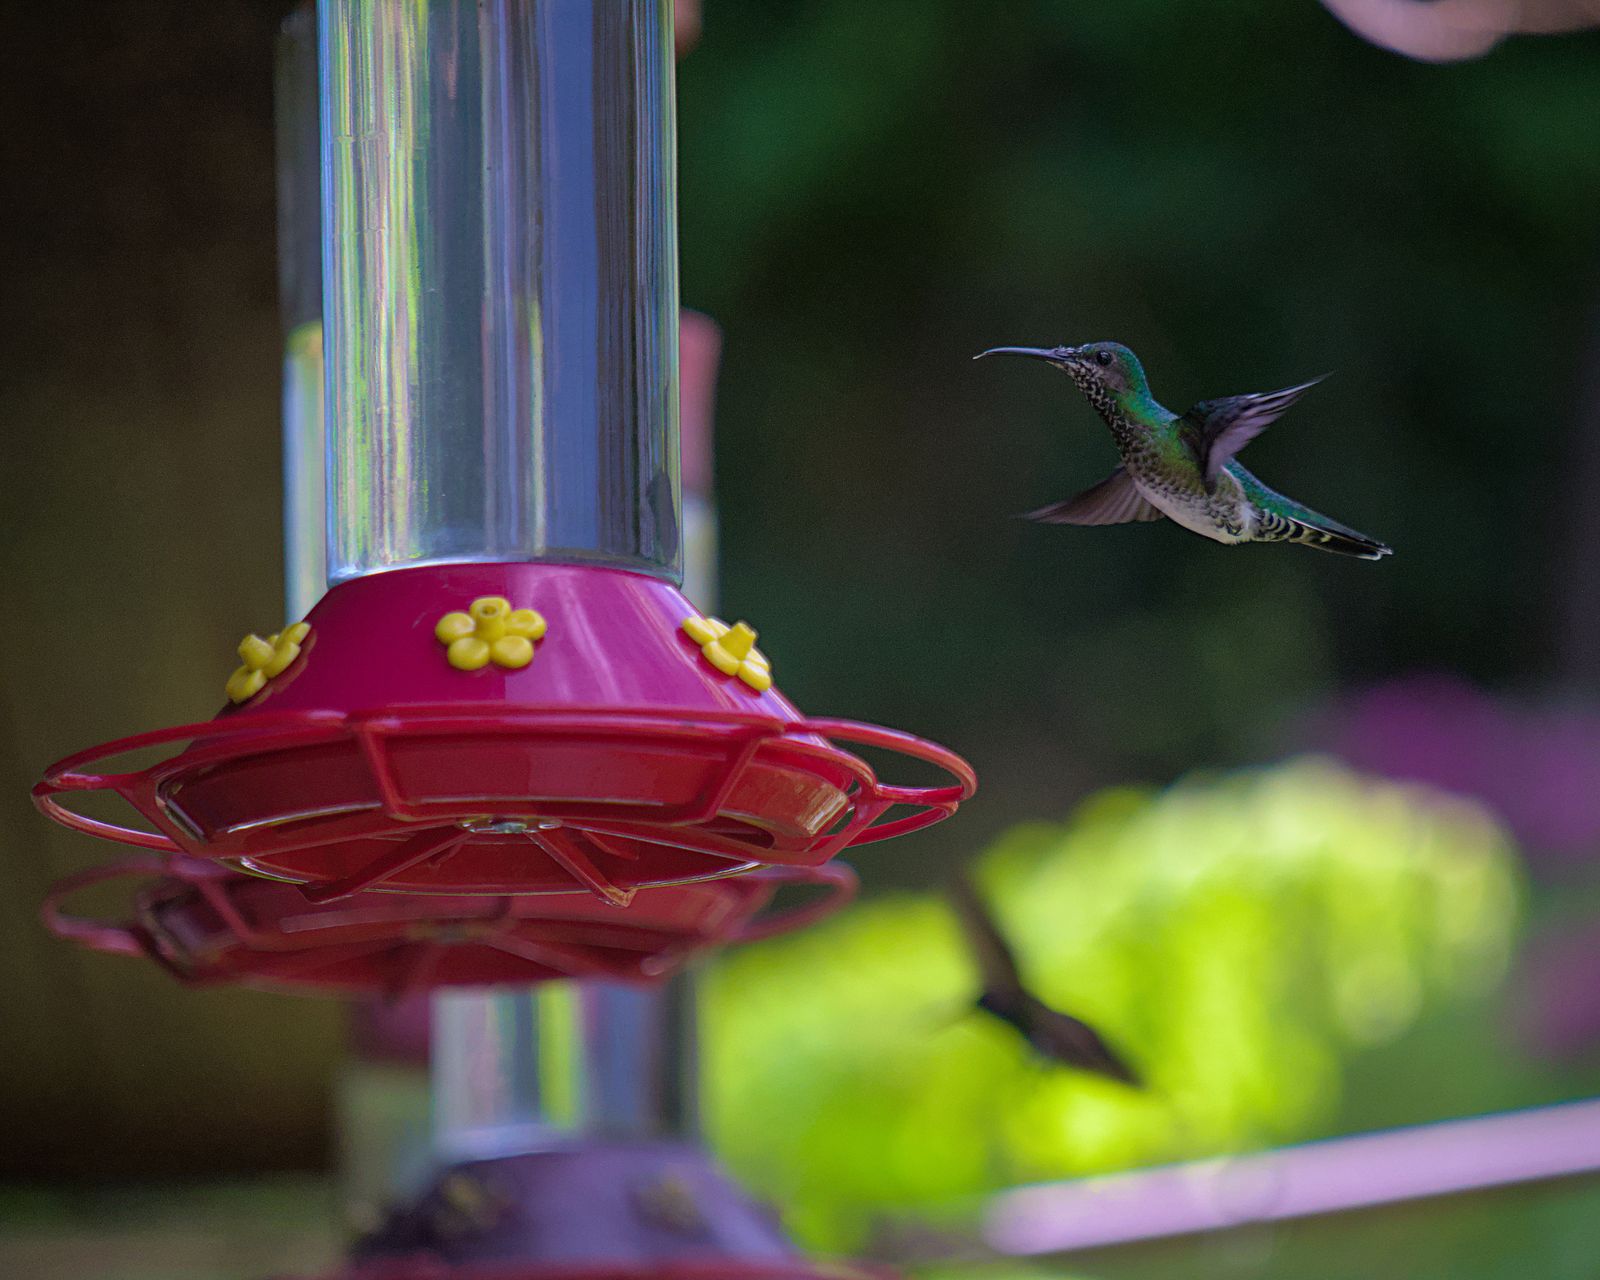
Photo by Heru Vision on Pexels
The coated metal base wants the same gentleness as the ring. Rinse it, wipe it, dry it, and keep abrasives off the coating, because scratches are where corrosion starts and a pitted seat will not seal cleanly against a gasket. Do not soak the base for hours, and do not put it through a dishwasher cycle.
Keep the threads clean too. A grain of sand in the threads is enough to cross-load the joint, which tilts the base a fraction of a degree and lifts one side of the ring off its seat. That is a leak nobody diagnoses correctly because everything looks assembled.
Fitting a replacement ring
Measure before you shop. You need the inside diameter of the ring, the outside diameter, and the thickness of the cross-section — the last one is the measurement people forget, and it is the one that determines whether the base can close properly. Take the measurements from the groove, not from an old ring that has already compressed.
Choose food-safe silicone or rubber intended for contact with liquids, and match the original thickness rather than going bigger in hopes of a tighter seal. An oversized ring holds the base off the rim and leaks worse than the tired one you removed. Fit it dry, with no lubricant of any kind: petroleum products near nectar are a contamination risk to the birds, and a properly sized ring never needs help going in.
Before the off-season, wash everything, dry it completely, and store the feeder assembled loosely rather than cranked tight — leaving the gasket under constant compression all winter is what produces a flat spot by spring. If you are weighing how different materials tolerate this yearly routine, the comparison of hand-blown glass and plastic feeders is worth a read.
FAQ
Can I use petroleum jelly or cooking oil on the gasket? No. Any oil or grease near a nectar feeder risks fouling feathers and contaminating the food, and a correctly sized ring seals dry. The same rule applies to ant moats, which take plain water only.
How tight should the base be? Hand-snug. Tighten until it stops turning easily and then stop. Over-tightening flattens the ring permanently, which guarantees the leak you were trying to prevent.
How long does a gasket last? It depends on sun exposure, how often the feeder is apart, and how it is cleaned, so judge by feel rather than by calendar. Replace it as soon as it stops springing back after a gentle stretch.
Can a gasket problem affect the solar light? Not directly, but the two share a rule: no dishwasher, no solvents, no abrasives. A hazed solar cap shortens the nightly light run just as a hardened ring shortens the drip-free stretch.
A practical next step
At the next nectar change, take 30 seconds to pull the ring, stretch it gently, and look at its profile. If it snaps back and still reads round, put it back and stop worrying about leaks for the season. If it does not, measure the groove now so a replacement is on hand before the busiest feeding weeks. For the daytime half of the setup, the piece on live nectar plants beside glass solar feeders covers what to plant nearby.
Cover photo by Veronika Andrews on Pexels.