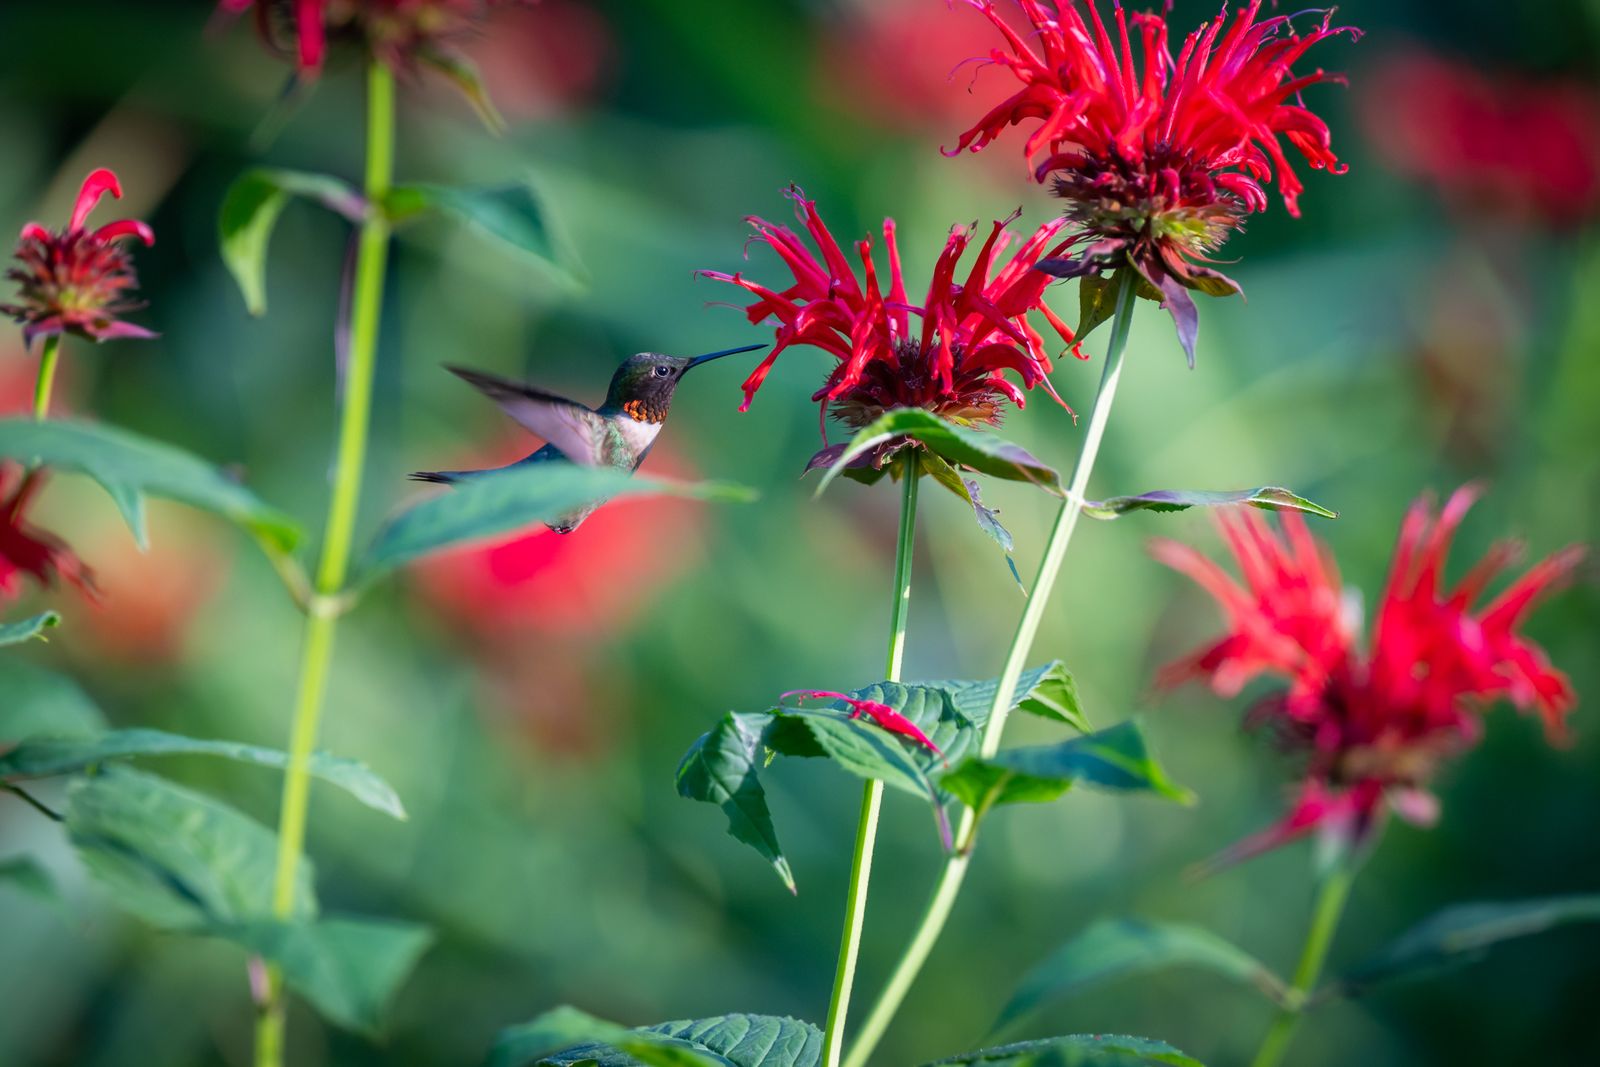
Why Is Your Nectar Watery? Troubleshooting Rain Dilution and Mold in Backyard Feeders
Rain dilutes hummingbird nectar when water seeps through open feeding ports, unsealed top caps, or loose base threads during storms. Diluted sugar water starves hummingbirds of critical calories and causes rapid yeast and mold growth. To fix this, replace diluted nectar immediately, clean ports with vinegar, and use top-shielded glass feeders or clear rain baffles.
Rain Dilution Diagnostic Flowchart
- Did the nectar level in your reservoir rise after the rainstorm? → Yes: Rainwater entered through unsealed top cap threads or the hanging hook assembly. Action: Check top seals or add a protective rain cap.. No: Proceed to next inspection node..
- Are feeding ports facing directly upward without an overhead canopy or top shield? → Yes: Raindrops splashed directly into open port flowers. Action: Upgrade to side-facing flower ports or install an overhead shield.. No: Proceed to next inspection node..
- Is nectar leaking onto garden leaves while swaying in the wind? → Yes: Wind tilt broke the vacuum seal on a lightweight feeder. Action: Switch to a heavy hand-blown glass reservoir with a rubber-gasket base.. No: Nectar is unpolluted. Maintain normal cleaning schedule..
Feeder Rain Leakage & Mold Diagnostic Matrix
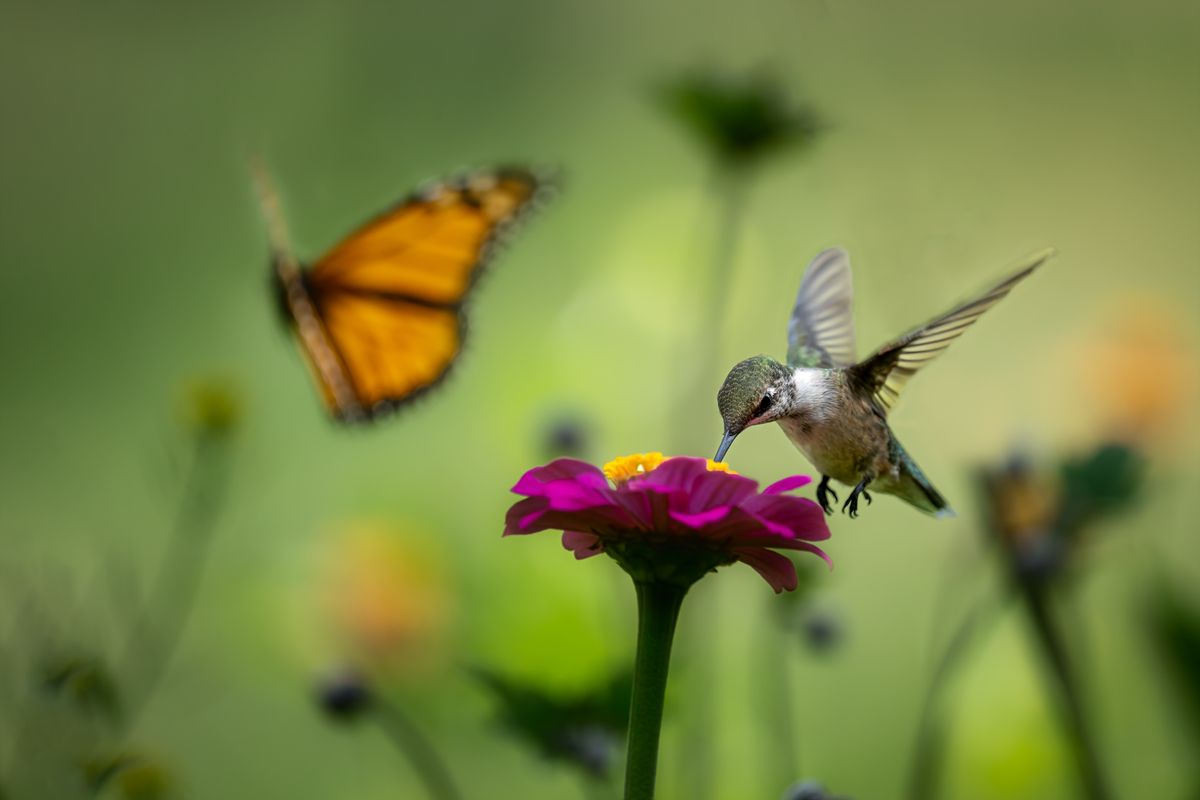
Photo by Skyler Ewing on Pexels
| Observed Post-Storm Scenario | Root Cause of Ingress | Immediate Remedial Action | Permanent Hardware Fix |
| --- | --- | --- | --- |
| Scenario A: Reservoir liquid level increases, nectar turns clear-pale and watery | Rainwater trickled down the hanging rod into unsealed top cap threads | Dump liquid immediately; flush reservoir with hot water | Replace unit with a sealed glass feeder equipped with an integrated protective top cap |
| Scenario B: Black specks or white biofilm appear in feeding ports within 24 hours of rain | Rain diluted sugar below 4:1 ratio; ambient warmth accelerated airborne fungal growth | Scrub ports with a 1:1 warm water and white vinegar solution using micro-brushes | Maintain strict 4:1 ratio and relocate feeder to partial shade under an awning |
| Scenario C: Nectar drips continuously from metal base after heavy winds | Lightweight plastic reservoir tilted in wind, breaking base vacuum seal and displacing fluid | Re-level hanging rod and ensure base threads are fully tightened against the gasket | Upgrade to a heavy 32 fl. oz. hand-blown glass feeder that resists wind oscillation |
| Scenario D: Solar RGB light cap flickers or fails to illuminate after torrential downpour | Water penetrated unsealed solar casing seam or battery chamber | Wipe cap exterior dry; allow solar panel to dry completely in full sunlight | Ensure feeder uses an IP-rated waterproof plastic solar cap shield over the lighting module |
Match your feeder's post-storm symptoms to the root structural cause and apply the instant fix.
Pro Tip: The 60-Second Inversion Vacuum Test
Want to know if your feeder's rain leak is caused by structural thread failure or port design? Perform the Inversion Vacuum Test: Fill your reservoir with standard tap water, screw the base on snugly, and turn the feeder upside down over a sink. A healthy vacuum system will emit 3 to 5 quick air bubbles as pressure stabilizes, then stop dripping completely. If water continues to steady-drip from the ports, your rubber gasket is misaligned or the base threads are stripped—allowing both air ingress and rainwater intrusion during violent wind and rainstorms.
Post-Storm Feeder Inspection & Cleanup Checklist
- [ ] Check nectar color and volume: An unexpected increase in liquid height indicates rainwater infiltration.
- [ ] Inspect feeding ports for floating black spots or cloudy white biofilm (yeast buildup).
- [ ] Verify vacuum seal on inverted glass reservoirs by checking for continuous bubbling.
- [ ] Ensure metal bases are free of standing rainwater in the moat or flower ports.
- [ ] Inspect solar cap seal to verify no water entered the RGB lighting enclosure.
- [ ] Discard diluted solution and flush with hot water if nectar ratio has dropped below 4:1.
Weather Shielding Decision Tree: Baffles, Placement, or Feeder Upgrade?
- Is your current feeder equipped with a solar-powered top cap or night lighting module? → Yes: Do NOT install opaque dark weather baffles directly above it (this blocks solar charging). Select a clear acrylic dome or choose a feeder with a built-in protective top shield cap.. No: Proceed to hanging location check.
- Can you hang the feeder beneath a porch overhang, gazebo roof, or dense tree canopy? → Yes: Relocate feeder to covered area, ensuring 5+ feet of clearance from walls to deter predators while blocking driving rain.. No: Upgrade to a heavy hand-blown glass feeder with a wide, integrated waterproof top cap and anti-rust metal base.
Key Takeaways: Protecting Nectar Quality in Rainy Seasons
- Calorie Depletion Risk: Rainwater dilutes the vital 4:1 refined sugar ratio. Hummingbirds burning high energy to fly will suffer energy deficits and hypoglycemia if forced to drink watery nectar.
- Mold Growth Spikes: Diluted nectar ferments up to 300% faster in summer heat (75°F+), creating ideal conditions for Aureobasidium pullulans (black yeast) inside port flowers.
- Weight Matters: Heavier, hand-blown glass feeders resist wind swaying better than light plastic bottles, preventing vacuum breaks and base leakage during storms.
- Solar Protection: Solar-powered feeders require weather-resistant plastic top caps that shield both the internal lighting enclosure and nectar reservoir from direct rain impact.
Feeder Architecture vs. Rain Ingress Vulnerability
| Feeder Architecture Scenario | Rain Resistance Rating | Primary Ingress Point | Solar Compatibility | Maintenance Effort After Rain |
| --- | --- | --- | --- | --- |
| Scenario 1: Open-Dish / Saucer Plastic Feeder | Low | Exposed open top and wide rim ports | Incompatible (No integrated solar housing) | High (Requires complete drain and wash after every light shower) |
| Scenario 2: Narrow Plastic Bottle with Upright Ports | Moderate | Upright port openings & flexing bottle seams | Low (Plastic degrades under UV rays) | Moderate (Frequent base cleaning required) |
| Scenario 3: Standard Unshielded Glass Feeder | Moderate-High | Top hook screw threads during driving rain | Low (Requires external accessory shields) | Low-Moderate (Requires post-storm volume check) |
| Scenario 4: Hand-Blown Glass with Integrated Solar Top Shield (LUJII Style) | Exceptional | None (Shield diverts runoff away from ports) | High (Self-charging waterproof solar cap module) | Low (Inspect ports weekly; wipe glass smooth surface) |
See how different feeder designs perform under heavy rainfall and wind exposure.
Choosing the Right Rain-Resistant Feeder Upgrade
For gardens in areas prone to sudden summer thunderstorms, heavy afternoon downpours, or coastal winds, standard plastic feeders fail quickly. Upgrading to a heavy, sealed hand-blown glass feeder with a wide top protective shield solves dilution, stops tipping leaks, and preserves nectar integrity.
Best choice for
- LUJII Solar Hand-Blown Glass Feeder — Integrated top cap acts as a umbrella shield, deflecting heavy downpours off the feeding base while charging ambient RGB lighting.
- Heavy Hand-Blown Glass Reservoirs (32 fl. oz.) — High density glass mass maintains vertical equilibrium in 20+ mph gusts, preventing vacuum seal rupture.
- Avoid using lightweight unshielded saucer feeders in open, unshaded yards during hurricane or monsoon seasons.
- Avoid adding dark, solid plastic weather domes directly over solar-powered illuminated feeders.
- Clear Acrylic Rain Domes — Allows sunlight to pass through to solar panels while shielding non-shielded feeders.
Recommended Storm-Proof Feeder Solution
Keep your garden bright and your hummingbirds fed with a feeder designed to withstand the elements.
Weatherproofing Specifications Matrix
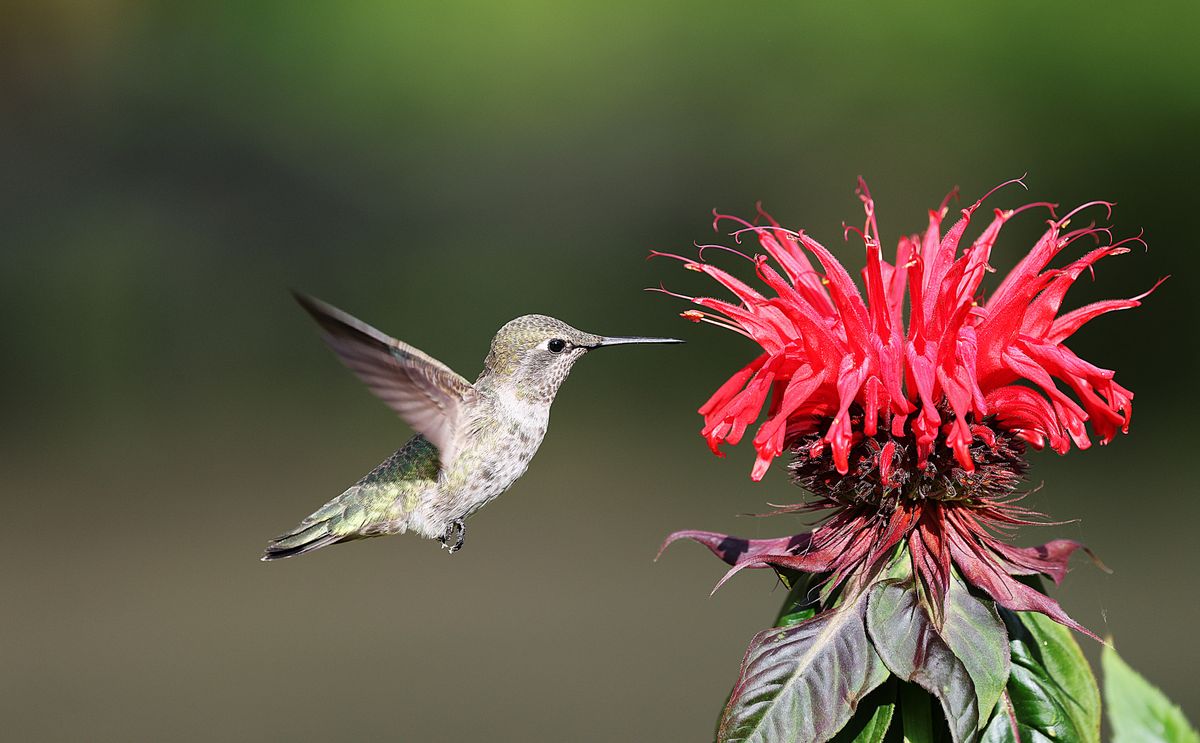
Photo by Veronika Andrews on Pexels
| Hardware Specification | Standard Feeder Specs | LUJII Rain-Shielded Solar Glass Feeder Specs |
| --- | --- | --- |
| Reservoir Material | Thin Molded Plastic (Prone to cracking & sun opacity) | Hand-Blown Artisanal Glass (2,300°F crafted, high mass) |
| Top Cap Protection | Exposed hanging wire eyelet (Water seeps inside) | Protective Waterproof Solar Cap Shield (Diverts rain outward) |
| Nectar Capacity | 8 to 16 fl. oz. | 32 fl. oz. Slender High-Capacity Reservoir |
| Base Material & Finish | Uncoated sheet metal or brittle plastic | Heavy-Duty Metal with Anti-Rust Protective Coating |
| Lighting Capability | None | Solar-Powered RGB LED with Multiple Lighting Modes |
| Sealing Mechanism | Direct plastic thread-on-thread | Precision Rubber Gasket with Vacuum-Sealed Base |
Key engineering criteria that distinguish rainproof feeders from standard decorative models.
How to Safely Clean Moldy Feeding Ports Without Toxic Chemicals
Follow this step-by-step procedure to remove rainwater mold and restore safe feeding conditions.
4 Dangerous Post-Rain Feeder Habits to Avoid
Steer clear of these common missteps to keep your backyard hummers healthy.
Frequently Asked Questions About Rain-Diluted Nectar
Answers to common reader questions regarding storm care and feeder mechanics.
Immediate Actions for Safe Nectar After Rain
Your decision: Decide whether your current setup needs a routine post-storm vinegar flush, a location change, or an upgrade to a top-shielded glass feeder design.
Do this next: Discard any rain-diluted nectar immediately, sanitize the feeder base with a 1:1 white vinegar flush, and fill with a fresh 4:1 sugar solution.
Related resource: Inspect feeder seals after every major storm to preserve nectar calorie density.
Upgrade to the LUJII Solar-Powered Hand-Blown Glass Hummingbird Feeder featuring an integrated waterproof solar cap shield, anti-rust metal base, and leak-proof 32 fl. oz. reservoir.
Take these simple steps to ensure your garden remains a safe, vibrant haven for hummingbirds.
Explore Related Nectar Care & Weatherproofing Guides
Provide strategic internal links to related pillar and cluster content.
Cover photo by Chris F on Pexels.