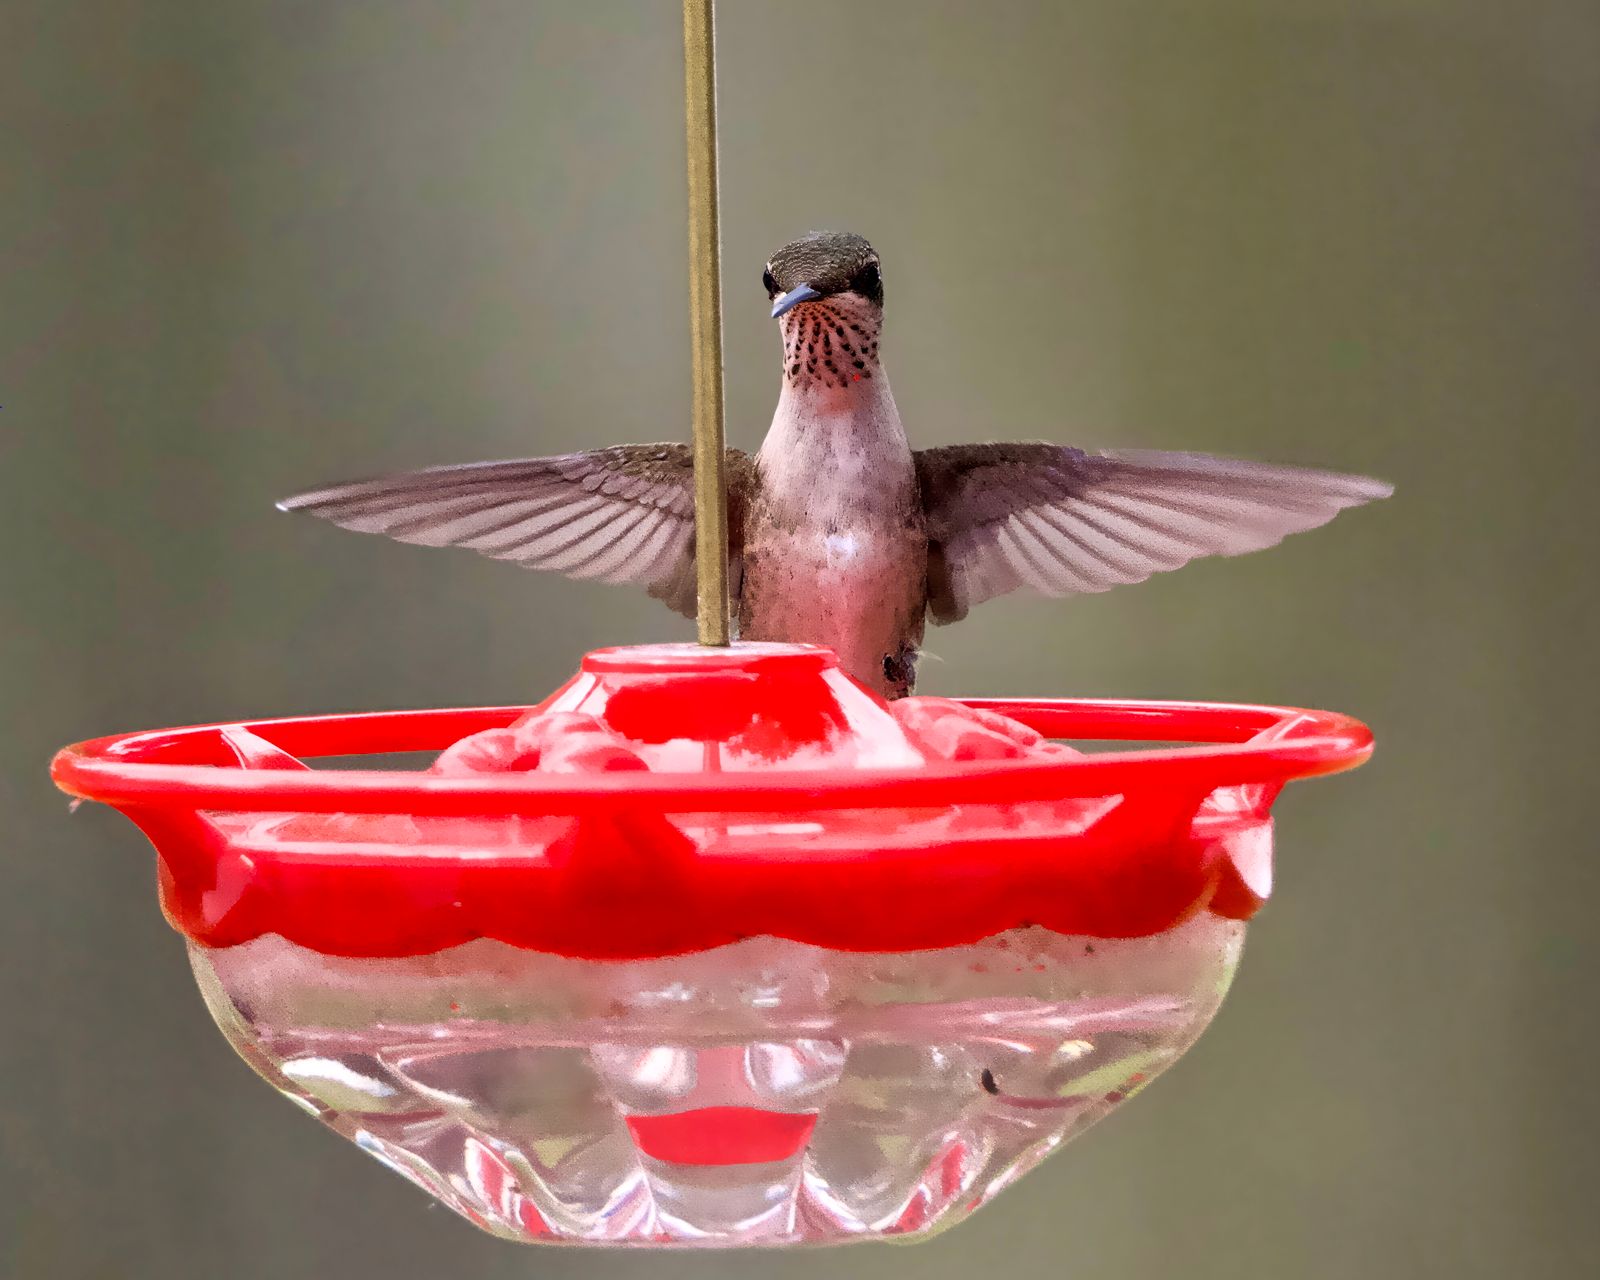
Waterproof Solar Hummingbird Feeder Seals: RGB Light Protection Guide
Should you apply liquid chemical sealants to fix rain leaks in a solar hummingbird feeder cap? No. Inspect and realign the food-grade silicone cap gasket, dry trapped moisture with isopropyl alcohol, and rely strictly on mechanical seals. Never apply toxic industrial silicone sealants near nectar pathways—protecting RGB electronics must never compromise avian safety.
7-Point Solar Feeder Waterproofing Inspection Checklist
- [ ] Inspect the top solar glass panel for hairline cracks or edge lifting.
- [ ] Check that the food-grade silicone gasket is seated flush in its groove with no twists.
- [ ] Verify that the RGB lighting casing screws are uniformly snugged down.
- [ ] Examine the rechargeable battery door rubber plug for alignment.
- [ ] Inspect the hand-blown glass neck threads for nectar residue that prevents a tight seal.
- [ ] Clear drainage micro-channels on the outer plastic collar to prevent standing water accumulation.
- [ ] Ensure no chemical sealants or petroleum products are present near nectar contact zones.
Printable Field Sheet: Seasonal Feeder Moisture Inspection
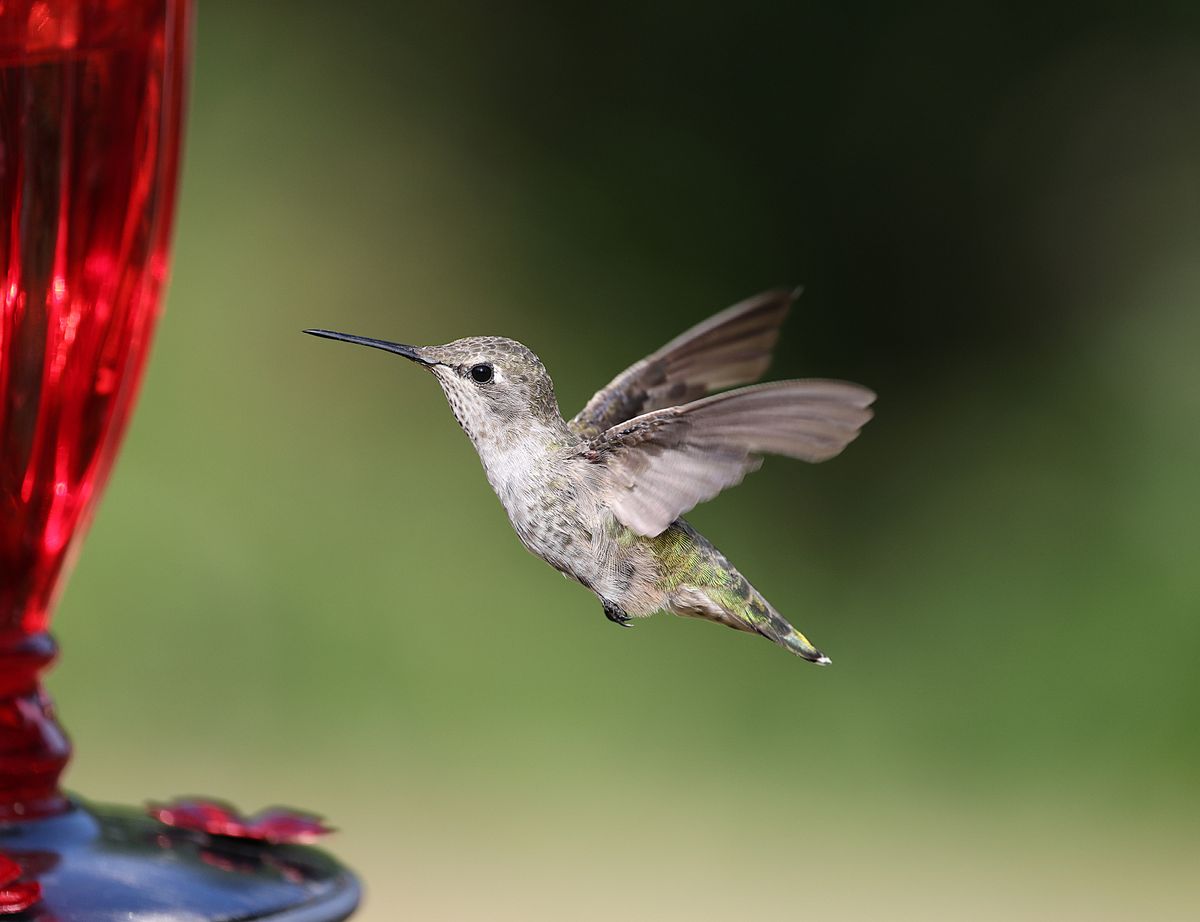
Photo by Veronika Andrews on Pexels
- Solar Glass Lens: Clean solar glass with a soft micro-fiber cloth; check perimeter seal integrity.
- Silicone Sealing Ring: Wash with warm soapy water; inspect for pinholes, stretching, or nectar buildup.
- RGB LED Module Housing: Verify top plastic canopy overhang shields the underside lighting cavity.
- Battery Compartment: Confirm rubber port plug is firmly seated; check contacts for oxidation.
- Glass Neck Interface: Wipe glass threads clean before screwing down the metal and solar cap assembly.
Moisture Intrusion & Failure Mode Diagnostic Matrix
| Failure Mode / Symptom | Root Cause | Avian Safety Warning | Corrective Action |
| --- | --- | --- | --- |
| RGB lights flicker, turn off prematurely, or cycle unprompted | Water ingress into battery housing or shorted RGB control circuit | Low risk to birds, high risk of permanent battery failure | Power off unit immediately. Disassemble housing, remove battery, wipe contacts with 90%+ isopropyl alcohol, and air-dry for 24 hours with desiccant. |
| Persistent fogging or water droplets inside top solar lens | High internal humidity trapped during rapid ambient temperature drops | No nectar contamination if isolated in top cap | Unscrew solar top, remove battery cover in dry room, and place under warm desk lamp (not hot) or in a sealed container with silica gel packs. |
| White/green corrosion crust on battery springs | Rainwater mixed with salt air or nectar vapors bridging battery terminals | Corrosion residue must not drip into lower glass reservoir | Scrape terminal clean with a cotton swab dipped in vinegar, rinse swab with alcohol, dry thoroughly, and replace NiMH battery. |
| Nectar leaking down glass bottle exterior onto solar cap junction | Misaligned silicone neck gasket or overfilled 32 fl. oz glass reservoir | Fermenting nectar attracts wasps and mold near light housing | Re-seat food-grade silicone ring flush in collar groove. Do not fill past glass shoulder curve. |
When moisture breaches your feeder's outer defenses, act quickly. The table below lists common failure modes first so you can immediately pinpoint electronic or structural issues.
Visualizing the Barrier: Anatomy of a Waterproof Solar Feeder Seal
Understanding how your feeder separates light-generating electronics from sweet liquid nectar is critical for safe maintenance.
Routine Solar Cap Moisture Inspection Schedule
- Every 3 to 4 Days (Nectar Refresh) — Inspect silicone gasket for sugar buildup. Wipe neck glass threads clean with dry micro-fiber cloth before re-securing the solar housing.
- Bi-Weekly — Clean top solar panel with damp cloth to remove bird droppings and dust; check solar cap edge channels for trapped leaf debris.
- Post-Storm / Heavy Rain — Perform quick visual check for lens condensation. Verify battery compartment rubber seal remains tightly pressed in place.
- End of Season / Winter Storage — Remove rechargeable battery, wash glass bottle and metal base, dry all electronic housings completely, and store indoors.
Immediate Restoration Actions & Practical Next Steps
Your decision: Determine whether your solar cap requires simple gasket realignment, thorough desiccant drying, or full module replacement.
Do this next: Perform the 7-point physical inspection checklist and wipe all silicone seals clean with a dry micro-fiber cloth before the next heavy rain.
- Read next: Hummingbird Feeder Gasket and O-Ring Maintenance FAQ
If your solar cap's RGB module has suffered permanent liquid damage, consider upgrading to the LUJII Solar-Powered Hummingbird Feeder with an IPX6-rated sealed cap assembly.
Take these steps right now to ensure your garden remains a safe haven for hummingbirds and a peaceful sanctuary for your family.
Essential Rules of Solar Feeder Moisture Protection
- Avian Health First: Never use industrial liquid caulk, RTV silicone, or petroleum jelly near nectar paths.
- Mechanical Seals Win: Rely on pre-molded, food-grade silicone gaskets and precision-molded threads.
- Condensation Isn't Always a Leak: Temperature shifts cause fogging; dry it out thoroughly before assuming seal failure.
- Alcohol for Dry-Outs: Use 90%+ isopropyl alcohol on damp circuit contacts to displace water without leaving conductive film.
- Storm Shelter: Bring feeders under porch eaves during tropical downpours or high-velocity windstorms.
Sealing Materials Comparison: Avian-Safe vs. Toxic Industrial Options
| Sealing Method / Material | Avian Safety Level | Waterproofing Efficiency | Best Garden Scenario |
| --- | --- | --- | --- |
| Food-Grade Silicone Gasket (Pre-Molded) | 100% Safe (Non-toxic, inert, no VOC off-gassing) | High (Resilient compression barrier) | Primary seal between hand-blown glass neck and solar collar assembly. |
| Virgin PTFE Thread Seal Tape | Safe (Inert fluoropolymer, no chemical leaching) | Moderate (Fills microscopic thread gaps) | Wrapping non-nectar external solar cap collar threads during heavy monsoon months. |
| Industrial 100% RTV Construction Silicone Caulk | DANGEROUS (Off-gasses acetic acid/fungicides) | High (Permanent chemical bond) | NEVER USE ON BIRD FEEDERS. Solvent vapors contaminate nectar and harm avian lungs. |
| Petroleum Jelly (Vaseline) | UNSAFE (Degrades synthetic rubber seals) | Low (Attracts dirt, melts in summer sun) | NEVER USE. Causes silicone gaskets to swell, warp, and leak within weeks. |
Not all waterproof materials belong in your garden. Compare sealing choices across safety and weatherproofing metrics below.
Choosing the Right Moisture Protection Strategy for Your Environment
Protecting solar RGB electronics from rain requires strict segregation between electronic seals and avian-accessible nectar chambers. Always prioritize non-toxic, mechanical silicone gaskets over liquid chemicals near the nectar path.
Best choice for
- Dual-Gasket Thermal Sealing with Food-Grade Silicone Rings — Prevents moisture ingress during wind-driven storms without off-gassing harmful VOCs into nectar.
- Desiccant Dry-Out & Gasket Recalibration — Clears micro-moisture trapped inside the plastic solar lens without voiding product integrity.
- Avoid applying industrial 100% RTV construction silicone sealant anywhere near the nectar reservoir or feeding ports.
- Avoid using petroleum-based lubricants (like Vaseline) on rubber O-rings, as petroleum degrades rubber gaskets over time.
- Food-Grade Virgin PTFE Thread Tape — Can be wrapped around non-nectar external cap threads for extra moisture resistance without chemical leaching.
Recommended Avian-Safe Solar Feeder Gear
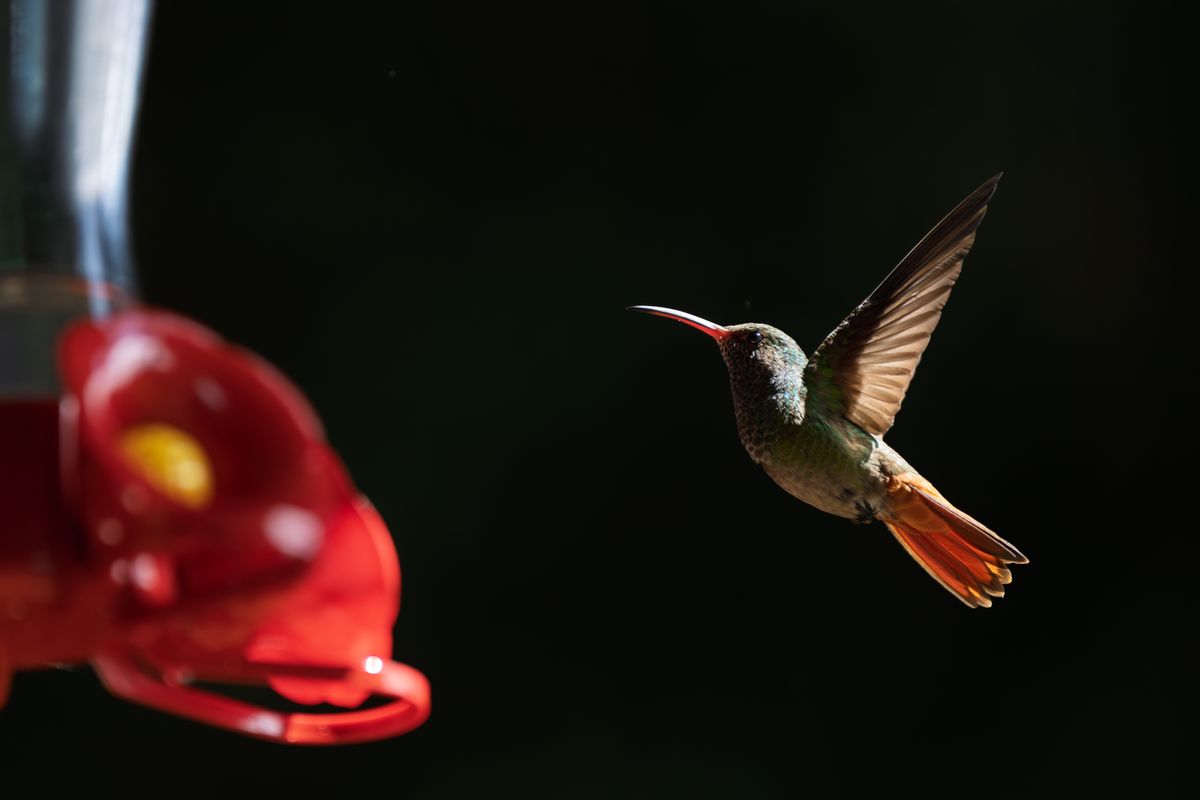
Photo by Mario Spencer on Pexels
Enhance your garden sanctuary with hand-crafted beauty engineered for all-weather performance.
Solar Housing Weatherproofing & Ingress Protection Specifications
| Component | Specification Standard | Material Grade | Operational Role |
| --- | --- | --- | --- |
| Solar Canopy Shield | UV-Stabilized Polycarbonate | Weather-Proof Plastic Cap | Diverts falling rain, snow, and hail away from central circuit housing. |
| Primary Cap Gasket | 40-50 Durometer Shore A | 100% Food-Grade Silicone | Creates airtight compression seal against hand-blown glass neck. |
| RGB LED Module Housing | Ultrasonically Sealed Casing | Optical-Grade Acrylic Lens | Protects color-changing LEDs while diffusing light across glass patterns. |
| Metal Base & Hanger Collar | E-Coated Anti-Rust Finish | Powder-Coated Steel / Brass | Resists rust and structural degradation under intense rain or coastal fog. |
Technical guidelines for outdoor solar electronic feeder caps:
Dangerous Weatherproofing Mistakes That Harm Birds or Electronics
Avoid these critical errors when trying to protect your solar feeder from moisture:
Drying and Restoration Timeline for Water-Exposed Solar Modules
- Hour 0: Isolation — Remove feeder from garden. Unscrew top solar cap. Flip power switch off and remove rechargeable NiMH battery.
- Hour 1: Moisture Removal — Blot standing water with paper towels. Dab circuit contacts and battery terminal springs with 90%+ isopropyl alcohol.
- Hours 2 - 20: Desiccant Soak — Place solar cap (open battery compartment down) inside a sealed container filled with silica gel packets or dry white rice.
- Hour 22: Reassembly & Test — Inspect battery compartment under bright light. Insert fresh rechargeable battery, re-seat silicone seals, and cover solar cell to test RGB lights.
- Hour 24: Re-Hanging — Screw cap firmly onto glass reservoir. Re-hang in garden before dusk.
Related Maintenance & Care Guides
- What Makes a Solar Hummingbird Feeder Truly Waterproof? Cap Durability Buying Guide
- Solar Hummingbird Feeder FAQ: Answers to Common Questions
- Rainy Season Care: Protecting Your Solar Feeder Cap from Rain, Snow, and Moisture
Frequently Asked Questions About Solar Feeder Seals
What should I do if water gets inside the battery compartment of my solar feeder?
Immediately remove the battery and switch off the solar unit. Wipe all contacts with 90%+ isopropyl alcohol to displace water and prevent corrosion. Allow the open cap to air-dry in a warm space with a desiccant pack (like silica gel) for 24 hours before reassembling.
Can I use 100% silicone sealant near hummingbird nectar ports?
No. Industrial 100% silicone caulks off-gas toxic chemical solvents (such as acetic acid) and contain fungicides harmful to delicate hummingbird respiratory systems. Always use pre-molded, food-grade mechanical silicone gaskets instead.
Does condensation inside the solar cap mean my feeder is no longer waterproof?
Not necessarily. Internal fogging often occurs when ambient humidity is trapped inside during warm daylight hours and condenses when temperatures drop at night. Dry the module thoroughly indoors before assuming a seal is permanently broken.
How do severe summer storms affect the solar panel and RGB lights?
High-velocity winds can force water under non-sealed edges or dislodge cap gaskets. During hurricane-force rain or severe weather warnings, bring your solar feeder under shelter to preserve the electronic modules.
Clear up common questions about keeping your illuminated solar feeder waterproof and safe.
Final Summary & Recommended Actions
Your decision: Choose the LUJII Solar Feeder for hand-blown artistic beauty paired with robust weather protection.
Do this next: Check your solar cap silicone gasket today and enjoy up to 8 hours of colorful RGB illumination tonight.
- Read next: Hummingbird Feeder Gasket and O-Ring Maintenance FAQ
🌟 LUJII Solar-Powered Hummingbird Feeder 🌟
You are now fully equipped to keep your solar hummingbird feeder glowing brilliantly and feeding local birds safely all season long.
Cover photo by A. G. Rosales on Pexels.