Solar Hummingbird Feeder Troubleshooting: How to Fix Lighting and Prevent Nectar Leaks
To fix solar lighting failures, ensure the switch is ON, clean panel glass, and replace the 1.2V AA Ni-MH battery. To stop nectar leaks, cool nectar before filling, realign the internal silicone gasket, assemble upside-down securely, and hang in partial shade to prevent thermal pressure expansion from breaking the vacuum seal.
Visual Diagnostic Flowchart: Solar Light Failure
- Is the power switch on the underside of the solar cap toggled to 'ON'? → Yes: Proceed to Sensor Test. No: Toggle switch to ON. Expose panel to 6 hours of sun and retest at night..
- Cover the entire solar panel with a dark cloth in daylight. Does the LED light up? → Yes: Solar cap electronics are fully functional! Relocate feeder away from bright ambient porch lights that confuse the dusk sensor.. No: Proceed to Solar Glass & Battery Inspection.
- Is the glass face of the solar cap clean and free of sap, hard water spots, or dust? → Yes: Proceed to Rechargeable Battery Replacement. No: Wipe panel clean with a damp microfiber cloth, allow 8 hours of direct sunlight, and retest..
- Has the 1.2V AA Ni-MH rechargeable battery been used for more than 12 months? → Yes: Open battery compartment, clean contacts, and install a fresh 1.2V AA Ni-MH rechargeable battery.. No: Inspect internal wiring contacts for moisture or rust corrosion..
Comprehensive Diagnostic Matrix: Symptoms, Root Causes, and Solutions
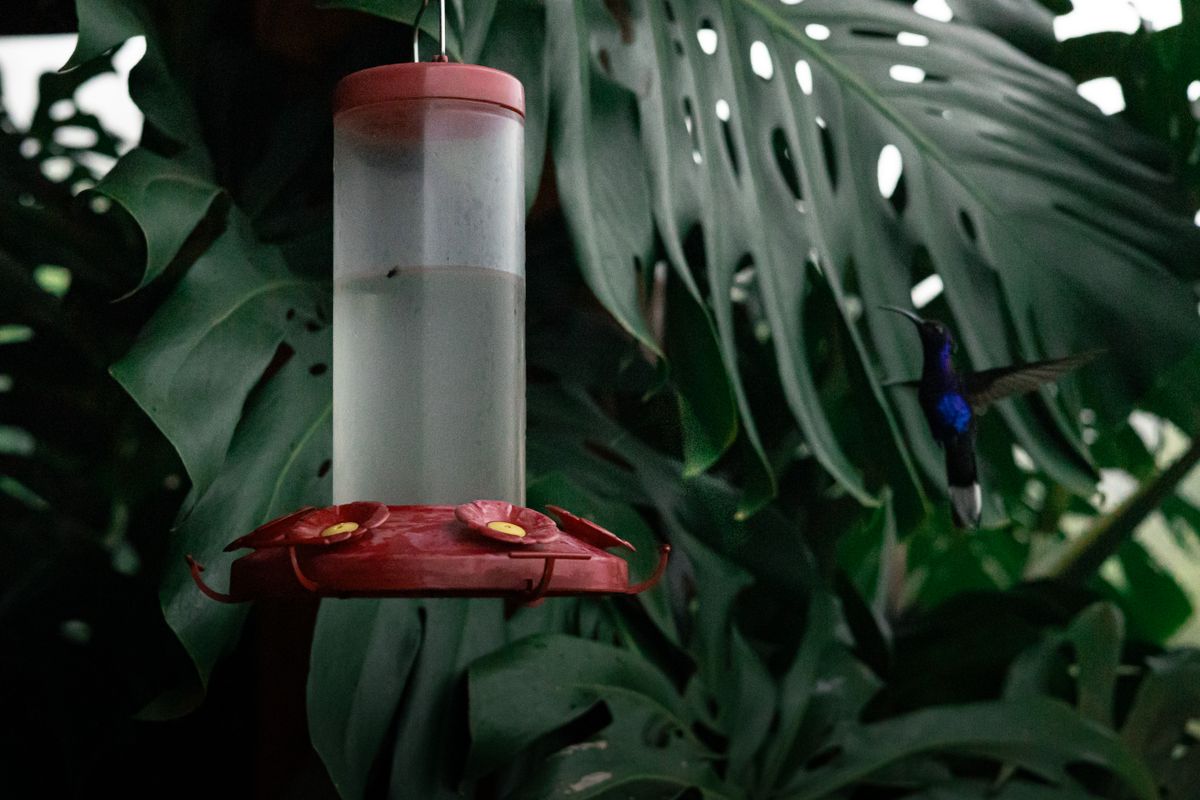
Photo by Dante Muñoz on Pexels
| Symptom Scenario | Observed Behavior | Likely Root Cause | Recommended Repair Action |
| --- | --- | --- | --- |
| Scenario 1: Dark Solar Cap at Night | RGB LEDs fail to illuminate automatically at dusk. | Switch set to OFF, ambient light interference from street/porch lamps, or depleted Ni-MH battery. | Toggle switch to ON. Move feeder to a darker night zone. Replace battery with a 1.2V AA Ni-MH rechargeable cell. |
| Scenario 2: Dim or Flickering RGB Display | Lights turn on briefly then shut off within 1 to 2 hours. | Insufficient direct sunlight exposure (under 6 hours) or oxidized solar battery terminals. | Relocate feeder to a south-facing spot with unshaded morning/afternoon sun. Clean terminal corrosion with pencil eraser. |
| Scenario 3: Midday Nectar Dripping | Nectar drips from feeding ports exclusively between 11 AM and 3 PM. | Direct heat causes air inside the glass globe to expand, pushing nectar out (thermal siphoning). | Hang feeder where it receives direct morning sun for solar charging, but shaded relief during peak afternoon heat. |
| Scenario 4: Rapid Base Leakage Upon Filling | Nectar empties completely through base ports immediately after hanging. | Pinch or misalignment in the inner silicone O-ring seal, or nectar poured while still warm. | Cool nectar completely before filling. Re-seat silicone gasket flat inside metal base threads before screwing glass bulb tight. |
Use this scenario matrix to identify specific visual or physical symptoms on your hand-blown glass solar feeder and execute the exact mechanical or electrical fix required.
Expert Care Tip: Thermal Expansion & Vacuum Physics
Gravity-fed glass hummingbird feeders depend entirely on atmospheric pressure and an internal partial vacuum to keep liquid held inside the reservoir. When you fill your feeder and invert it, a small air pocket forms at the top of the hand-blown glass dome. As long as the base gasket maintains an airtight seal, atmospheric pressure pushes against the liquid exposed at the feeding ports, balancing the weight of the nectar inside.
However, when hot afternoon sun strikes hand-blown glass, that trapped air pocket expands rapidly. Thermal expansion forces air down, displacing nectar and creating persistent drips even when seals are intact. To preserve this delicate physics balance:
Solar Feeder 5-Point Health Checklist
- [ ] Solar cap switch toggled firmly to the ON position.
- [ ] Solar panel face free of water spots, tree sap, and bird dust.
- [ ] Silicone sealing ring seated flat and un-twisted against base threads.
- [ ] Nectar cooled completely to room temperature (68°F–72°F) before filling.
- [ ] Feeder hung in a location receiving 6-8 hours of direct morning sun with afternoon shade.
Decision Tree: Is it a Battery, Seal, or Placement Issue?
- What primary issue are you experiencing with your solar feeder? → Yes: Go to Lighting Diagnostics. No: Go to Nectar Leak Diagnostics
- Is the solar light failing to illuminate at night? → Yes: Test solar cap switch, perform dark room sensor check, and replace 1.2V AA Ni-MH battery if unlit.. No: If light turns on but dies early, move feeder to a spot receiving 6-8 hours of unshaded sunshine.
- Is nectar leaking from the base or feeding ports? → Yes: Check if nectar drips only during direct midday sun. If yes, move to afternoon shade.. No: If leaking occurs immediately after filling, re-seat internal silicone gasket seal and ensure nectar was fully cooled.
Immediate Action Plan for Feeder Restoration
Your decision: Determine whether your feeder requires electrical component care (battery swap/panel cleaning) or liquid vacuum seal adjustment.
Do this next: Perform the Dark Room Test on your solar cap switch, verify silicone gasket seating, and hang the feeder where it catches direct morning sun and afternoon shade.
- Read next: How to Hang Your Solar Hummingbird Feeder to Block Ants and Crawling Insects
- Read next: Summer Storm Protection: Weatherproofing Your Glass Solar Hummingbird Feeder Setup
🌟 LUJII Solar-Powered Hand-Blown Glass Hummingbird Feeder 🌟
Follow these practical immediate actions to test your repair and maintain an optimal feeding sanctuary.
Summary: Essential Takeaways for Solar Feeder Performance
Keep these essential care principles in mind to keep your hand-blown glass feeder working flawlessly season after season.
Step-by-Step Restoration Guides for Lighting and Leak Seals
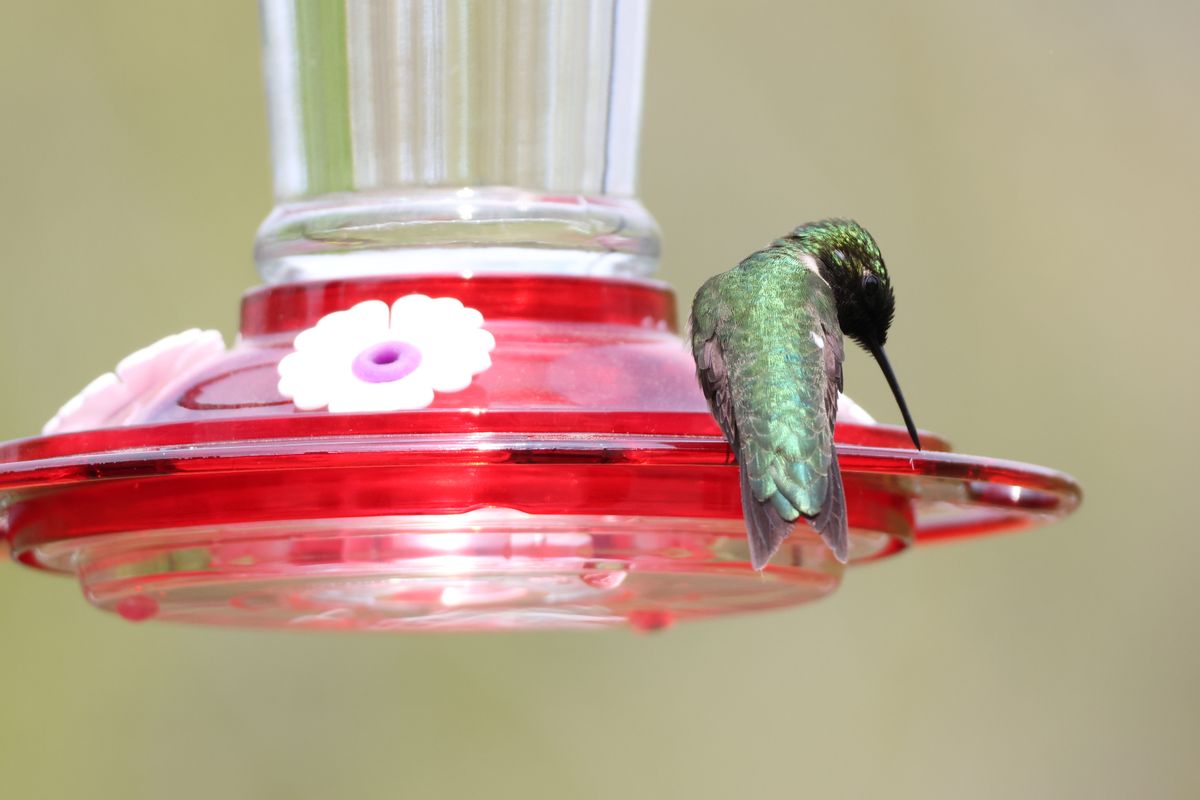
Photo by Catherine Dempsey on Pexels
Guide 1: Restoring Solar Cap Lighting & Battery Replacement
Guide 2: Establishing a Leak-Proof Vacuum Seal on Hand-Blown Glass
5 Common Mistakes That Cause Leaks and Battery Drain
Avoid these five frequent operational errors to keep your nectar fresh and your nighttime garden display reliable:
Related Guides for Backyard Sanctuary Maintenance
- How to Fix Weather-Related Leaks and Prevent Rain Contamination in Solar Feeders
- Troubleshooting Your Solar Hummingbird Feeder: Battery, Lighting, and Nectar Care Tips
- Hummingbird Feeder Leak Troubleshooting: Stop Nectar Drips Fast
Frequently Asked Questions: Solar Feeder Care & Repair
Find fast answers to common maintenance questions regarding solar cap power, nectar dripping, and lens care.
Recommended Replacement Parts and Solar Feeders
🌟 LUJII Solar-Powered Hand-Blown Glass Hummingbird Feeder 🌟
Add a whimsical touch of handcrafted art and outdoor lighting magic to your garden sanctuary. Each 32 fl. oz. feeder features unique hand-blown glass crafted at 2,300 degrees, auto-charging RGB solar cap lights with multiple modes, and an anti-rust metal base equipped with a leak-proof silicone seal system.- Solar & RGB Lighting: Automatically illuminates for up to 8 hours after a full recharge.
- Artisan Quality: Handcrafted translucent glass dome for easy nectar monitoring.
- Weatherproof Design: Sealed plastic solar cap and anti-rust metal base built for year-round durability.
--- Transform your evening garden into an illuminated haven for hummingbirds today! Click above to browse handcrafted designs and bring drip-free solar beauty to your yard.
Cover photo by Skyler Ewing on Pexels.