How to Stop Hummingbird Feeder Leaks & Keep Bees Away (Step-by-Step)
To stop a hummingbird feeder from leaking, fill the reservoir completely to 95% capacity, secure the threaded base firmly to create an airtight vacuum seal, and rapidly invert the feeder over a sink before hanging. Always position your feeder in full shade. Direct sunlight heats the air trapped above the liquid, causing thermal expansion that forces nectar out through the ports and invites swarming bees.
Visual Leak Diagnosis & Bee Defense Flowchart
- Is your feeder dripping nectar right now? → Yes: Check drip location: Is it coming from the flower feeding ports or the threaded base connection?. No: If bees are gathering at dry ports, skip to the Bee Defense branch below..
- Is liquid leaking directly from the flower feeding ports? → Yes: Does the dripping worsen in the hot afternoon sun? If YES -> Thermal Expansion (re-hang in full shade and fill to 95%). If NO -> Vacuum Priming Failure (re-invert quickly over sink).. No: Proceed to Base Threading check..
- Is liquid leaking from the threaded metal or plastic base seal? → Yes: Inspect silicone O-ring gasket. Is it misaligned, cracked, or dirty? Clean threads or replace worn washer.. No: Check hanging angle. Is strong wind tipping the feeder ports below liquid level?.
- Are bees and wasps swarming the feeder ports without visible drips? → Yes: Wipe outer ports clean with white vinegar. Ensure ports use recessed channels or rubber nectar guards that prevent short insect tongues from reaching liquid.. No: Feeder is balanced and sealed! Enjoy watching your hummingbirds feed peacefully..
Feeder Leak & Pest Diagnostic Matrix
| Scenario / Symptom | Primary Physical Cause | Immediate Corrective Action | Long-Term Prevention Strategy |
| --- | --- | --- | --- |
| | | | |
| | | | |
| | | | |
| | | | |
Identify your specific scenario below to diagnose the root physical cause and apply the exact fix needed to restore a drip-free garden.
Expert Tip: The Science of Vacuum Seals and Thermal Expansion
Inverted bottle feeders operate on a delicate balance of atmospheric pressure and fluid dynamics. When you fill a bottle and invert it, a small amount of liquid escapes until the pressure of the air pocket trapped at the top drops below atmospheric pressure outside. This creates an airtight vacuum lock that holds liquid inside the reservoir.
However, air is far more responsive to heat than water. According to Charles's Law, gas expands when heated. When direct sunlight shines on an unshaded glass or thin plastic bottle, the trapped air pocket heats up rapidly. As the gas expands, it exerts downward pressure on the nectar, overpowering the atmospheric vacuum seal and forcing liquid out through the ports.
To prevent thermal expansion leaks:
Bee Defense Strategy Decision Tree
- What feeder style are you currently troubleshooting? → Yes: Inverted Glass Bottle Feeder -> Proceed to Vacuum & Port Check.. No: Saucer/Dish Feeder -> Proceed to Fluid Level Adjustment.
- For Inverted Feeders: Can bees reach the nectar surface inside the port? → Yes: Install recessed flexible rubber nectar guards or upgrade to a feeder with deep-well port channels.. No: The scent trail is on the outside. Wash the metal base thoroughly to remove invisible sugar residue.
- For Saucer Feeders: Is nectar filled all the way up to the rim? → Yes: Lower nectar level slightly so liquid sits 1/2 inch below the port opening. Hummingbird tongues easily reach deep liquid, while bee probosces cannot.. No: Move feeder 10-15 feet away from bright yellow garden flowers where scouting bees naturally congregate.
Key Takeaways for Drip-Free Feeding
- Fill to 95% Capacity: Leaving minimal air space at the top of inverted bottles prevents large thermal air bubbles from pushing nectar out.
- Prioritize Full Shade: Direct sunlight causes internal air expansion; shade stabilizes pressure and keeps nectar fresh longer.
- Invert Rapidly: Always turn refilled feeders right-side-up in one quick motion over a sink to establish a strong atmospheric vacuum lock instantly.
- Zero Oils or Gel Hacks: Never smear petroleum jelly, cooking oil, or insecticides on feeding ports or hooks—these ruin bird feather insulation and can prove fatal.
- Keep Outer Surfaces Clean: Wipe down threads and base metal daily; sticky exterior sugar residue is the primary attractant for yellowjackets and ants.
Decision Support: Selecting the Best Leak-Proof Setup
Fixing leaks requires balancing airtight vacuum seals with thermal protection. If classic plastic feeders distort in summer heat or leak despite new gaskets, upgrading to a heavy hand-blown glass feeder with a sealed precision metal base stabilizes fluid temperature and eliminates leaks.
Best choice for
- Heavy Hand-Blown Glass Feeders with Metal Bases in Deep Shade — Thick art glass resists rapid thermal expansion, preventing internal pressure spikes that force nectar out of feeding ports.
- Recessed Nectar Guard Ports & Pure White Vinegar Cleaning — Physical barriers paired with dry port surfaces eliminate scent trails that attract aggressive insects without using dangerous chemicals.
- Avoid using petroleum jelly, cooking oils, sticky gels, or commercial insect sprays anywhere near feeder ports, perches, or hanging hooks.
- Shaded Saucer/Dish Feeders — Eliminates vacuum dependency entirely because nectar sits below port level, though capacity is often smaller than 32 oz bottle feeders.
Recommended Solution: Leak-Proof Hand-Blown Solar Feeders
If worn plastic threads, warped caps, or thin glass continue to cause frustrating drips in your garden, consider upgrading to a beautifully engineered art piece designed specifically for durability and leak-free performance.
🌟 LUJII Solar-Powered Hummingbird Feeder
- Generous 32 fl. oz Capacity: The slender, high-capacity reservoir leaves minimal air space when topped off, making it exceptionally resistant to thermal air expansion leaks.
- Hand-Blown Glass Artistry: Each thick glass reservoir is individually shaped by artisans at 2,300°F. The handcrafted, heavy-gauge glass insulates nectar against rapid heat shifts while letting you monitor liquid levels effortlessly.
- Precision Sealed Anti-Rust Metal Base: Equipped with a heavy-duty leak-proof base and durable silicone sealing ring that holds an airtight vacuum, preventing frustrating drips and keeping sugar water locked inside.
- Protective Solar Shield & RGB Lighting: A durable plastic solar cap shields nectar from harsh sunlight, rain, and snow. At night, the built-in solar cell automatically powers glowing RGB lights for up to 8 hours, adding a magical glow to your evening garden.
Comparison: DIY Bee Remedies vs. Integrated Leak Prevention
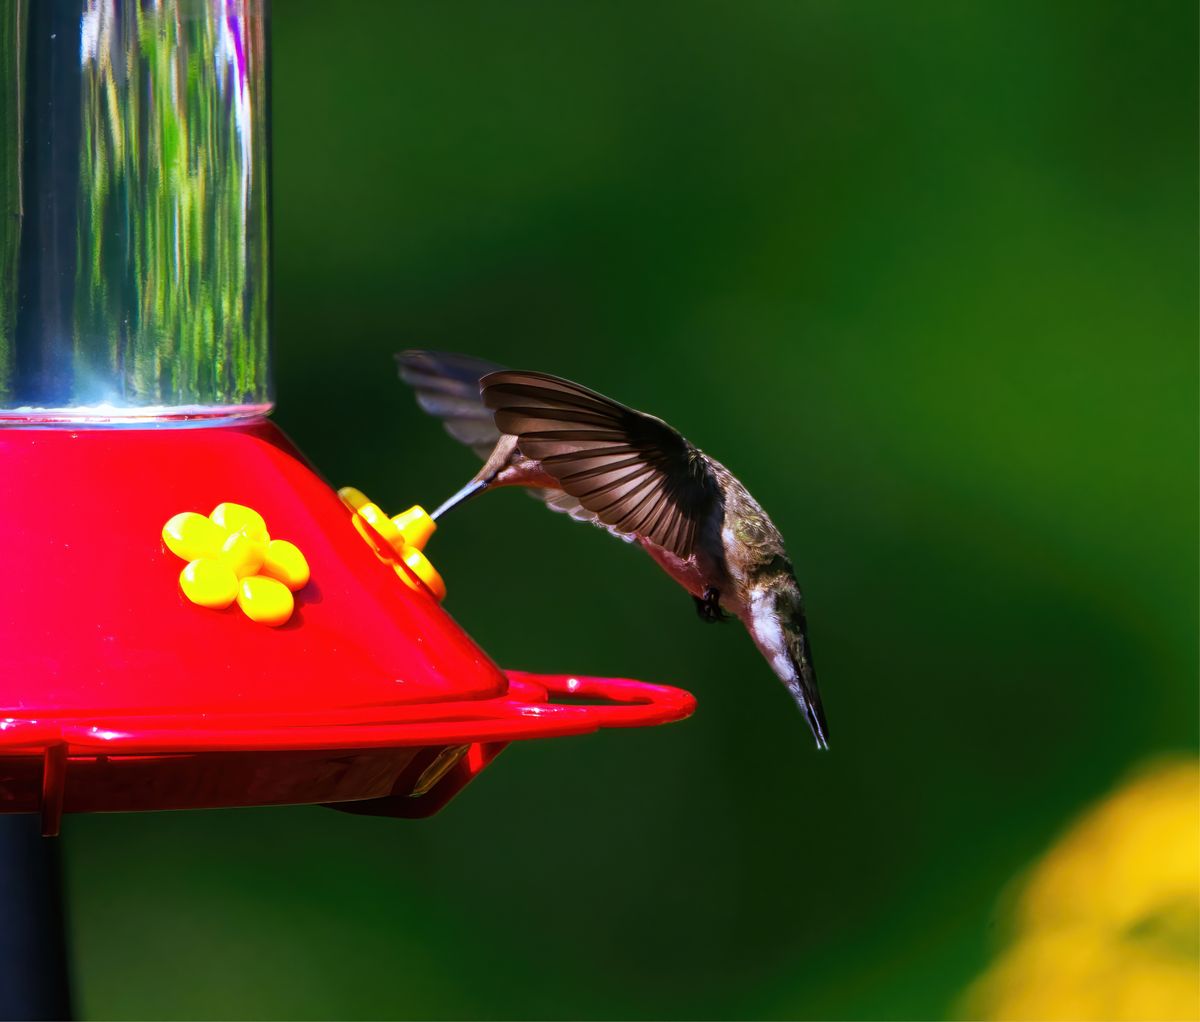
Photo by DANNIEL CORBIT on Pexels
| Method / Approach | Bird Safety Rating | Pest Prevention Mechanism | Maintenance Effort | Risk Factor |
| --- | --- | --- | --- | --- |
| | | | | |
| | | | | |
| | | | | |
| | | | | |
Compare common backyard hacks against professional, bird-safe leak and pest control methods.
5-Step System to Seal Your Feeder and Restore a Vacuum
Follow this foolproof 5-step maintenance protocol every time you refill your feeder to guarantee a tight seal and zero drips:
Common Traps & Dangerous DIY Missteps
Well-meaning bird lovers often attempt quick internet fixes that end up harming hummingbirds or worsening leaks. Avoid these hazardous traps:
Frequently Asked Questions
Clear, expert answers to lingering questions about hummingbird feeder maintenance, pest control, and shade placement.
Immediate Action Plan for a Drip-Free Garden
Your decision: Determine whether your feeder drip is caused by worn O-ring seals, improper filling techniques, or thermal air expansion from sunlight.
Do this next: Inspect your feeder's silicone gasket, fill the reservoir to 95% capacity to minimize air space, perform a rapid inversion over your sink, and relocate the feeder to deep garden shade.
- Read next: Hummingbird Feeder Gasket and O-Ring Maintenance Guide
LUJII Hand-Blown Solar Hummingbird Feeder with Precision Sealed Metal Base
Take these quick immediate steps to secure your feeder setup and create an inviting, drip-free haven for your local hummingbirds.