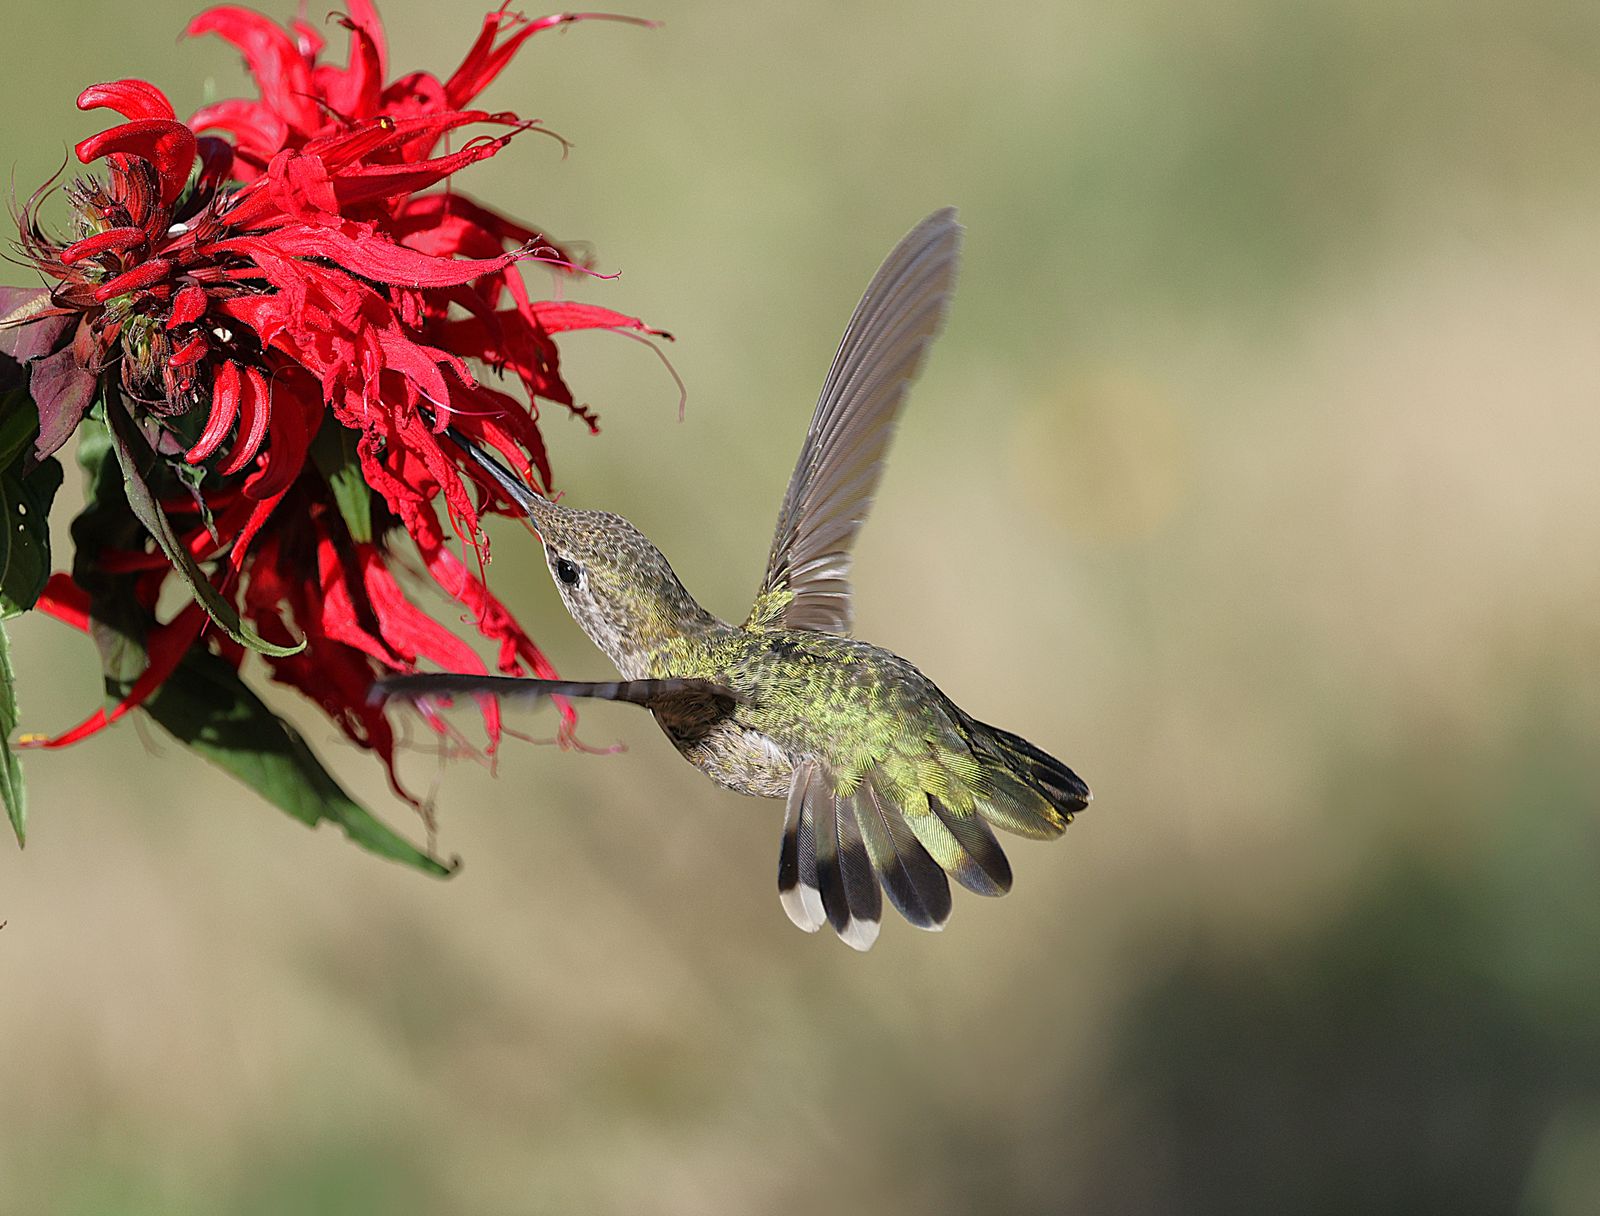
How to Clean and Store Solar Hummingbird Feeder for Winter
Should you take down, deep-clean, and store your solar hummingbird feeder for winter right now?
Yes. Once two full weeks have passed without a hummingbird sighting—or when overnight temperatures consistently drop toward 40°F—it is time to prepare your feeder for storage. Deep-clean the hand-blown glass reservoir using a 4:1 water-to-white-vinegar solution, fully charge the solar cap under direct sunlight, switch the RGB light to "OFF", and store the complete assembly in a dry, climate-controlled space (50°F–70°F).
Master Winterization Checklist: Step-by-Step Feeder Preservation
- [ ] Wait 2 weeks after the last hummingbird sighting before taking feeder down.
- [ ] Disassemble glass reservoir, metal perching base, rubber gasket, and solar cap.
- [ ] Soak hand-blown glass in a 4:1 water to distilled white vinegar bath for 30 minutes.
- [ ] Use a flexible foam bottle brush to remove all sugar residue inside narrow glass neck.
- [ ] Wipe metal base with mild soap, rinse, and dry completely with a microfiber cloth to prevent rust.
- [ ] Clean solar panel cap with a slightly damp cloth (NEVER submerge solar cap in water).
- [ ] Place solar cap in direct sunlight for 6–8 hours to achieve full battery charge before storage.
- [ ] Toggle the solar cap power switch to the 'OFF' position.
- [ ] Inspect silicone O-ring/gasket for cracks; apply food-grade silicone grease or store dry in zip bag.
- [ ] Wrap glass reservoir in bubble wrap and store inside a climate-controlled room (50°F–70°F).
Quick-Reference Off-Season Storage Tear-Sheet
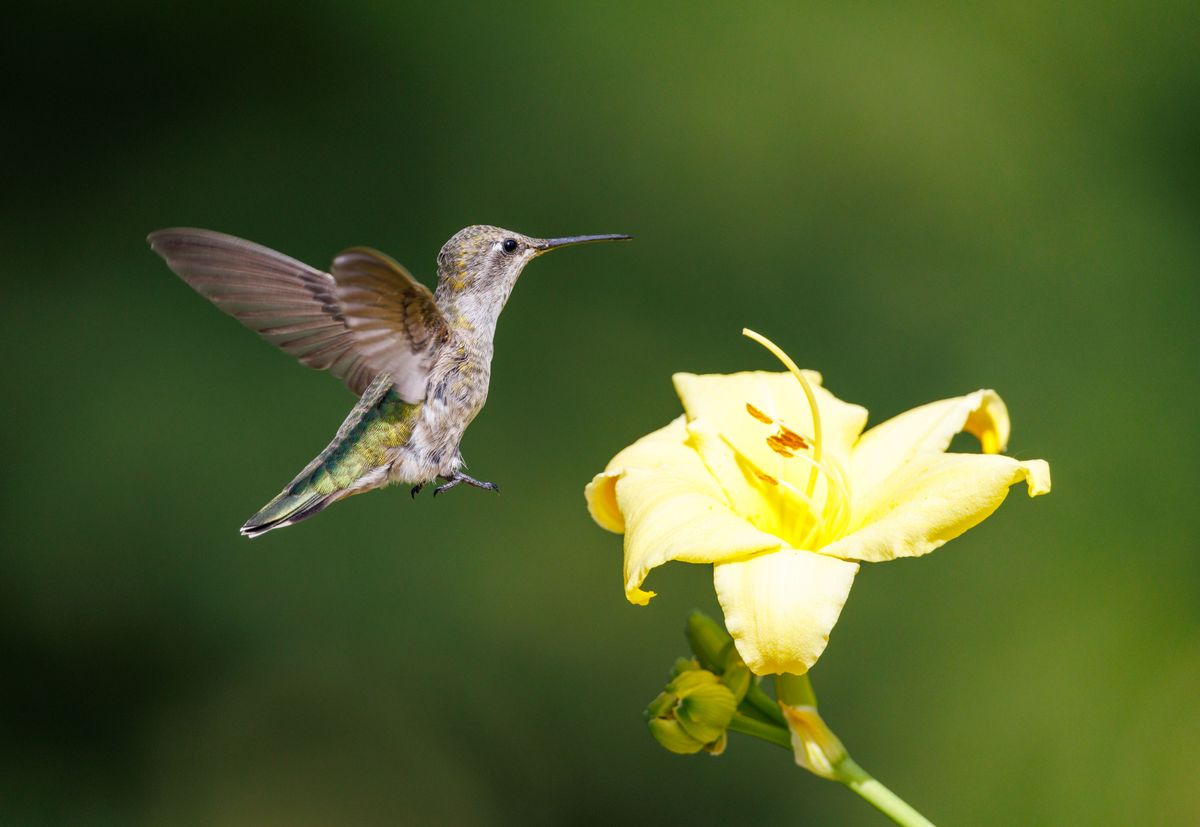
Photo by Veronika Andrews on Pexels
- Wait 14 days after the final hummingbird sighting to ensure late stragglers complete southward migration.
- Disassemble four main components: Solar Cap Assembly, Hand-Blown Glass Bottle, Rubber Sealing Gasket, and Metal Perch Base.
- Sanitize glass: Soak 30 minutes in a 4:1 water to white vinegar bath; scrub with soft foam brushes only.
- Preserve metal base: Wash with mild dish soap, rinse, and immediately hand-dry with a lint-free towel to protect anti-rust coating.
- Condition solar cap: Wipe top glass solar panel with a damp microfiber cloth; expose to 6 hours of full sunlight.
- Power switch rule: Toggle the RGB light switch to 'OFF' after charging to stop micro-drainage.
- Storage environment: Keep indoors at 50°F–70°F. Avoid unheated garages or damp basements.
Artisan Glass Care & Thermal Stress Prevention
Hand-blown artisan glass is crafted at intense temperatures exceeding 2,300°F. While this process creates breathtaking, unique color swirls, it leaves microscopic internal stress points. Never expose cold glass directly to hot tap water during autumn cleaning, as rapid thermal expansion can trigger catastrophic cracking. Always bring glass feeders indoors to reach room temperature (around 68°F–72°F) before immersing them in warm cleaning baths.
Off-Season Failure Modes & Diagnostic Matrix
| Scenario / Failure Mode | Root Cause | Prevention Protocol | Recovery Action |
| --- | --- | --- | --- |
| RGB Solar Light Fails in Spring | Battery stored fully depleted, causing permanent NiMH cell sulfation. | Fully charge solar cap in sun for 6–8 hours and switch to 'OFF' before storing. | Expose solar cap to 2–3 full days of direct sunlight in spring to jumpstart cell; replace NiMH battery if unresponsive. |
| Hand-Blown Glass Fractures in Storage | Trapped moisture froze inside narrow crevices or ambient storage dropped below 32°F. | Dry glass thoroughly for 24 hours and store inside climate-controlled space (50°F–70°F). | Cracked artisan glass cannot be safely repaired; replace with a handcrafted 32 fl. oz. glass bottle. |
| Metal Base Develops Surface Rust | Bleach solution or abrasive scrubbers stripped anti-rust protective coating. | Clean only with mild dish soap and non-abrasive soft sponges; dry immediately. | Lightly buff rust spots with ultra-fine steel wool (0000 grade) and touch up with food-safe clear sealant. |
| Hard Water Scaling & Black Mold Residual | Sugar syrup residue left in narrow neck ferments into calcified mold spore deposits. | Perform a 30-minute 4:1 vinegar soak combined with an uncooked rice or soft foam brush agitation. | Repeat vinegar soak with warm water (110°F max) and soak overnight; avoid wire brushes that scratch inner walls. |
Understand the most common ways solar glass feeders break during winter storage and how to prevent them.
Immediate Maintenance Action Steps
Your decision: Determine whether your local area has experienced its first hard frost and if hummingbirds have completed south-bound migration.
Do this next: Execute the 4-step deep clean (glass soak, base dry, solar cap charge & switch off), then store indoors between 50°F and 70°F.
- Read next: Hummingbird Feeder Gasket and O-Ring Maintenance: FAQs for a Drip-Free Garden
- Read next: How to Clean and Maintain Your Hand-Blown Solar Hummingbird Feeder
Consider acquiring our LUJII Soft Microfiber Cleaning Brush Kit designed specifically for 32 oz narrow-neck glass bottles.
Before packing your solar feeder away, review your localized weather timeline to ensure proper execution.
Key Takeaways for Long-Term Feeder Longevity
Waterproof Boundaries: The solar housing cap shields against outdoor rain but must never* be submerged in water during cleaning.
- Battery Conditioning: Storing rechargeable solar batteries at 100% capacity with power switches set to 'OFF' prevents permanent battery drain over winter.
- Vinegar Over Bleach: Pure white distilled vinegar cleans sugar deposits effectively while preserving anti-rust metal powder coatings.
- Thermal Balance: Keep handcrafted glass between 50°F and 70°F during off-season storage to protect delicate internal stress points from freezing stress.
Feeder Material & Component Storage Specifications
| Component | Material / Tech Specs | Safe Cleaning Solution | Temperature Limits | Critical Off-Season Rule |
| --- | --- | --- | --- | --- |
| Solar Cap & Module | Plastic shell, photovoltaic panel, rechargeable NiMH cell | Damp microfiber cloth only (no soap) | -4°F to 120°F (Operating), 50°F–70°F (Storage) | Charge 6 hrs in sun & switch to 'OFF' before boxing. |
| Glass Reservoir | 32 fl. oz. Hand-Blown Glass (2,300°F forged) | 4:1 Water to Distilled White Vinegar bath | 32°F to 115°F (Avoid thermal shock >40°F delta) | Ensure 100% dry inside narrow neck before wrapping. |
| Perching Base | Metal alloy with anti-rust protective coating | Mild dish soap + warm water | -20°F to 150°F | Hand dry immediately; never leave to air dry in sink. |
| Sealing Gaskets | Food-grade silicone / Vulcanized rubber | Warm rinse water | -40°F to 180°F | Coat lightly with food-grade silicone grease or store flat. |
Technical limits for cleaning chemicals, temperatures, and handling across all sub-assemblies.
Seasonal Maintenance Timeline & Battery Conditioning Schedule
- Late Autumn (2 Weeks Post-Last Sighting) — Take feeder down, drain remaining nectar, and complete 4-part disassembly.
- Winterizing Day (Deep Clean Day) — Soak glass in vinegar solution, wipe metal base dry, and wipe top solar panel.
- Winterizing Day (Electronics Prep) — Place solar cap on sunny windowsill for 6–8 hours; toggle power switch to 'OFF'.
- Mid-Winter Check-In (January / February) — Optional: Place solar cap under direct sun or windowsill for 4 hours to top off self-discharge.
- Early Spring (2 Weeks Before Migration) — Cover solar panel in dark room with switch ON to test RGB lights; reassemble with fresh nectar solution.
Off-Season Storage Locations Compared
| Storage Environment | Temperature Stability | Moisture & Humidity Risk | Glass Thermal Shock Risk | Overall Suitability |
| --- | --- | --- | --- | --- |
| Climate-Controlled Closet / Pantry | Excellent (65°F–72°F steady) | Very Low (Dry indoor air) | None | Recommended — Optimal protection for glass and NiMH battery chemistry. |
| Unheated Detached Shed / Garage | Poor (Exposed to sub-zero freezes) | High (Condensation cycles) | High (Freezing moisture cracks glass) | Avoid — Cold temperatures degrade solar batteries and stress artisan glass. |
| Unfinished Basement | Moderate (50°F–60°F) | Moderate to High (Dampness) | Low | Acceptable — Keep feeder inside a sealed, dry plastic tub with silica gel packs. |
| Attic Space | Poor (Extreme heat spikes & cold drops) | Low to Moderate | Moderate (Rapid temperature swings) | Not Recommended — Temperature swings accelerate plastic and gasket degradation. |
Evaluating common storage spaces to find the safest winter home for artisan glass and solar components.
Critical Mistakes That Destroy Solar Glass Feeders in Winter
Avoid these five destructive mistakes when taking down and storing your illuminated hummingbird feeder.
Autumn Migration & Winterization Timeline
- Early September — Monitor feeding activity closely. Maintain fresh nectar every 3 days as birds build migration fat reserves.
- Late September / October — Observe last hummingbird sighting date. Keep feeder clean, filled, and illuminated for 14 additional days.
- Day 15 Post-Sighting — Remove feeder from garden hook. Perform complete vinegar deep-clean and metal drying process.
- Winterization Afternoon — Solar charge cap for 6–8 hours in full sunlight. Toggle RGB switch to 'OFF' and store in padded box.
Essential Guides for Feeder Care & Nectar Management
Expand your backyard wild birding knowledge with these essential care guides:
- Hummingbird Feeder Gasket and O-Ring Maintenance: FAQs for a Drip-Free Garden — Technical advice on leak prevention, gasket lubrication, and seal integrity.
- How to Clean and Maintain Your Hand-Blown Solar Hummingbird Feeder — General summer maintenance, sugar ratio protocols, and placement strategies.
- Hand-Blown Glass vs Plastic Hummingbird Feeders — Learn how artisan craftsmanship preserves nectar purity compared to standard plastic reservoirs.
Frequently Asked Questions: Winterizing Solar Hummingbird Feeders
Clear answers to common off-season storage and repair questions.
Recommended Off-Season Storage & Care Equipment
Elevate your garden lighting and bird-watching setup with handcrafted artisan glass feeders designed for durability and multi-color LED illumination.
Prepare Your Feeder for Spring Success
Your decision: Has your region experienced its final autumn migration wave?
Do this next: Complete the 4-step winterization process: vinegar soak glass, hand-dry metal base, charge solar cap for 6 hours, switch to 'OFF', and store in a climate-controlled closet.
- Read next: Hummingbird Feeder Gasket and O-Ring Maintenance
Explore the full collection of hand-blown glass solar feeders at https://solarhummingbirdfeeder.com
By following this step-by-step winterization process, you protect your solar battery, anti-rust base, and hand-blown glass reservoir through the coldest months.
Cover photo by Veronika Andrews on Pexels.