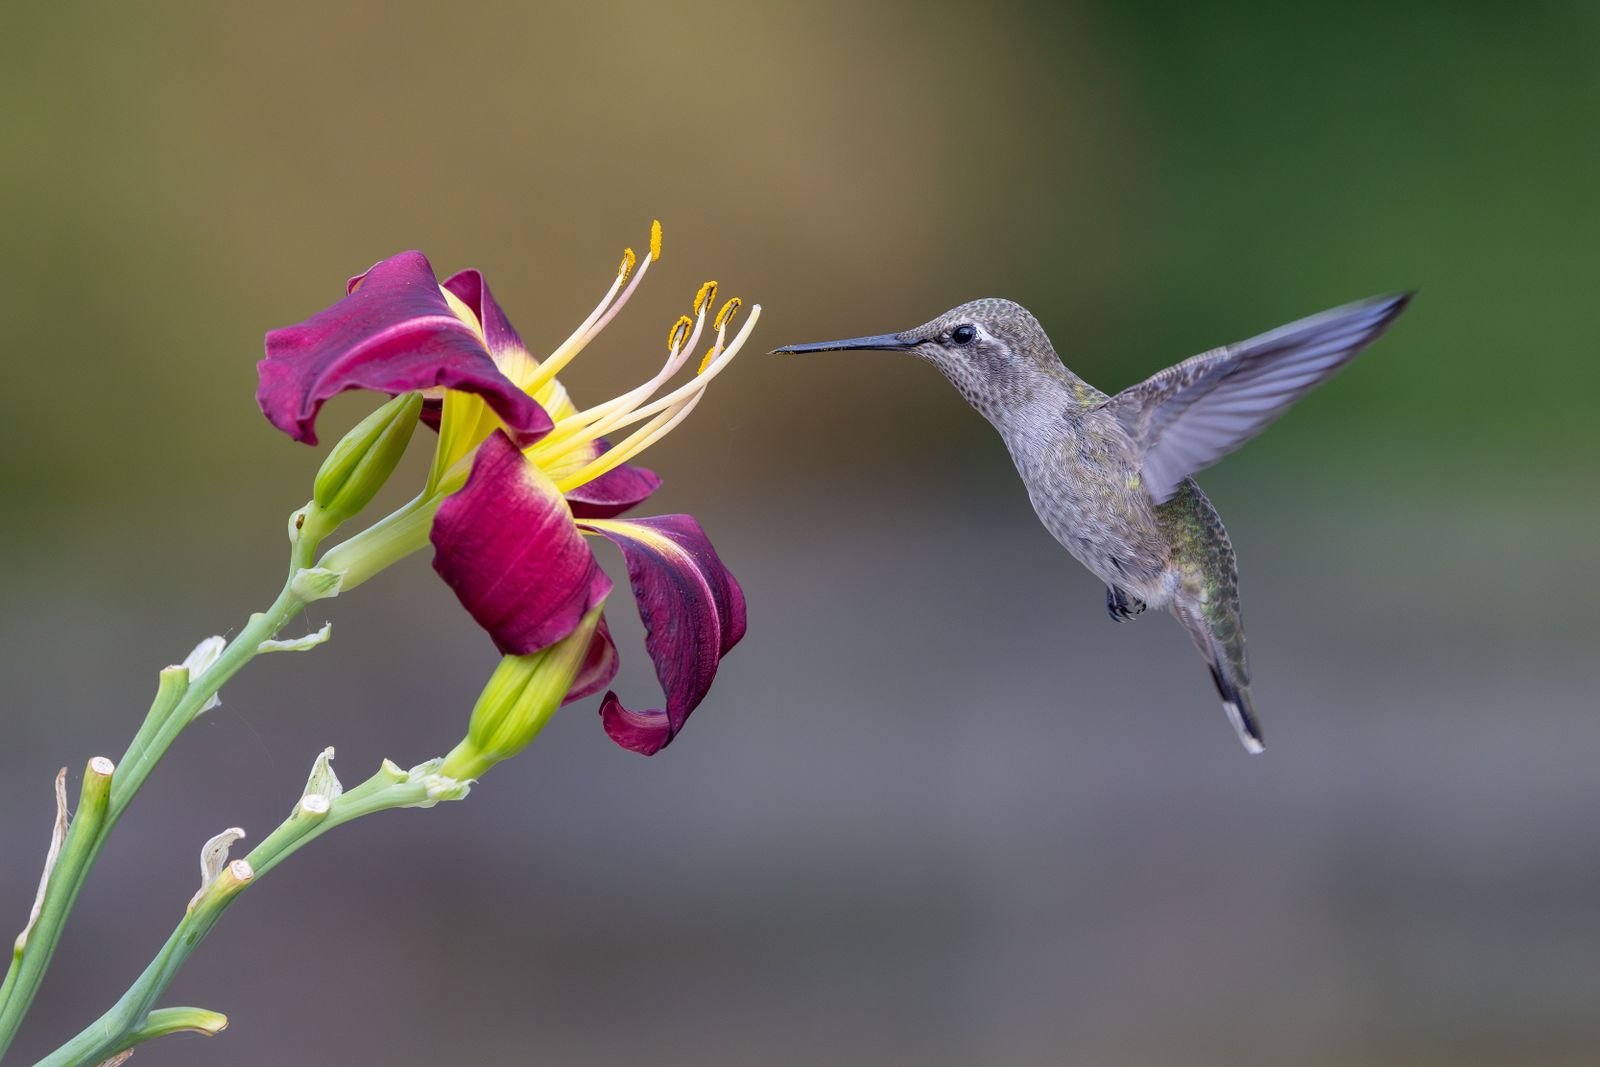
How to Photograph Hummingbirds at Your Feeder
Sharp hummingbird photos at a feeder come from three decisions made before the bird arrives: a very fast shutter speed, light coming from behind or beside you rather than behind the bird, and a background far enough away to fall out of focus. Camera gear matters far less than setup. A modest camera aimed at a well-staged feeder beats an expensive one pointed at a feeder hanging against a fence.
What camera settings freeze a hummingbird's wings?
Start with shutter speed and let everything else follow. A hummingbird's body can be frozen at moderately fast speeds, but the wings need something in the range photographers usually reach for when stopping fast motion — roughly a thousandth of a second at minimum, and considerably faster if you want individual feathers rather than a soft blur.
A workable starting recipe:
- Shutter priority or manual, with shutter as fast as your light allows. In bright, open shade, a fast speed is easy. In deep shade you will be fighting the light all session.
- A wide aperture to let light in and to blur the background, accepting that the depth of sharp focus becomes shallow.
- Auto ISO with a generous ceiling. Modern sensors handle elevated ISO far better than a photo handles motion blur. Noise can be reduced later; a blurred wing cannot be sharpened.
- Continuous autofocus with a small focus area placed where the bird will hover, not on the feeder body.
- Burst mode. The keeper frame is usually two or three shots into a sequence.
Where should the feeder be for good photos?
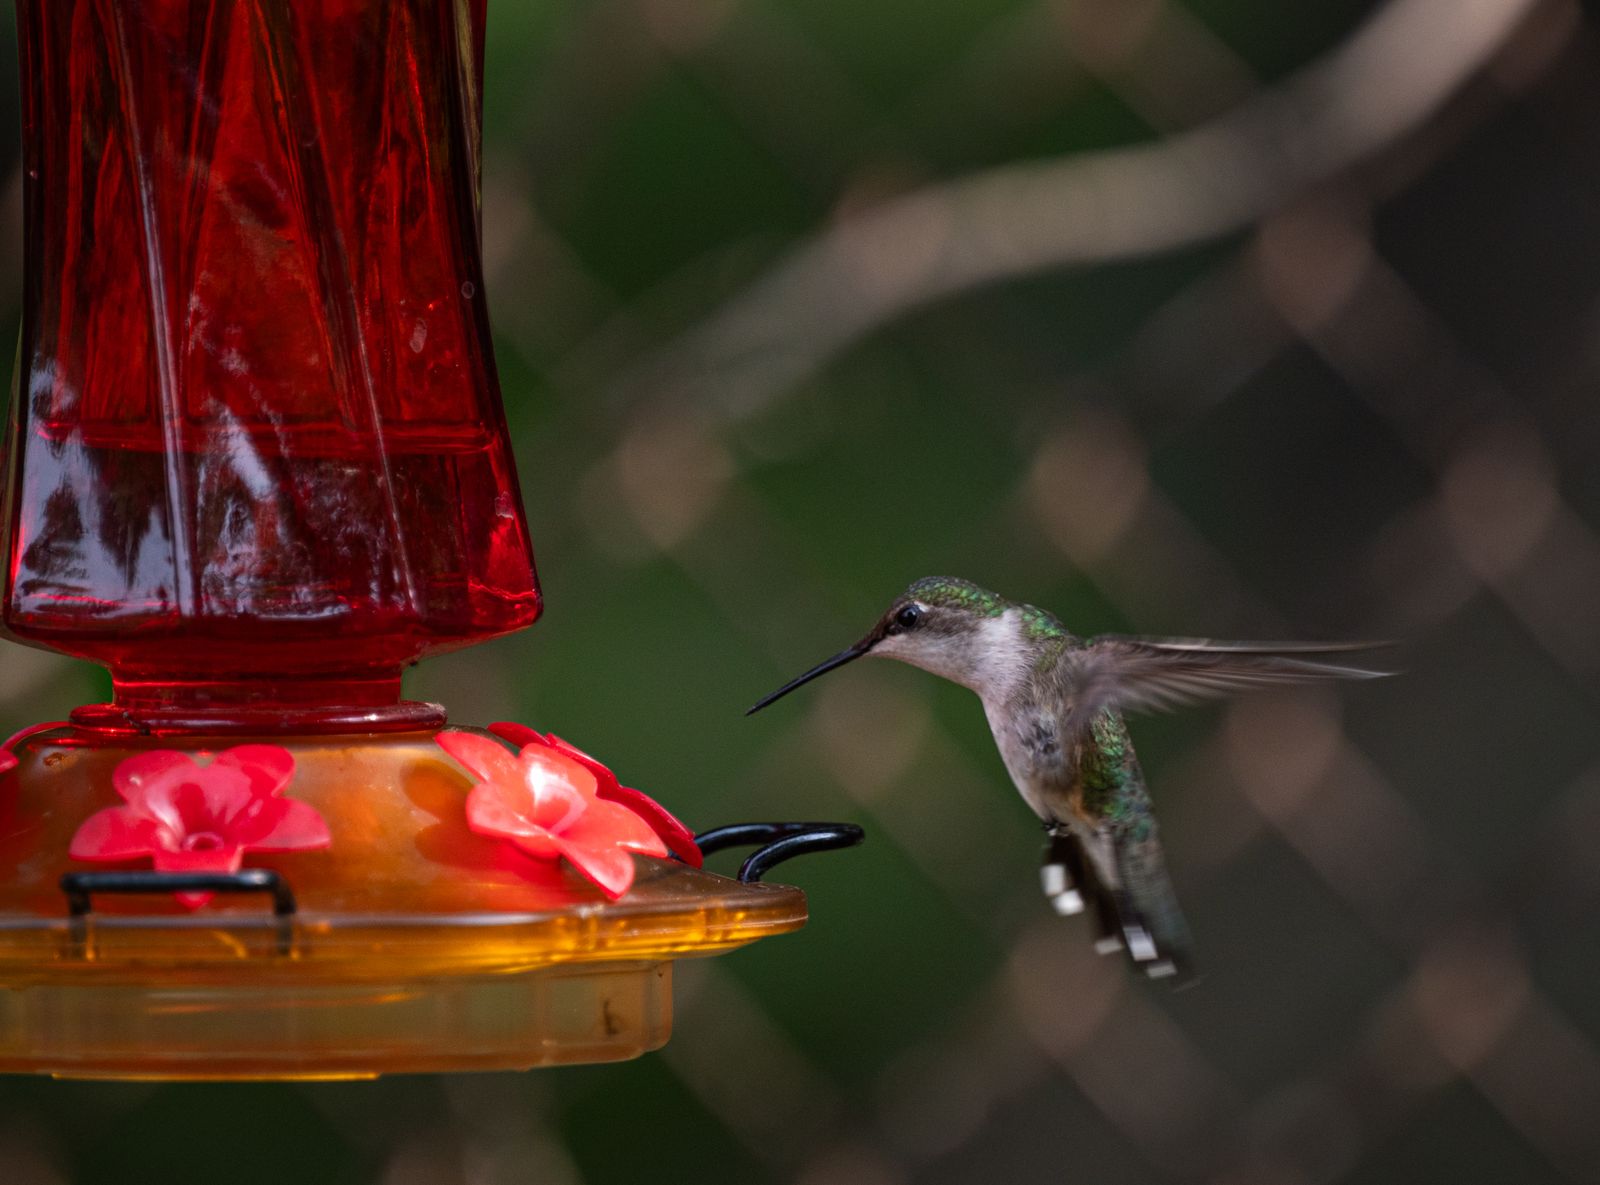
Move the feeder for the photo session, then move it back. The three staging variables are background distance, light direction, and perch placement.
Session setup compared
| Choice | Easier option | Better result | Tradeoff | |---|---|---|---| | Time of day | Any time with light | First or last hour of daylight | Fewer usable hours per day | | Background | Whatever is behind the feeder | Foliage far behind, nothing near | Requires moving the feeder | | Subject | Bird at the port | Bird on a bare twig beside the feeder | Needs patience and a placed perch | | Position | Standing, looking down | Seated at feeder height | Less comfortable, much better angle | | Light source | Available light | Available light plus a reflector | One more thing to carry | | Focus | Wide area autofocus | Small area, pre-placed | More missed frames while learning |
How do you keep the feeder out of the photo?
Compose so the feeder is either the whole point or entirely absent. Half a feeder at the edge of the frame is the most common flaw in feeder photography.
Two approaches work. The first is to embrace it: a hand-blown glass reservoir is genuinely photogenic, and a translucent, colored body lit by low side light makes a strong image in a way that an opaque plastic body does not. Frame the feeder intentionally, keep the whole shape in the composition, and let the bird be the point of interest against it.
The second is to place a perch a foot or two to the side and focus there. Birds pause on a nearby twig before and after feeding, and those pauses give you clean images with no hardware at all. Position the twig so the same distant background sits behind it, and you get the natural-looking photo with none of the staging visible.
A third option, if your feeder is set up primarily as a garden ornament, is to shoot the object itself as a still life in the evening — the visual side of that is covered in this look at hand-blown glass versus plastic feeders.
Can you photograph hummingbirds at flowers instead?
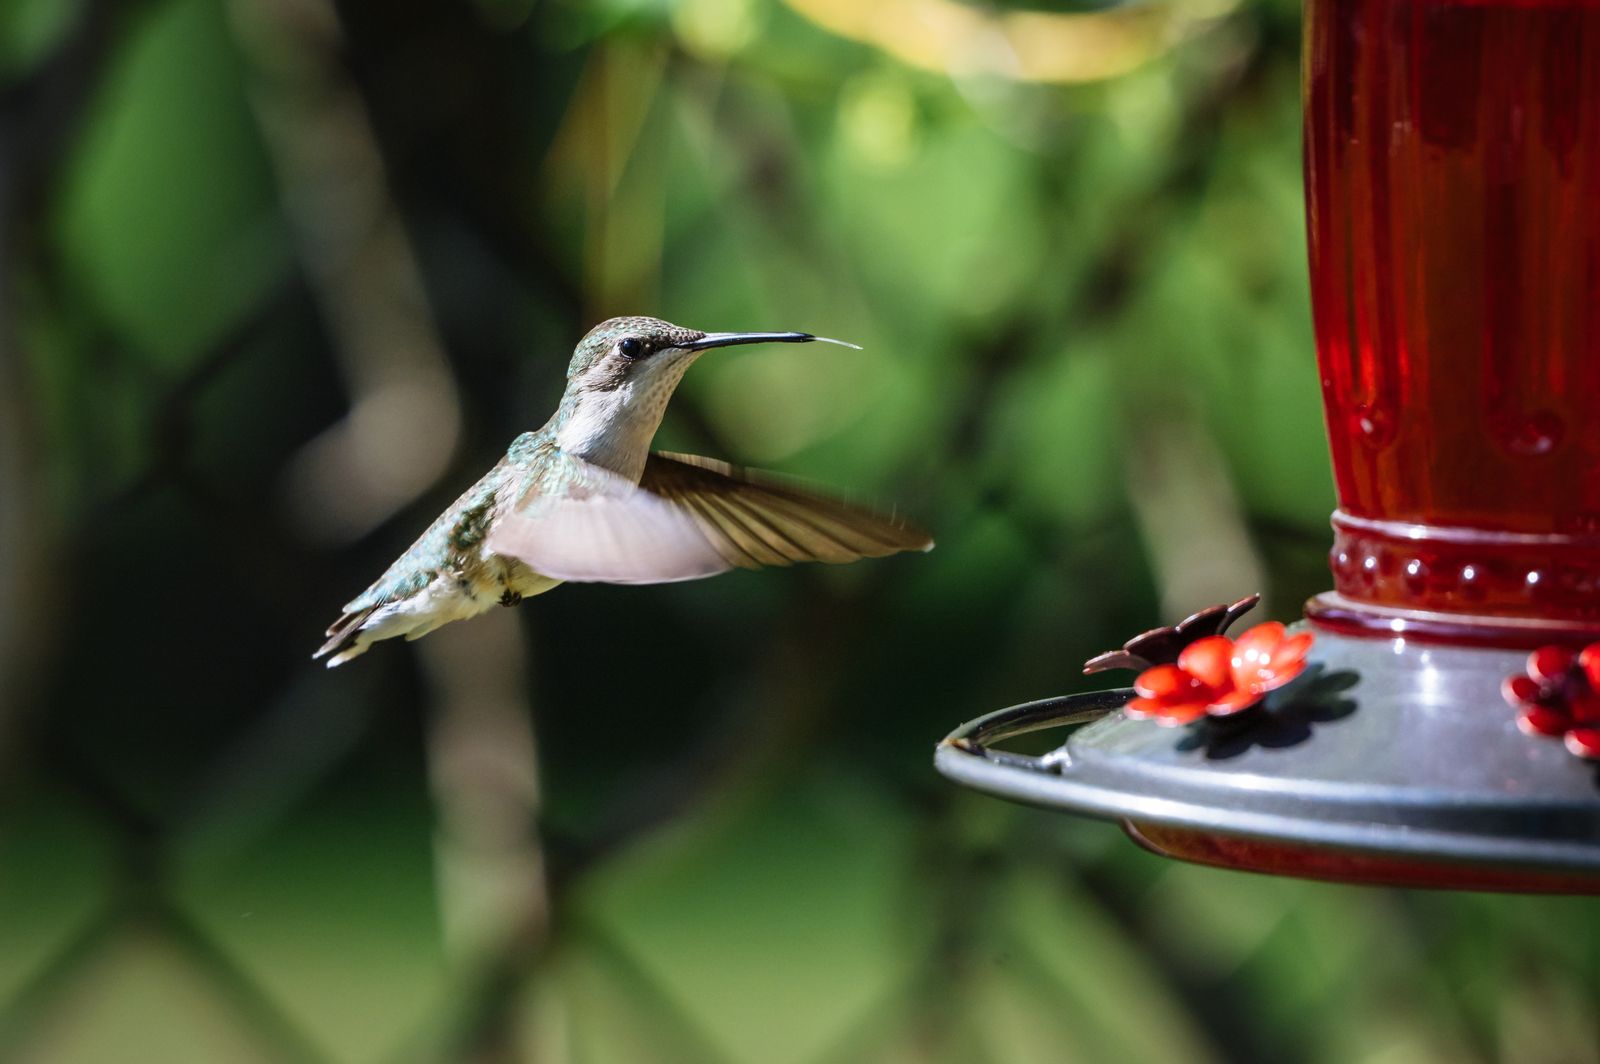
Yes, and the results usually look better, because a bird at a flower needs no explanation. The difficulty is predictability: a feeder concentrates visits at a known point, while flowers spread them across a bed. The standard approach is to use both — feeders to establish traffic and flowers as the setting you actually photograph.
Plant tubular flowers in a spot with good light and a distant background, then let the feeder nearby do the work of holding birds in the area. Over a few weeks the birds will work both, and you can shoot whichever gives you the composition you want on a given evening. If you are weighing how much to invest in planting versus feeders, the comparison of live nectar plants and glass solar feeders lays out what each does for your yard's traffic.
What about evening and low-light shots?
Hummingbirds feed in daylight and settle at dusk, so bird photography effectively ends when the light does. What remains after dark is a different subject: the feeder itself. A solar feeder with RGB lighting and multiple lighting modes will run for a period after a full day's charge, and an illuminated glass reservoir photographs well at blue hour, when there is still some color in the sky to balance the light.
For those frames, put the camera on a tripod, use a long exposure at low ISO, and shoot before full darkness rather than after. A fixed color setting is easier to expose for than a cycling one, since a color change partway through an exposure muddies the result.
FAQ
Do I need a telephoto lens? It helps, but a moderate zoom used from ten or twelve feet away is enough for feeder work, because you can control the distance. Reach matters more for wild flower shots where you cannot get close.
Will flash harm the birds? Brief flash is widely used in hummingbird photography and is generally considered acceptable, but keep it low-powered, off-camera if possible, and avoid repeated bursts at a single bird. Fast shutter in good natural light avoids the question entirely.
How long before birds ignore me? Often within minutes if you sit still and are ten or more feet back. Movement, not presence, is what keeps them away, so set up your gear before you settle in.
Does the feeder need to look clean in the photo? More than you would expect. Cloudy nectar and residue at the ports both photograph clearly. Refresh with one part plain white sugar to four parts water and wash the feeder before a session, and skip red dye — it looks artificial in an image and does nothing for the birds.
A practical next step
Before your next session, move the feeder to a spot with at least fifteen feet of open space behind it and morning light at your back, and tie a bare twig a foot to one side. Then sit twelve feet away with a fast shutter and burst mode, and give it twenty quiet minutes.
Cover photo by Veronika Andrews on Pexels.