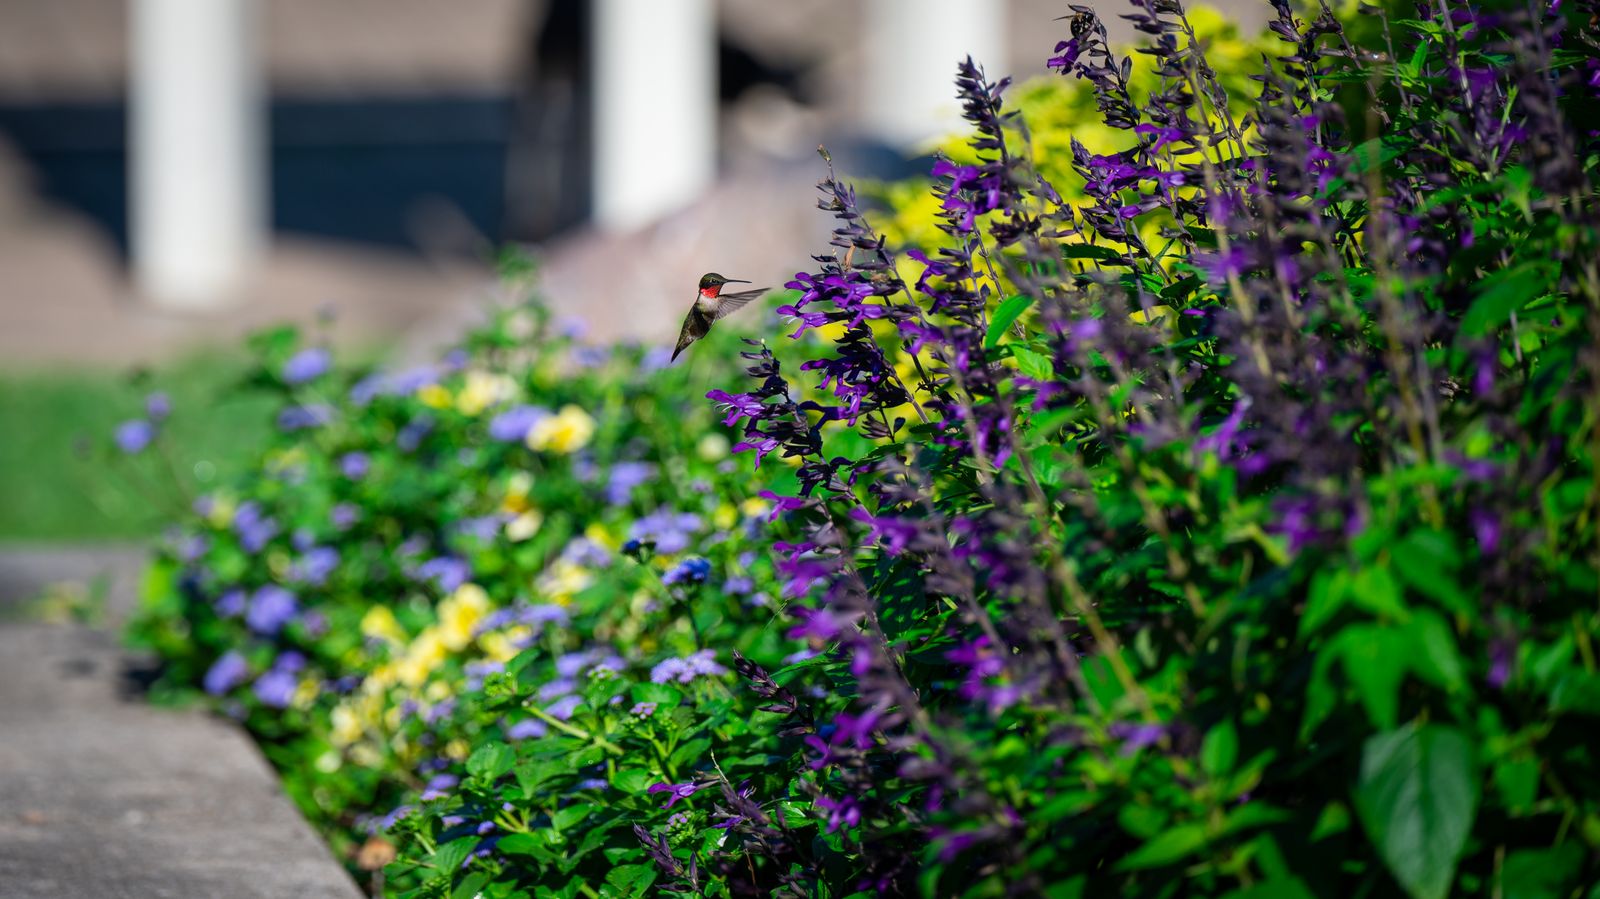
How to Clean & Set Up Solar Glass Hummingbird Feeders (Leak-Free)
Is your hand-blown solar glass hummingbird feeder dripping nectar or losing its evening RGB illumination? The primary culprits are thermal expansion from direct sunlight, a missing 0.5-inch vacuum air gap, or water damage to the solar electronics. To fix this, wash the glass reservoir with warm water and vinegar—never submerge the solar cap—leave a 0.5-inch headroom when filling, lock the metal base firmly while inverted, and hang in a dual-zone location where the solar cap gets direct sun while the glass body stays shaded.
The 5-Step Leak-Free Cleaning & Setup Checklist
- [ ] 1. Remove top solar cap gently; wipe plastic housing with a barely-damp microfiber cloth (NEVER submerge solar unit).
- [ ] 2. Wash hand-blown glass reservoir and metal base ports with warm water and a 1:4 white vinegar solution using a soft bottle brush.
- [ ] 3. Inspect rubber silicone O-ring gasket on the metal base to ensure it sits flush without cracks, twisting, or sugar debris.
- [ ] 4. Fill glass reservoir with cooled 1:4 refined white sugar nectar, leaving a strict 0.5-inch air vacuum gap at the top neck.
- [ ] 5. Screw metal base tightly onto glass while inverted, invert quickly over a sink to establish vacuum pressure, and hang in dual-zone lighting.
Printable Quick-Care Card for Garden Sheds
- Solar Electronics Safety: Wipe solar cap top with a damp cloth only. Submerging burns out the lithium battery and RGB LED circuit.
- Nectar Ratio & Vacuum Gap: 1 part white table sugar to 4 parts boiled water. Cool completely. Always leave 0.5 inches of air space at the top neck for proper vacuum suction.
- Temperature Rule: Clean every 7 days below 70°F; every 4–5 days at 70–80°F; every 2–3 days at 81–90°F; daily above 90°F.
- No Chemicals: Never use dish soap, bleach, or red synthetic dyes. White vinegar and warm water safely dissolve mold without harming birds or artisan glass.
- Dual-Zone Mounting: Position under a branch or eave where sunlight hits the top solar cap but dappled shade shields the glass nectar globe.
Artisan Glass Care: Preventing Thermal Expansion Leaks
Handcrafted glass reservoirs blown at 2,300°F feature thick, undulating glass walls that retain ambient temperature beautifully. However, when hung in direct 100°F midday heat, the air pocket trapped inside the bottle expands rapidly. This thermal expansion forces liquid down into the basin faster than hummingbirds can drink, resulting in continuous dripping.
To lock in an unbreakable vacuum seal, always fill your glass bottle with thoroughly cooled nectar (room temperature or chilled). Once screwed tightly onto the anti-rust metal base, flip the entire assembly right-side up in one swift motion over your sink. You will see a few air bubbles rise into the reservoir—this is the physical vacuum locking into place. Placing the feeder where the glass remains shaded during peak afternoon heat guarantees zero thermal drips.
Troubleshooting Common Solar Glass Feeder Failure Modes
| Scenario / Failure Mode | Root Cause | Immediate Fix |
| --- | --- | --- |
| Continuous Dripping from Metal Feeding Ports | Thermal expansion from direct afternoon sun, misaligned silicone O-ring gasket, or reservoir filled to the brim (no air gap). | Re-align silicone gasket ring on base. Refill leaving 0.5-inch headroom. Move feeder to a location with afternoon shade. |
| Solar RGB Lights Do Not Turn On at Dusk | Solar panel switch toggled OFF, battery uncharged due to heavy tree shade, or water ingress inside battery compartment. | Ensure power switch under solar cap is set to ON. Wipe panel surface clean. Expose solar cap to 6-8 hours of direct sunlight. Dry battery compartment if moist. |
| Solar RGB Lights Flicker or Shut Off Early | Partial solar panel obstruction or aged rechargeable battery cell. | Trim overhanging leaves blocking the solar cap. Allow a full 8-hour charge cycle in unshaded sun. |
| Cloudy White Film or Black Specks inside Glass Body | Sugar water fermentation and black mold bloom caused by excessive summer heat or delayed cleaning. | Soak hand-blown glass reservoir in a 1:4 white vinegar and warm water bath for 20 minutes. Scrub with a flexible bottle brush; avoid boiling water. |
| Ants or Wasps Swarming Feeding Ports | Spilled nectar residue on metal base or lack of an ant moat water barrier. | Wipe outer metal basin clean after filling. Install an overhead ant moat filled with clean water above the hanging hook. |
Diagnose drips, flickering solar lights, and cloudy glass instantly using this failure-mode reference table.
Visualizing Feeder Physics: Solar Cap Protection & Dual-Zone Placement
Understand how the internal components fit together and where to hang your feeder for optimum performance.
Essential Rules for Solar Glass Feeder Care
- Protect Electronics First: The solar top contains an integrated lithium battery and RGB light module—never submerge it or rinse it under a running faucet.
- Master the Vacuum Gap: Always leave 0.5 inches of space at the top neck of the glass reservoir to establish the negative air pressure needed to stop drips.
- Embrace Dual-Zone Placement: Angle your feeder so the top solar panel captures direct solar rays while leafy foliage shields the glass bottle from overheating.
- Vinegar Over Chemicals: Clean exclusively with warm water and white vinegar to protect translucent glass patterns and delicate bird digestive systems.
- Check Gaskets Regularly: Ensure the rubber O-ring inside the anti-rust metal base is seated flat before screwing down the reservoir.
Seasonal & Temperature-Based Cleaning Schedule
- Under 70°F (Spring / Early Autumn) — Perform full vinegar rinse and nectar replacement every 7 days. Inspect solar cap lens for fallen leaves or pollen dust.
- 70°F – 80°F (Moderate Summer) — Clean glass reservoir and metal base every 4–5 days. Wipe solar panel top with damp microfiber cloth.
- 81°F – 90°F (Peak Summer Heat) — Clean and refill every 2–3 days. Move feeder to deeper shade if nectar level drops without bird activity (sign of evaporation/leaking).
- Above 90°F (Extreme Heatwaves) — Clean and replace nectar daily. Fill reservoir only half full to minimize wasted sugar water during frequent changes.
- First Autumn Freeze Warning — Bring hand-blown glass indoors. Clean completely, switch solar toggle OFF, and store in a dry climate-controlled space to prevent freezing glass damage.
Critical Mistakes That Ruin Solar Feeders & Nectar
Avoid these five high-risk errors that compromise product lifespan and bird health:
Step-by-Step Deep Clean Timeline (15-Minute Method)
Photo by Veronika Andrews on Pexels
- 0:00 - 0:02 — Unscrew metal base over garden sink. Twist off plastic solar cap and set it safely aside on a dry towel.
- 0:02 - 0:05 — Dump old nectar. Rinse glass reservoir and metal base with warm tap water to loosen sugar crust.
- 0:05 - 0:10 — Fill glass bottle with a 1:4 vinegar-water mix. Let sit for 5 minutes. Scrub interior curves gently with a nylon bottle brush.
- 0:10 - 0:12 — Flush glass and metal ports thoroughly with cool clear water until vinegar odor disappears completely.
- 0:12 - 0:15 — Wipe solar cap top panel with damp cloth. Reassemble silicone gasket, pour fresh cooled nectar, lock base tightly, flip swiftly, and re-hang.
Further Reading for Garden & Bird Enthusiasts
Expand your knowledge on backyard birding and artisan glass setup with these detailed guides:
- How to Hang Your Solar Hummingbird Feeder to Block Ants and Crawling Insects
- Troubleshooting Nectar Leaks and Solar Lights on Handcrafted Feeders
- Artisan Glass Hummingbird Feeder FAQ: Care, Cleaning, and Placement Secrets
- Hot Weather Nectar Ratios: How to Keep Hummingbird Food Fresh in Summer
Featured Garden Highlight: The Ultimate Artisan Feeder
If you are looking to elevate your backyard sanctuary or gift a loved one a magical garden centerpiece, discover the perfect harmony of old-world craft and modern solar efficiency.
🌟 LUJII Solar-Powered Hummingbird Feeder 🌟
Crafted by skilled glass artisans at 2,300°F, each 32 fl.oz reservoir features vibrant, translucent hand-blown patterns that turn sunlight into dazzling garden art. At night, the protective waterproof solar cap automatically illuminates the feeder with magical RGB lighting modes for up to 8 hours.
- Leak-Proof Architecture: Slender hand-blown glass silhouette paired with a tightly sealed, anti-rust metal base.
- All-Weather Shield: Waterproof plastic solar cap protects electronics and guards nectar against rain and snow.
- Easy Monitoring: Translucent glass body allows effortless nectar checks at a glance.
Frequently Asked Questions About Solar Hummingbird Feeders
Can I submerge the solar top of my feeder in water when cleaning?
Absolutely NOT. The solar cap houses delicate electronic components, including RGB LEDs and rechargeable lithium batteries. Submerging or rinsing under running water will cause permanent electrical damage. Clean the top cap solely by wiping the plastic housing and solar panel with a soft, damp microfiber cloth.
Why is my solar glass feeder dripping even when the base is tight?
Dripping is usually caused by thermal expansion from direct sunlight on the glass, a missing 0.5-inch vacuum air space at the top neck, or a twisted rubber silicone O-ring gasket. Ensure you leave headroom when filling, cool your nectar completely before assembly, and hang the glass portion in partial shade.
Does the RGB light at night scare hummingbirds away?
No. Hummingbirds are diurnal creatures—they are active during daylight hours and enter a state of deep sleep called torpor at dusk. The automatic nighttime RGB illumination serves purely as ambient garden decor without disturbing bird resting patterns.
How long do the solar RGB lights stay lit at night?
When the top solar panel receives a full day (approx. 6-8 hours) of direct sunlight, the internal rechargeable battery powers the automatic RGB lighting modes for up to 8 continuous hours through the night.
How do I remove hard water stains from handcrafted glass?
Soak the hand-blown glass reservoir in a solution of 1 part distilled white vinegar to 4 parts warm water for 15-20 minutes. Scrub interior curves gently with a soft bottle brush and rinse thoroughly with clear water. Never use abrasive scouring pads or boiling water.
Get fast, authoritative answers to common solar glass feeder questions.
Your Immediate Action Plan
Your decision: Clean your feeder using warm water and vinegar, dry solar contacts, fill leaving 0.5-inch headroom, lock base firmly while inverted, and hang in a dual-zone location.
Do this next: Inspect silicone O-ring gasket for wear and clean solar panel top with damp microfiber cloth.
- Read next: How to Hang Your Solar Hummingbird Feeder to Block Ants and Insects
- Read next: Troubleshooting Nectar Leaks and Solar Lights on Handcrafted Feeders
🌟 LUJII Hand-Blown Solar Hummingbird Feeder 🌟 - Handcrafted 32 oz leak-proof glass reservoir with anti-rust metal base and solar RGB illumination.
Take these quick steps right now to ensure your solar glass feeder stays sparkling clean, leak-free, and brightly lit every evening.
Cover photo by Chris F on Pexels.