Weatherproof Your Solar Hummingbird Feeder: The Complete Rain-Proofing & Weather Cap Guide
Is your solar hummingbird feeder taking on rain and leaving you with cloudy, diluted nectar after every downpour?
To weatherproof a solar glass feeder effectively, install a 12-to-14-inch transparent acrylic weather dome directly above the solar housing, verify your top cap uses an IP65 silicone gasket seal, and position hanging hooks at least 3 feet away from roof eave drip lines to keep nectar pure and solar batteries charging.
The Master Rain-Proofing Checklist for Solar Glass Feeders
- [ ] Verify solar cap plastic housing is tightly snapped or screwed onto the glass reservoir rim.
- [ ] Check that top silicone sealing gaskets are flexible, fully seated, and free of cracks or garden debris.
- [ ] Ensure clear weather dome extends at least 3 inches past the outer radius of the feeding ports.
- [ ] Inspect metal base anti-rust protective coating for chips, scratches, or exposed raw iron.
- [ ] Confirm hanging location is free from direct rain eave runoff and sheltered from gale-force wind gusts.
- [ ] Test solar RGB lighting module after rain to verify zero internal water condensation behind the lens.
Quick Storm Prep Reference Card
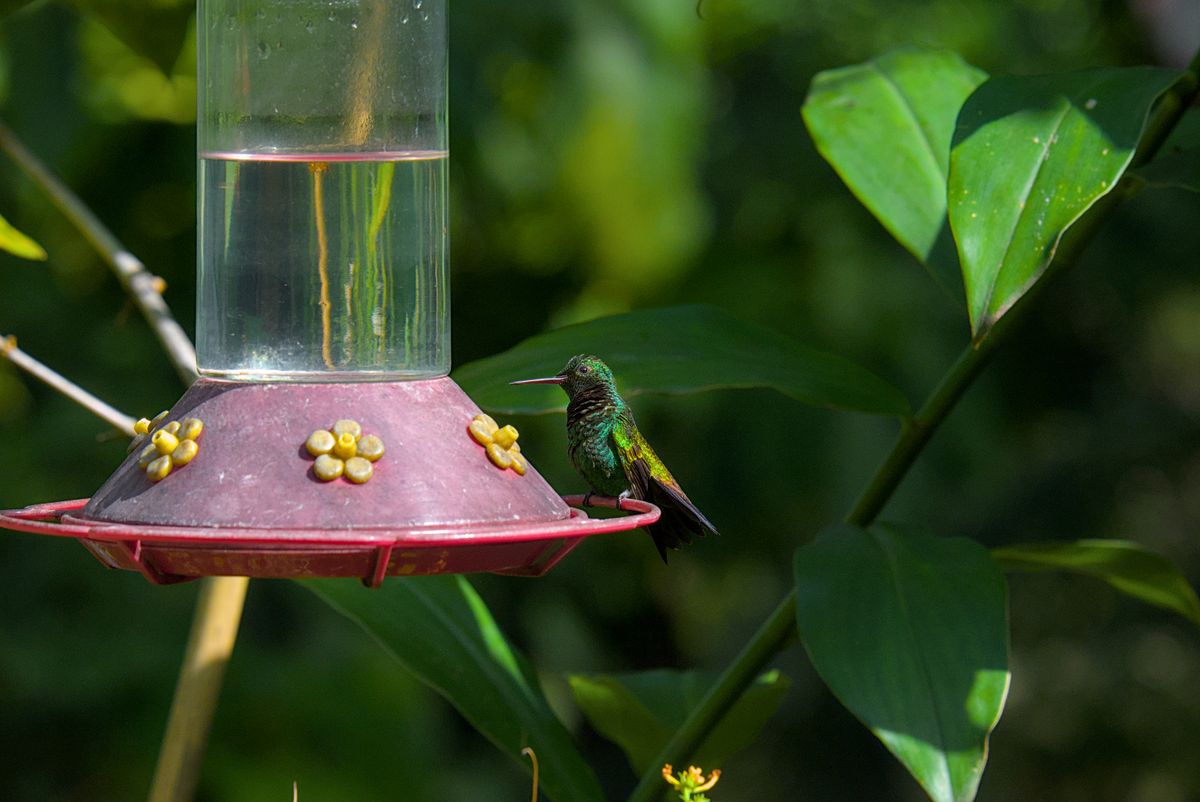
Photo by Heru Vision on Pexels
- 12"+ Clear Dome: Allows 95%+ solar ray penetration while shedding driving rain.
- Short Rigid S-Hooks: Reduces pendulum swaying and prevents nectar sloshing during high winds.
- Roof Eave Clearance: Keep feeders 3+ feet clear of gutter overflow streams.
- Post-Rain Brix Check: If nectar looks cloudy or clear water sits in ports, flush and replace immediately.
Pro Tip: The Refractometer Brix Test for Nectar Dilution
Hummingbirds rely on a strict 4:1 water-to-sugar ratio (roughly 20% sucrose concentration) to meet their metabolic demands. Rainwater entering the feeding ports dilutes this concentration. When the sugar level drops below 15%, hummingbirds will quickly abandon the feeder to search for higher-calorie food sources.
Keep a inexpensive optical Brix refractometer in your birdwatching kit. Take a single drop from your reservoir after a thunderstorm: if the reading dips below 18% Brix, your feeder is taking on rainwater through the ports or top seal, signaling it is time to install a wider weather baffle or tighten your top cap.
Anatomy of a Rain-Proofed Solar Glass Feeder
Understanding how rainwater interacts with your feeder hardware helps you position shields correctly without blocking solar charging rays.
Rain Intrusion & Failure Mode Diagnostics
| Failure Scenario / Symptom | Root Cause | Immediate Corrective Action |
| --- | --- | --- |
| Scenario A: Nectar turns pale, watery, or cloudy immediately following rain showers. | Rainwater entering through unshielded feeding ports or unsealed glass threads. | Install a 12-to-14-inch clear weather dome above the feeder; verify the upper silicone gasket is intact. |
| Scenario B: Solar RGB light stays dim, flickers, or displays internal moisture fogging. | Water Seepage past the plastic solar cap housing into the battery/LED compartment. | Unscrew solar cap, dry battery chamber thoroughly, apply silicone grease to housing threads, and re-seal. |
| Scenario C: Rust spots or orange flaking appear around metal port perimeters. | Scratched or worn anti-rust powder coating exposed to prolonged moisture pooling. | Clean metal base with diluted vinegar, dry thoroughly, and apply food-grade clear mineral oil or seal coat. |
| Scenario D: Feeder tilts violently in mild winds, spilling nectar from lower ports. | Excessively long, flexible hanging wire creating a wide pendulum momentum. | Switch to a short, rigid 6-inch steel S-hook and anchor near a sturdy tree trunk or structural porch beam. |
Diagnose common weather-related feeder failures by identifying symptoms and applying immediate field corrections.
Immediate Actions for Post-Storm Feeder Recovery
Your decision: Determine whether your solar glass feeder requires an add-on clear dome or simply relocating away from high-drip roof eaves.
Do this next: Perform the 6-point weatherproofing checklist before the next rainstorm and inspect your solar cap rubber gaskets.
Related resource: The Ultimate Buying Guide to Weather Baffles and Shields for Solar Feeders
Explore the LUJII Solar-Powered Hand-Blown Glass Hummingbird Feeder with built-in waterproof solar cap and anti-rust metal base.
Follow these immediate recovery steps after severe storms to safeguard hummingbird health.
Core Principles of Weather-Shielding Illuminated Glass
- Clear acrylic weather domes allow over 95% of sunlight to reach solar cells while shedding rainwater.
- Sealed plastic solar caps shield sensitive internal RGB modules from heavy downpours and snow melt.
- Hand-blown glass reservoirs heated to 2,300°F provide dense, heavy structural walls that resist wind-buffeting.
- Coated metal bases with anti-rust protection prevent water-induced corrosion and port clogging.
- Fresh 4:1 nectar must be replaced every 2–3 days during humid or rainy weather to halt fungal spore growth.
Seasonal & Weather-Driven Feeder Care Schedule
- Spring Rain Season (Weekly) — Inspect solar cap silicone seals, clean rain cap surfaces of pollen buildup, and test RGB lighting auto-sensor.
- Summer Humidity Spells (Every 2-3 Days) — Flush reservoir with hot water, replace nectar to prevent yeast fermentation, and dry outer metal base ports.
- Post-Thunderstorm Audit (Immediate) — Check reservoir clarity for rain dilution; wipe down solar panel lens to eliminate water spots and mineral buildup.
- Autumn / Pre-Frost Storage — Deep clean hand-blown glass with mild vinegar solution, dry battery compartment completely, and store indoors.
Weather Shielding Scenarios: Integrated Caps vs. Add-On Baffles
| Weather Exposure Scenario | Built-In Plastic Solar Cap Only | 12-Inch Clear Acrylic Dome Add-On | Opaque Metal Umbrella Baffle |
| --- | --- | --- | --- |
| Direct Overhead Downpours | Excellent solar module protection; moderate port splash shielding. | Complete 360-degree deflection over ports and solar cap. | Deflects rain but completely blocks solar battery recharge. |
| Wind-Driven Side Rain | Protects top cap seal; ports remain exposed to lateral gusts. | Wide perimeter overhang reduces side-spray port intrusion. | Wide perimeter overhang blocks side-spray but kills night light feature. |
| High-Humidity & Dew Conditions | Watertight seal prevents internal lens fogging. | Prevents top moisture pooling; allows morning dew evaporation. | Causes condensation trap underneath opaque metal shield. |
| Full Sun Solar Recharging | 100% solar ray access to top solar panel cells. | 95%+ light transmission; uncompromised 8-hour RGB charge. | 0% solar ray access; solar night lighting rendered non-functional. |
Compare how different weather protection configurations perform across challenging outdoor garden scenarios.
Choosing the Right Weather Shield for Your Yard Setup
Selecting weather-shielding depends on storm severity, tree canopy cover, and whether your feeder features integrated solar lighting.
Best choice for
- Integrated plastic solar cap + 12-inch clear acrylic weather dome — Deflects driving rain past port perimeters while allowing 95%+ of sunlight through to charge solar batteries.
- Sealed metal base with slender hand-blown glass reservoir and anti-sway S-hook — Minimizes fluid sloshing, lowers center of gravity, and prevents wind-induced nectar displacement.
- Installing opaque metal weather baffles directly over solar light collectors (blocks battery recharging).
- Hanging feeders directly under roof eaves or uncleaned rain gutters where heavy water cascades overflow ports.
- Combined Clear Weather Shield & Ant Moat Hook — Offers dual-action defense against driving rain from above and crawling pests from hanging wires.
The All-Weather Solution: LUJII Solar-Powered Hand-Blown Glass Feeder
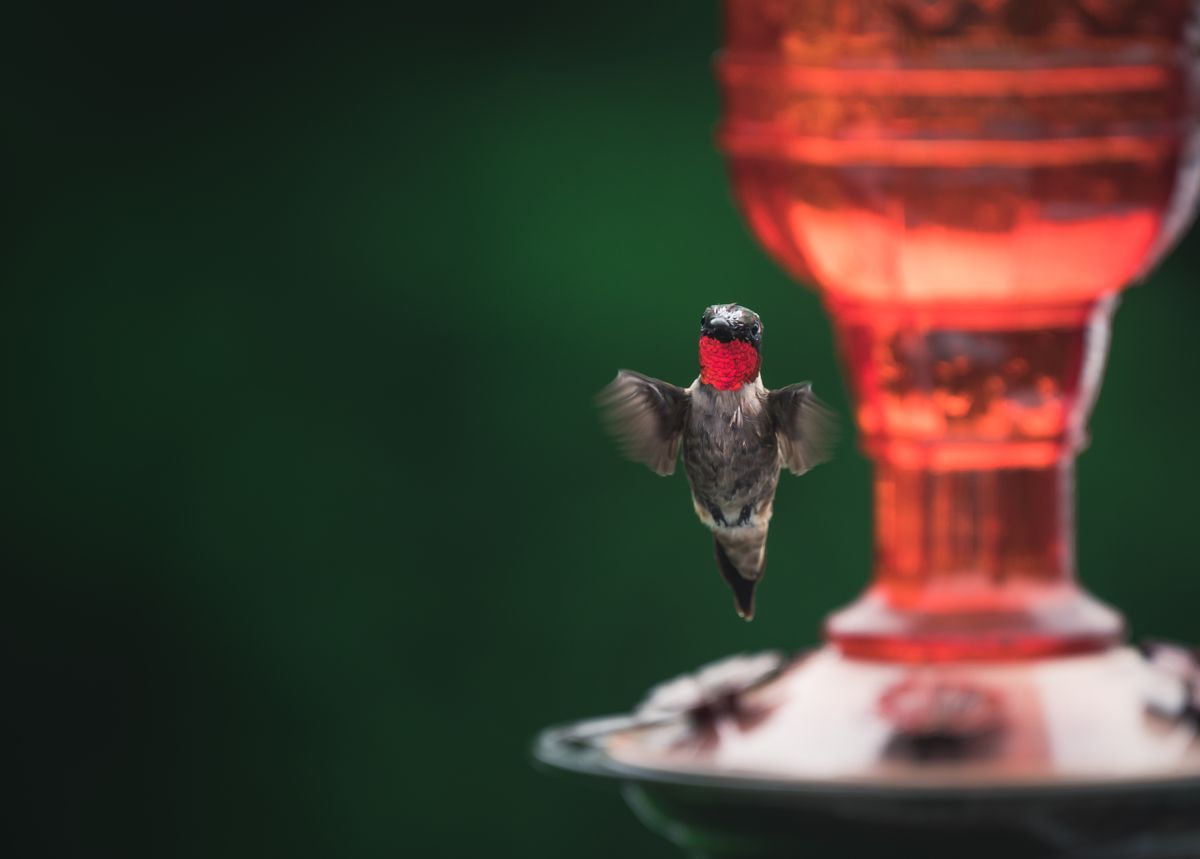
If you want a feeder that combines storm resilience with breathtaking visual elegance, the LUJII Solar-Powered Hummingbird Feeder stands out in every category.
Crafted by master glass artisans shaping melted glass at 2,300 degrees, each 32 fl. oz reservoir features rich, translucent color patterns that will never fade in harsh sunlight. Its protective plastic solar cap forms an impenetrable shield over the internal battery and RGB module, automatically delivering up to 8 hours of vibrant nighttime illumination after a sunny day.
Engineered with a slender leak-proof silhouette and a heavy metal base protected by an anti-rust coating, this feeder remains steadfast through wind and rain while offering easy nectar visibility.
Keep your hummingbird nectar pure and your garden glowing through every storm. Upgrade to the weatherproof LUJII Solar-Powered Hand-Blown Glass Hummingbird Feeder today and enjoy free shipping on your order!
Technical Weatherproofing Specifications Matrix
| Weatherproofing Scenario | Minimum Spec Required | LUJII Solar Feeder Feature | Performance Impact |
| --- | --- | --- | --- |
| Direct Rain Exposure | IP65 Waterproof Housing Seal | Protective Plastic Solar Cap with Rubber Gasket | Prevents water ingress into battery & RGB LED circuits. |
| High Humidity & Moisture | Anti-Corrosion Coated Base | Heavy-Duty Metal Base with Anti-Rust Finish | Eliminates rust flaking and port contamination. |
| Wind Buffeting & Sway | Low-Center-of-Gravity Glass Body | Hand-Blown Glass (2,300°F forged, 32 fl.oz) | Heavy mass reduces pendulum sway and prevents drips. |
| Solar Panel Charging | High-Efficiency Photovoltaic Cells | Auto-Sensing Top Solar Module | Provides up to 8 hours of automatic RGB night light. |
Review engineering specifications required for true weather resistance in outdoor solar glass feeders.
5 Critical Mistakes That Let Rain Ruin Your Feeder
Avoid these frequent mistakes when setting up your solar hummingbird feeder outdoors:
Feeder Lifespan & Weather Resilience Timeline
- Day 1 (Installation) — Mount feeder using a short S-hook under a clear weather dome; verify solar panel receives 6+ hours of direct light.
- Month 6 (Mid-Season) — Inspect silicone solar cap gaskets for elasticity; apply anti-rust metal conditioner to port bases.
- Year 2 (Long-Term Care) — Check RGB solar battery terminals for corrosion; verify hand-blown glass colors remain vibrant and clear.
- Year 5+ (Elegance Maintained) — Hand-blown 2,300°F glass reservoir and anti-rust base continue attracting birds with zero structural decay.
Continue Enhancing Your Hummingbird Haven
Explore additional guides to elevate your garden decor and bird care knowledge:
- Summer Storm Protection: Weatherproofing Your Glass Solar Hummingbird Feeder Setup
- How to Clean and Maintain Your Hand-Blown Solar Hummingbird Feeder
- Hot Weather Nectar Ratios: How to Keep Hummingbird Food Fresh in Summer
- Best Ant Moats for Hummingbird Feeders: Built-In vs. Hanging Hooks
Frequently Asked Questions About Weatherproofing
Find fast answers to common questions about shielding solar glass feeders from severe weather.
Take Action: Protect Your Nectar & Illuminate Your Garden
Your decision: Choose between adding a clear 12-inch weather dome to your existing line or upgrading to a built-in weatherproof solar feeder.
Do this next: Inspect your current feeder's rubber gaskets and clear solar panel lens before the next thunderstorm.
Related resource: The Ultimate Buying Guide to Weather Baffles and Shields for Solar Feeders
Upgrade to the LUJII Solar-Powered Hand-Blown Glass Hummingbird Feeder for built-in rain shielding and automatic RGB night lighting.
Keep your garden glowing and your visiting hummingbirds nourished through every season.
Cover photo by Chris F on Pexels.