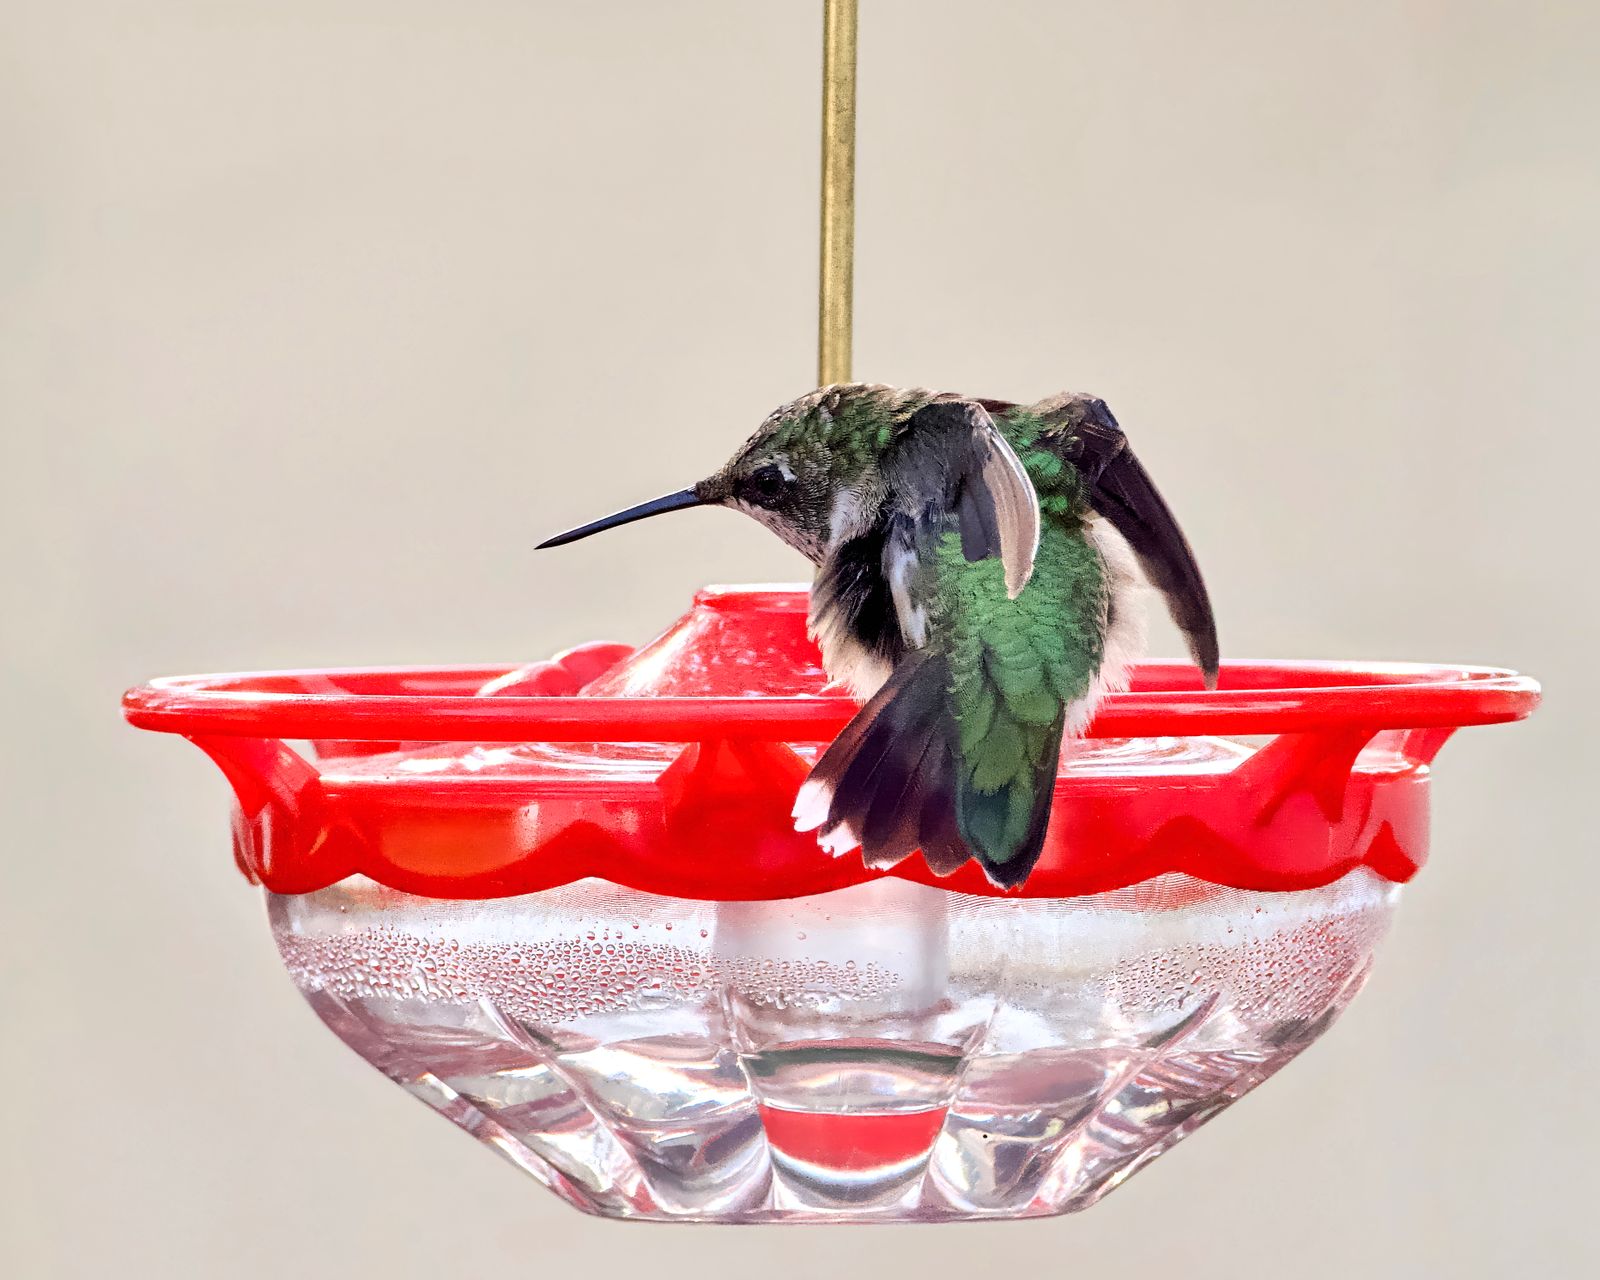
How to Maintain Glass Hummingbird Feeder Metal Bases & Gaskets for Zero Leaks
Are your feeder's metal base threads sticking or leaking sweet nectar onto your garden floor? To safely maintain your handcrafted glass feeder's anti-rust metal base and silicone seal, wash all base components bi-weekly in a warm 1:4 white vinegar-water bath using a soft nylon brush. Apply a microscopic layer of food-grade organic coconut oil along the silicone gasket track to retain elasticity, and ensure the top solar electronic cap remains completely dry during cleaning.
Essential Bird-Safe Base & Gasket Care Checklist
- [ ] Unscrew the metal base gently from the glass reservoir over a sink or basin.
- [ ] Remove the silicone gasket ring and inspect for pinhole tears, stiffness, or mold.
- [ ] Submerge only the metal base and gasket in a 1:4 white vinegar and warm water bath for 10 minutes.
- [ ] Scrub metal flower ports and threads using a soft, non-abrasive nylon bottle brush.
- [ ] Rinse thoroughly with clean running water to eliminate all vinegar scent.
- [ ] Pat the metal base completely dry with a microfiber cloth to prevent water spot mineral buildup.
- [ ] Apply a micro-dot of food-grade organic coconut oil along the inner groove of the silicone gasket.
- [ ] Re-seat the gasket flush into the base track and screw onto glass threads until snug (do not overtighten).
Printable Feeder Longevity Cheat Sheet
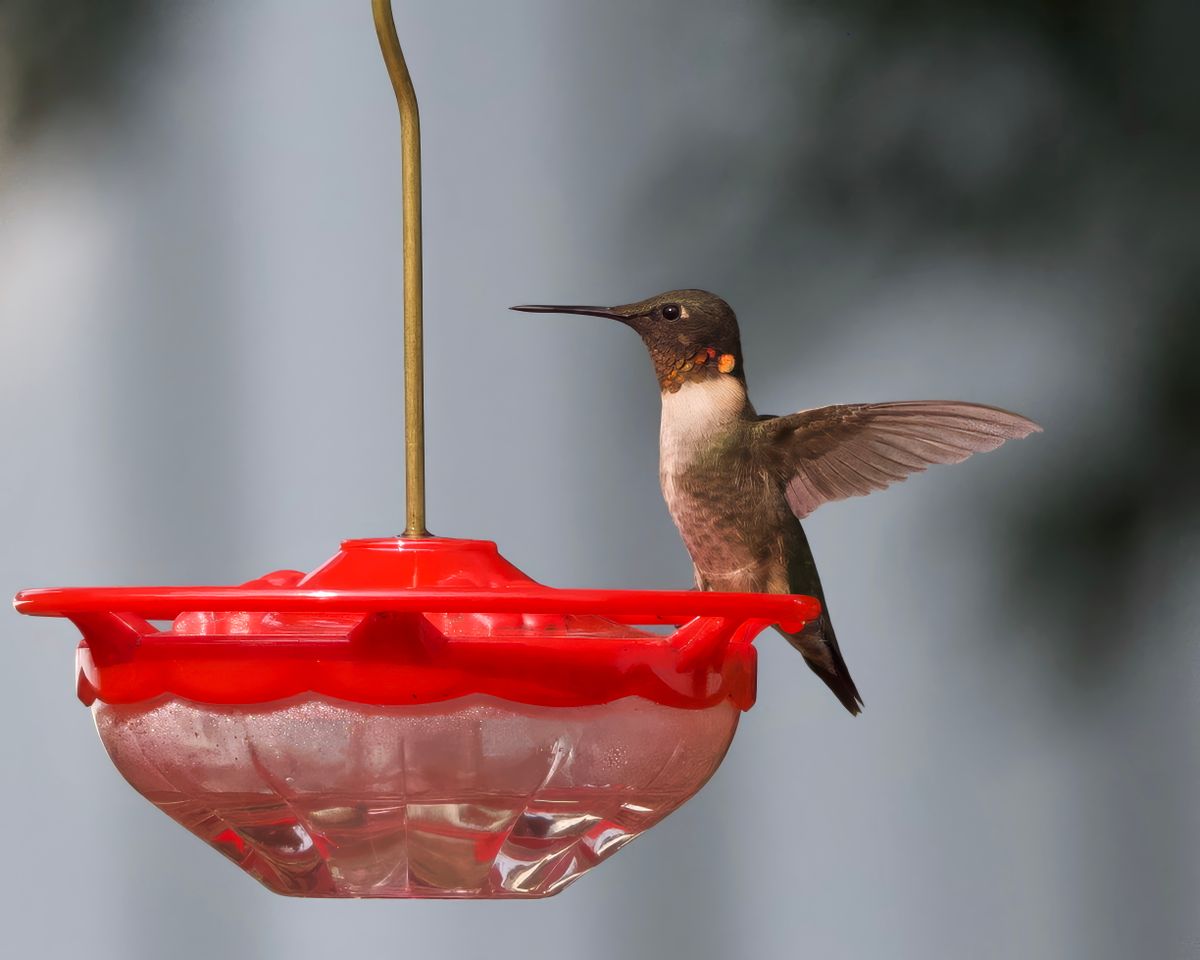
Photo by A. G. Rosales on Pexels
- Vinegar Bath Soak: 1:4 ratio white vinegar to warm water (10-minute soak max). Never use chlorine bleach.
- Gasket Conditioning: Use food-grade organic coconut oil or USP mineral oil. Avoid petroleum jelly or WD-40.
- Solar Electronics Safety: Wipe the upper solar cap with a damp cloth only. Never submerge electronic cap assembly.
- Tightening Protocol: Hand-tighten base until resistance is met, then add 1/8 turn. Over-tightening pinches silicone gaskets.
- Winter Storage: Deep clean, dry 100% with microfiber, remove rechargeable battery, store indoors above freezing temperatures.
Pro Tip: Preventing Sticky Thread Lock & Rust Creep
Never use chemical rust removers, automotive penetrants (like WD-40), or petroleum jelly (Vaseline) near your hummingbird feeder. Petroleum compounds chemically degrade food-grade silicone gaskets over time, causing premature cracking and leaks. Worse, petroleum residues rub off onto visiting hummingbirds, disrupting the natural waterproof oils in their feathers and making flight difficult.
Instead, treat minor scratches on your coated metal base by thoroughly drying the area and applying a tiny dab of clear, food-grade USP mineral oil or bird-safe beeswax paste. This creates an invisible hydrophobic shield that stops oxygen and moisture from igniting flash rust while keeping threads turning smoothly.
Failure Mode & Leak Troubleshooting Matrix
| Failure Scenario / Symptom | Probable Root Cause | Immediate Corrective Action | Long-Term Prevention Strategy |
| --- | --- | --- | --- |
| Nectar dripping constantly from lower metal seam after refill | Silicone gasket is pinched, twisted, or seated dry without fluid vacuum seal | Unscrew base, coat gasket lightly with coconut oil, re-seat perfectly flat in groove, and re-tighten snug. | Inspect gasket for micro-tears during bi-weekly refills; replace silicone O-ring annually. |
| Metal base threads lock up; impossible to unscrew by hand | Crystallized sugar nectar dried inside threads, acting like industrial glue | Invert feeder base down in warm water for 5 minutes to dissolve sugar crystals; do not force threads. | Wipe glass bottleneck threads dry before assembling; apply micro-drop of food-grade oil to base threads. |
| Orange flash rust appearing inside base basin or around flower ports | Abrasive wire pad or steel wool stripped the anti-rust protective coating | Scrub away loose rust with soft nylon brush, dry completely, and seal scratch with food-grade mineral oil. | Switch exclusively to non-abrasive microfiber cloths and soft nylon bottle brushes for all metal parts. |
| Solar RGB lights flickering or failing to turn on at dusk | Water entered upper solar cap battery compartment during aggressive washing | Remove battery cap, dry housing with hair dryer on cool setting, replace battery, leave in sun 8 hours. | Never soak top solar housing; clean solar panel lens using a damp microfiber cloth only. |
When a solar feeder develops issues, the root cause usually traces back to gasket misalignment, thermal expansion, or chemical corrosion. Use this scenario matrix to diagnose and fix failures fast.
Seasonal Maintenance Schedule for Solar Feeders
- Every 2–3 Days (Summer Heat > 85°F) — Rinse base basin with warm tap water; check nectar for cloudiness; inspect gasket for thermal slipping.
- Bi-Weekly (Routine Care) — Soak metal base and gasket in 1:4 vinegar bath for 10 minutes; scrub ports with soft brush; air dry.
- Monthly (Deep Conditioning) — Inspect metal anti-rust coating for scratches; re-condition silicone gasket with organic coconut oil.
- End of Season (Winterization) — Deep clean glass & metal; dry completely; remove solar rechargeable battery; store feeder indoors.
Summary of Critical Feeder Care Principles
Keep these non-negotiable guidelines in mind every time you clean your outdoor solar bird feeder setup.
5 Destructive Cleaning Errors That Waste Your Investment
Avoid these frequent maintenance traps that compromise nectar safety, destroy metal coatings, or ruin solar electronics.
Lifespan Expectations & Replacement Milestones

Photo by Jennelope 🩷 on Pexels
- Month 1–6 —
- Year 1 —
- Year 2–3 —
- Year 5+ —
Further Exploration for Solar Garden Care
Expand your backyard wildlife knowledge with our expert guide collection:
- How to Clean and Maintain Hand-Blown Glass Hummingbird Feeders Without Fading Color — Discover how 2,300°F hand-blown glass retains its translucent brilliance under intense sunlight.
- Summer Storm Protection: Weatherproofing Your Glass Solar Hummingbird Feeder Setup — Learn how to protect solar caps and heavy glass bodies during severe high-wind weather.
- Twilight Nectar Care FAQ: Does Nighttime Solar Light Affect Nectar Freshness? — Explore the science of ambient LED illumination and nectar temperature stability.
Frequently Asked Questions About Metal Base & Gasket Care
Get rapid, practical answers to common post-purchase maintenance and troubleshooting questions.
Recommended Care Tools & Hand-Blown Replacement Feeders
Elevate your backyard garden ambiance with handcrafted artisan glass and heavy-duty, leak-resistant engineering.
Your Immediate Maintenance Action Plan
Your decision: Determine if your metal base and gasket currently show signs of nectar buildup, coating scratches, or stiffness.
Do this next: Inspect your feeder during the next nectar refill: wash base threads in warm vinegar-water, gently wipe the silicone gasket with a drop of food-grade oil, and keep solar electronics dry.
- Read next: How to Clean and Maintain Your Hand-Blown Solar Hummingbird Feeder
- Read next: Summer Storm Protection: Weatherproofing Your Glass Solar Hummingbird Feeder Setup
Explore LUJII Artisan Hand-Blown Solar Hummingbird Feeders equipped with rust-resistant metal bases and leak-proof silicone seals.
Ready to protect your feeder investment and keep your garden glowing night after night? Follow these immediate steps during your next refill cycle.
Cover photo by A. G. Rosales on Pexels.